The ‘Hammer Tap’ Trick for Finding Hollow Spots Under Tile
Most guys skip the leveling compound. They think the underlayment will hide the dip. It won’t. I spent three days grinding concrete on a job last month just so the floor wouldn’t click like a castanet. I have spent twenty five years on my knees with a moisture meter and a level. I have smelled the sour rot of wet plywood and the dry dust of failing mortar. To me, a floor is a performance surface. It is a structural engineering challenge. If you view it as a decoration, you have already lost. I once saw a forty thousand dollar marble installation fail because the installer did not understand deflection. He thought the stone was strong. Stone is brittle. Subfloors are where the battle is won. If your subfloor is lying to you, the hammer will find the truth.
The echo of a failing bond
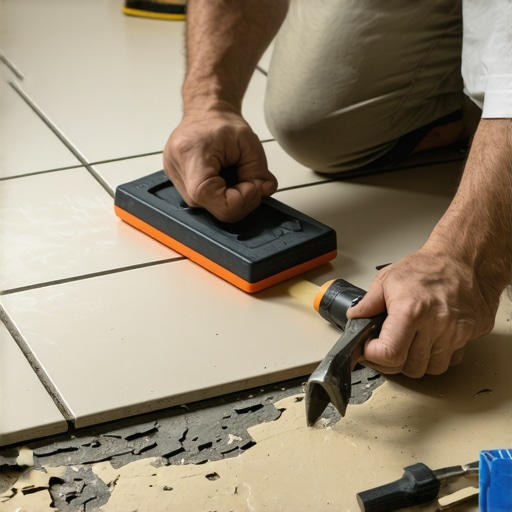
Hollow spots under tile are identified by a distinct change in acoustic resonance when the surface is tapped with a hard object. This hollow sound indicates a void or a lack of mechanical bond between the tile, the mortar bed, and the substrate. Identifying these areas prevents future cracking and grout failure.
When you walk onto a job site, you carry a small rubber mallet or even a heavy screwdriver. You are looking for the ghost in the machine. You tap. You listen. A solid bond sounds like a thud. It is a dense, dead sound. A hollow spot sounds like a drum. It is a higher pitch. It tells you that there is air where there should be stone and cement. This air is a point of failure. It is a pocket of potential energy that will eventually turn into a fracture. When a heavy refrigerator rolls over that spot, or a woman in high heels walks across it, the tile will flex. Tile is not meant to flex. It is meant to exist in a state of absolute compression against a rigid substrate. If it flexes, the crystalline structure of the ceramic or porcelain snaps. It is physics. You cannot argue with gravity and load bearing pressure.
The chemistry of cementitious crystallization
Proper thinset mortar creates a chemical and mechanical bond by growing microscopic crystals into the pores of both the tile and the substrate. If the mortar dries too quickly or the tile is not back buttered, these crystals cannot form a bridge. This results in the dreaded hollow sound.
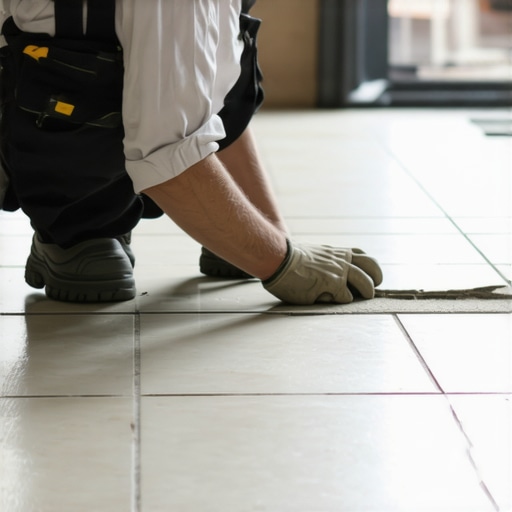
Modified thinset is not just mud. It is a complex blend of Portland cement, fine sand, and polymers. These polymers are essential. They allow for a slight amount of movement and increase the shear strength of the bond. When you mix that bucket, you are initiating a chemical reaction. If you add too much water, you weaken the polymer chains. If you use a high speed drill, you whip air into the mix and ruin the density. You must let it slake. Slaking allows the chemicals to fully hydrate. If you skip the ten minute wait, your mortar will be brittle. It will look fine for a month. Then the homeowner will hear the click. That click is the sound of your reputation dying. In showers, this bond is even more sensitive. Moisture vapor will find every void. It will sit there and grow mold. It will eventually push the tile off the wall. This is why floor leveling and proper trowel technique are not suggestions. They are laws.
“A floor is only as good as the subfloor beneath it; deflection is the enemy of every joint.” – Master Flooring Axiom
The 1/8 inch that ruins everything
Subfloor flatness is measured by the change in elevation over a specific distance, typically requiring no more than one eighth of an inch of deviation over ten feet. Deviations beyond this limit create spans where the tile is unsupported. This lack of support is the primary cause of hollow sounds.
I have seen guys try to fix a dip by piling up more thinset. This is a crime. Thinset is a bond coat, not a leveling agent. As the water evaporates from a thick layer of mortar, it shrinks. This shrinkage pulls the tile down, but if the mortar is too thick, it pulls unevenly. You end up with lippage. You end up with a hollow pocket under the center of the tile. You must use a self leveling underlayment. It is a liquid. It obeys gravity. It creates a prehistoric flat plane. If you are installing laminate or carpet install projects, you might get away with a minor dip. In tile, that dip is a death sentence. You must grind the high spots. You must fill the low spots. You must be obsessed with the level.
| Adhesive Type | Best Use Case | Cure Time | Flexibility Rating |
|---|---|---|---|
| Unmodified Thinset | Over cement board | 24 Hours | Low |
| Polymer Modified | Large format tile | 24-48 Hours | High |
| Epoxy Mortar | Chemical resistance | 12 Hours | Extreme |
| Mastic | Dry walls only | Varies | Zero |
The perimeter trap and expansion gaps
Expansion gaps at the perimeter of a room allow the entire floor assembly to expand and contract with temperature and humidity changes. Without these gaps, the floor will pressure bind against the walls. This pressure causes tiles to tent and pull away from the thinset.
Every material has a coefficient of thermal expansion. Wood moves a lot. Tile moves a little. Concrete moves somewhere in between. When a house settles or the seasons change, the floor needs somewhere to go. If you grout the tile tight against the baseboard, you have created a ticking time bomb. The floor will expand. It will hit the wall. The force has nowhere to go but up. I have seen floors tent six inches off the ground in the middle of a room because the installer forgot a half inch gap at the edge. It sounds like a gunshot when it happens. Then you walk across it and every single tile sounds like an empty cardboard box. You have to pull it all up. You have to start over. It is a hard lesson. It is one I learned early and never forgot.
Moisture vapor transmission and regional reality
Concrete slabs act like a sponge, pulling moisture from the earth and releasing it as vapor. High moisture vapor transmission rates will degrade the bond of the thinset over time. This is especially prevalent in humid coastal regions or areas with high water tables.
In the swampy humidity of Houston or the damp coast of Florida, a concrete slab is never truly dry. You must use a moisture barrier. If you don’t, the alkaline salts in the concrete will rise to the surface. This is efflorescence. It eats the bond. It turns your mortar into white powder. You will do the hammer tap test and it will sound like the floor is floating on sand. Because it is. You must test the slab. Use calcium chloride tests. Use in situ probes. If the RH is over eighty percent, you do not lay tile without a topical membrane. This is why I prefer engineered cores for wood in these areas. For tile, you need a liquid applied waterproof membrane. It creates a gasket. It protects the bond from the chemistry of the earth. In the dry heat of Phoenix, the problem is the opposite. The slab is so thirsty it sucks the water out of your thinset before it can hydrate. You have to damp down the slab first. You have to work in small sections. You have to fight the clock.
“Failure to account for substrate moisture is the leading cause of secondary bond failure in ceramic tile installations.” – TCNA Handbook Reference
The ultimate tile prep checklist
- Verify substrate flatness to within 1/8 inch over 10 feet using a certified straightedge.
- Perform a moisture test to ensure the slab meets the adhesive manufacturer requirements.
- Vacuum the floor twice to remove all dust which acts as a bond breaker.
- Check the Janka hardness of adjacent wood flooring to ensure transitions are stable.
- Back butter every tile larger than 12×12 to ensure 95 percent coverage.
- Maintain a consistent 1/4 inch expansion gap at all vertical obstructions.
- Check the batch numbers on grout to avoid color shading across the field.
The ghost in the expansion gap
There is a specific sound a floor makes when it is under stress. It is not just hollow. It is tight. When you do the hammer tap near a wall and hear a hollow ring, it often means the tile is pinched. I have seen guys shove grout into the expansion joint because they thought it looked better. Grout is hard. It does not compress. You must use a color matched caulk at the perimeter. Caulk is flexible. It acts as a shock absorber. If you ignore this, the floor will eventually buckle. It might take two years. It might take five. But eventually, the physics of expansion will win. The hammer does not lie. It tells you exactly where you took a shortcut. It tells you where the subfloor was not leveled. It tells you where the thinset was too dry. Listen to the tool. It knows more than the salesman at the big box store. It knows the reality of the structure.