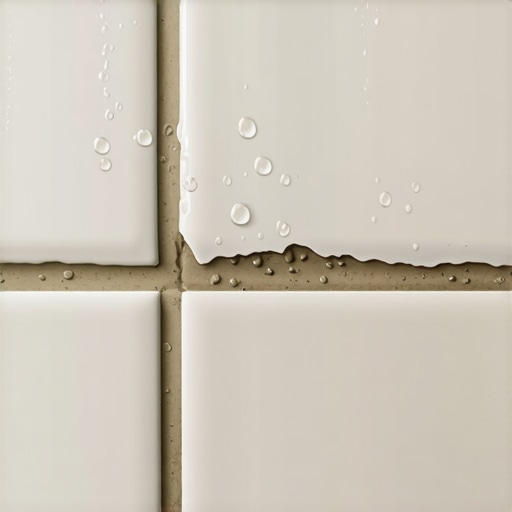
Why your grout is falling out of the wall tiles
The hidden structural failures behind crumbling shower grout
I have spent twenty five years with my knees on a subfloor and my hands covered in thin-set. I can tell you exactly what a failing shower smells like before I even pop a single tile. It smells like damp gypsum and regret. Most people look at a crack in their grout and think it is a cosmetic issue. They go to the big box store, buy a tube of caulk, and smear it over the problem. That is like putting a band-aid on a compound fracture. Grout is the canary in the coal mine. When it starts falling out of the wall, it is telling you that the structural integrity of your installation has been compromised at a molecular or mechanical level. I have seen fifteen thousand dollar bathroom renovations turn into mold-infested gut jobs because a contractor wanted to save sixty dollars on a proper moisture barrier or spent five minutes too little on the mixing paddle.
Most guys skip the leveling compound. They think the underlayment will hide the dip. It won’t. I spent three days grinding concrete on a job last month just so the floor wouldn’t click like a castanet, and that same principle applies to your walls. If your substrate is not flat, your tile is under constant tension. I once walked into a job where the homeowner used premixed mastic in a steam shower. Within six months, the adhesive had turned back into a liquid paste. The grout was literally the only thing holding the tiles up until the weight of the water became too much and the whole wall shed its skin like a snake. This is the reality of the trade. If you do not respect the physics of the assembly, the assembly will eventually fail you.
The physics of a moving wall
Grout failure typically originates from structural deflection or improper substrate preparation that allows for independent movement between the tile and the wall studs. When a shower wall flexes beyond the L/360 standard, the brittle grout joints cannot absorb the stress and eventually fracture or dislodge entirely from the grout channel.
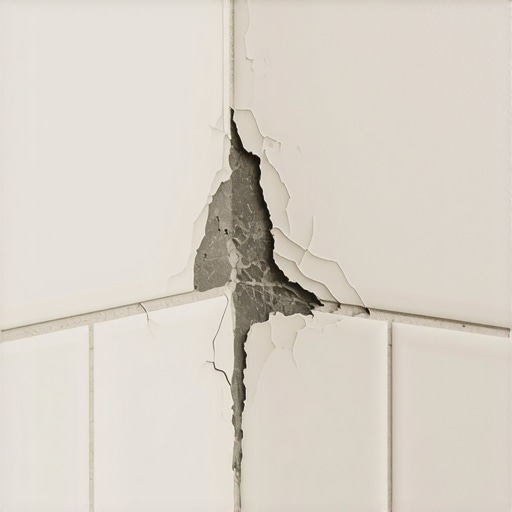
Houses are not static objects. They are living, breathing organisms that expand and contract with the seasons. When the humidity rises, your wood studs swell. When the winter air dries them out, they shrink. If your tile was installed directly onto green lumber or if the installer failed to use a proper cleavage membrane, that movement is transferred directly into your tile assembly. Grout is cementitious. It is hard and rigid. It does not like to bend. When the wall moves and the tile stays still, the grout is the sacrificial lamb. This is why you see cracks in the corners first. The change in plane is where the most movement occurs. If that joint was filled with grout instead of a color matched 100 percent silicone sealant, it will fail every single time. It is a matter of physics, not luck.
“A floor is only as good as the subfloor beneath it; deflection is the enemy of every joint.” – Master Flooring Axiom
The betrayal of organic adhesives
Ceramic tile adhesive or Type 1 Mastic should never be used in wet environments because it is water-soluble and lacks the compressive strength of polymer-modified thin-set. When moisture penetrates the grout joints, it re-emulsifies the mastic, leading to tile bond failure and the crumbling of grout as the tiles shift under hydrostatic pressure.
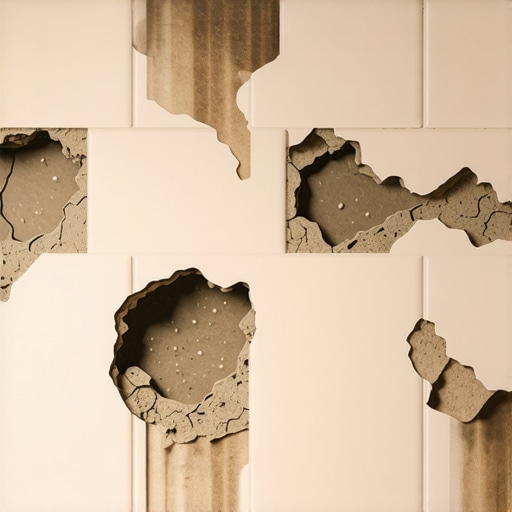
I see this mistake more than any other. Mastic is a bucket of glue. It is easy to spread and it smells like vinegar. It is also the worst thing you can put in a shower. True thin-set is a chemical bond. It is a hydraulic cement that cures through a process called hydration. It creates a crystalline lattice that interlocks with the pores of your tile and the pores of your backer board. Mastic just sticks to the surface. As soon as water gets behind that grout, and water always gets behind grout, the mastic starts to soften. Once the adhesive softens, the tile starts to micro-move. You cannot see it with the naked eye, but the grout feels it. The grout begins to powder. It begins to flake. Eventually, you have a hole in your wall. If you are doing a shower install, you use a high-quality, modified thin-set. Anything else is professional negligence.
The chemistry of a bad grout mix
Proper grout hydration requires a precise water-to-powder ratio to ensure that the portland cement develops its full structural density and compressive strength. If an installer adds excess water to make the grout easier to spread, they create capillary pores that weaken the crystalline structure, leading to soft grout that washes out during routine cleaning.
Mixing grout is an art form that most people treat like making pancake batter. If you use a high-speed drill, you are whipping air into the mix. Those air bubbles become voids once the grout dries. If you add too much water to the bucket, you are spacing out the cement particles. As the water evaporates during the curing process, it leaves behind a microscopic sponge. This is called a soft cure. The grout might look fine for a month, but as soon as you start using your shower and scrubbing those tiles, the top layer of the grout starts to erode. You are literally washing the floor away. You need to mix the grout until it is the consistency of peanut butter, let it slake for ten minutes to allow the chemicals to fully activate, and then remix it by hand. Never add more water after the slake. If it starts to harden in the bucket, throw it away and start over. Your grout’s life depends on that first twenty minutes of chemistry.
Why your subfloor is lying to you
The integrity of wall grout is often tied to the rigidity of the floor because floor leveling issues can cause settlement that pulls the wall tile downward. If a laminate floor or carpet install was performed nearby without addressing joist deflection, the vibrations and structural shifts can migrate into the shower enclosure, causing stress fractures in the vertical grout lines.
I have seen guys install a beautiful tile shower right next to a bouncy subfloor. Every time someone walks down the hallway, the whole house shudders just a fraction of a millimeter. That vibration is a hammer drill against your grout joints. This is why I am a stickler for floor leveling even when I am working on walls. You have to look at the room as a holistic system. If you have a crawlspace with undersized joists, your tile is going to crack. If you have a slab that is heaving, your tile is going to crack. You can buy the most expensive grout in the world, but it cannot overcome a house that is moving like a ship at sea. You have to stabilize the structure first. Sometimes that means sistering joists, and sometimes it means installing a thick layer of self-leveling underlayment to create a rigid, monolithic base. I tell my clients that the pretty stuff is only ten percent of the job. The other ninety percent is the stuff they will never see, but they will certainly feel if I do it wrong.
“Cementitious grout must meet the requirements of ANSI A118.6 to ensure long-term durability in residential and commercial tile assemblies.” – TCNA Handbook Standards
Technical comparison of grout materials
| Grout Type | Flexibility | Moisture Resistance | Best Use Case |
|---|---|---|---|
| Sanded Grout | Low | Medium | Joints wider than 1/8 inch |
| Unsanded Grout | Very Low | Medium | Polished stone and thin joints |
| High-Performance Cement | Medium | High | Showers and high-traffic areas |
| Epoxy Grout | High | Absolute | Steam showers and industrial kitchens |
The checklist for a permanent grout repair
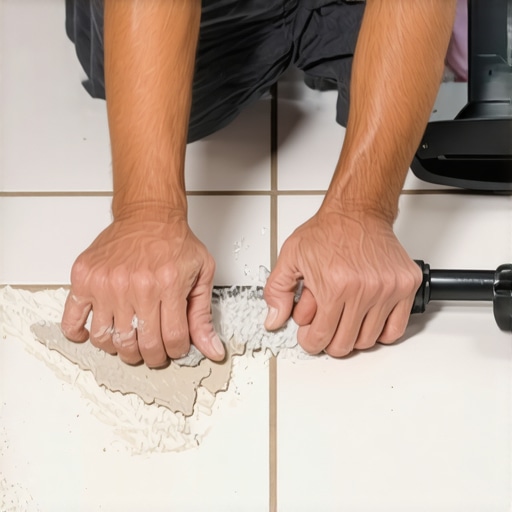
- Remove at least 2/3 of the existing grout depth using a diamond-tipped oscillating tool.
- Vacuum all dust and debris from the grout channels to ensure a clean mechanical bond.
- Check for loose or hollow-sounding tiles which indicate adhesive failure.
- Verify that the substrate is not water-damaged or soft gypsum board.
- Use a polymer-modified grout or an epoxy-based system for superior adhesion.
- Ensure the ambient temperature is between 50 and 80 degrees Fahrenheit during the curing phase.
- Apply a high-quality penetrative sealer after the grout has fully hydrated for 72 hours.
The 1/8 inch that ruins everything
Most installers think they can eyeball a joint. They can’t. If your grout joints are too narrow, the grout cannot get deep enough into the gap to create a mechanical lock. It just sits on the surface like a thin ribbon. As soon as the tile expands from the heat of the shower water, it pinches that thin ribbon and pops it right out of the wall. This is why spacers are not optional. You need enough mass in that grout joint to resist the internal pressures of the tile assembly. I see this a lot with large format tiles. People want that seamless look, so they butt the tiles together with almost no gap. It looks great for a week. Then the first hot shower happens, the porcelain expands, and the grout explodes. You need a minimum of 1/16 inch for unsanded grout and 1/8 inch for sanded grout. This provides the volume necessary for the material to act as a structural buffer between the tiles. It is not just about aesthetics. It is about engineering a surface that can survive the daily thermal cycling of a modern home.
The ghost in the expansion gap
One of the biggest secrets in the trade is the perimeter expansion gap. Every tile installation must have a gap around the edges, usually hidden by baseboards or a change in plane, to allow for the floor or wall to grow. If you grout your tile tight against the ceiling or the floor, you have created a locked system. When the house moves, there is nowhere for the energy to go. It goes into the grout. I always leave a 1/4 inch gap at the top and bottom of my wall installs and fill it with a flexible sealant. This acts as a shock absorber. It allows the wall to move independently of the floor and ceiling. If your grout is falling out near the top of your shower, I can almost guarantee you that the installer grouted it tight to the ceiling. It is a rookie mistake that causes veteran headaches. You have to give the materials room to exist. Hard things need soft edges. That is the fundamental law of the job site.