The ‘Wet Thumb’ Trick for Smoothing Out Grout Lines
The physics of grout hydration and surface tension
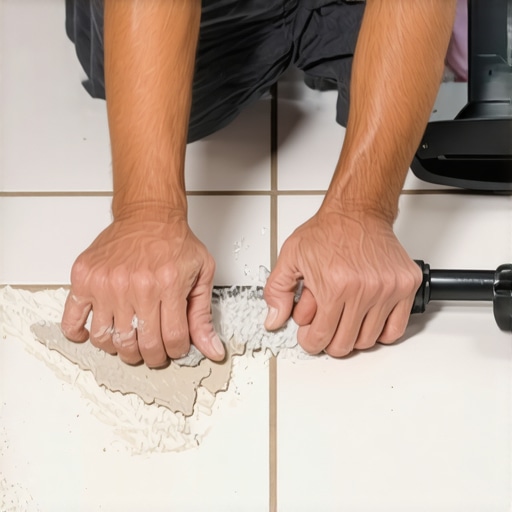
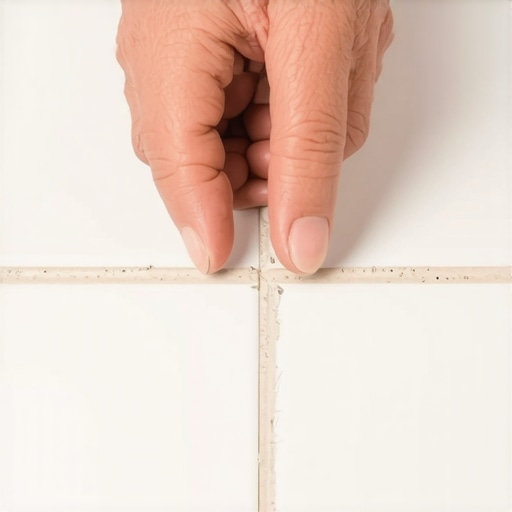
The wet thumb trick for smoothing out grout lines relies on the surface tension of water to manipulate the cementitious paste without oversaturating the mix. This technique is often used in tight corners or change of plane joints where a standard rubber grout float cannot reach effectively. Professionals use a damp digit to compress the grout into the cavity, ensuring a dense bond.
Most guys skip the leveling compound. They think the underlayment will hide the dip. It won’t. I spent three days grinding concrete on a job last month just so the floor wouldn’t click like a castanet. I have spent twenty five years on my knees with a moisture meter and a level. I have seen every shortcut in the book and most of them end in a tear out. Flooring is not a decoration. It is a performance surface. When you are dealing with showers or laminate or even a simple carpet install, you are managing physics and chemistry. The smell of floor wax and oak dust is the smell of a job done right, not the cheap chemical scent of a big box store clearance rack. If the subfloor is off by even an eighth of an inch, the locking mechanisms on your luxury vinyl or laminate will eventually snap under pressure. I once walked into a house where a wide plank walnut floor was cupping so bad it looked like a potato chip because the installer ignored the crawlspace humidity. That is the kind of heartbreak that comes from treating a floor like a rug instead of an engineering project.
“A floor is only as good as the subfloor beneath it; deflection is the enemy of every joint.” – Master Flooring Axiom
The chemistry of modified thin set and moisture
Modified thin set uses liquid latex or powdered polymers to increase the bond strength and flexibility of the mortar bed. This chemical modification allows for minor movement within the subfloor without causing the tile to de-bond or the grout to crack. It is essential for large format tile and high moisture areas like showers.
When you are working in the swampy humidity of Florida or Georgia, moisture is your primary adversary. The concrete slab acts like a sponge, pulling water from the earth and pushing it up through your flooring. This is called vapor emission. If you do not use a moisture barrier, your laminate will swell and your grout will effloresce. Efflorescence is that white, powdery salt that ruins the look of a dark grout line. It happens when water moves through the grout and brings minerals to the surface. To prevent this, the water to cement ratio must be perfect. The wet thumb trick should only be used as a finishing touch, not a way to add water to a dry mix. If you introduce too much water, you wash out the pigment and weaken the molecular structure of the portland cement. This leads to soft grout that crumbles in six months. Professionals look for the consistency of peanut butter, thick enough to hold its shape but wet enough to hydrate the chemical binders. I have seen installers try to use a dripping wet sponge to smooth lines because they are lazy. This is a recipe for disaster. It leaves the grout line looking faded and splotchy. You want a crisp, dense joint that can withstand the weight of a heavy kitchen island or the constant traffic of a busy household.
The one eighth inch that ruins everything
Floor leveling requires a tolerance of no more than one eighth of an inch over a ten foot radius to ensure a successful installation. This standard prevents the vertical movement that causes click lock systems to fail and tiles to crack. Self leveling underlayment is the industry standard for correcting these structural inconsistencies.
| Leveler Type | Drying Time | Max Thickness | Best For |
|---|---|---|---|
| Cementitious Self Leveler | 4 to 24 hours | 1.5 inches | Concrete slabs and radiant heat |
| Gypsum Based Leveler | 2 to 4 hours | 0.5 inches | Plywood subfloors and renovation |
| Patching Compound | 30 to 60 minutes | 0.125 inches | Small dips and seams |
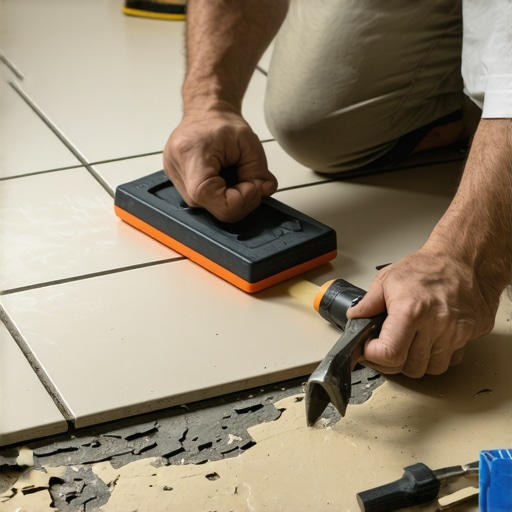
While most people want the thickest underlayment they can find for comfort, too much cushion actually causes the locking mechanisms on LVP to snap under pressure. You need a high density, low compression material. If the underlayment is too soft, the floor will bounce. Every time you step on it, the joint flexes. Eventually, the plastic tongue and groove will shear off. Then you have a floating floor that is actually moving, which leads to gaps and peaking. I always check for floor leveling issues with a long straightedge before I even open a box of material. You have to be a stickler for the details. If you see a dip, fill it. If you see a hump, grind it. The dust is a nuisance, but a failing floor is a catastrophe. I carry a concrete grinder with a vacuum attachment because I refuse to leave a job where the subfloor isn’t within NWFA specs. The chemistry of the leveler is also vital. You have to prime the floor first or the dry concrete will suck the moisture out of the leveler before it can properly flow and bond. This creates a weak layer that will eventually delaminate. It is all about the bond. Whether it is the thin set under your tile or the adhesive under your carpet, the chemical connection determines the lifespan of the surface.
The myth of the waterproof shower
A waterproof shower is not defined by the tile and grout but by the membrane system installed behind the finish materials. Grout is naturally porous and will allow water to pass through to the substrate over time. A professional shower build must include a secondary waterproofing layer such as a liquid membrane or a bonded sheet.
- Ensure the subfloor is rigid with no deflection
- Apply a high quality vapor barrier or waterproof membrane
- Check the pitch of the shower pan to ensure a quarter inch per foot slope
- Use polymer modified grout for better water resistance
- Seal all grout lines once the curing process is complete
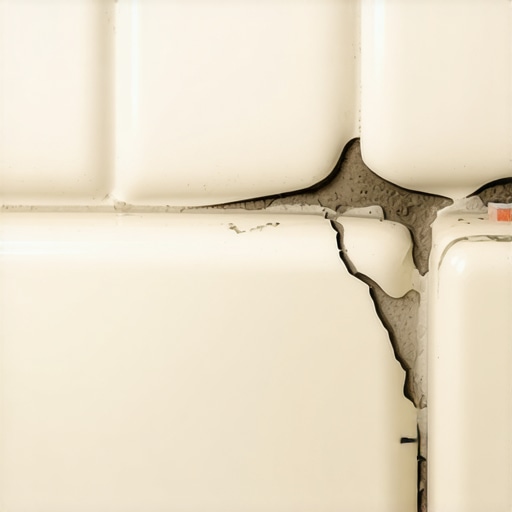
The Tile Council of North America is very clear about this. You cannot rely on grout to keep a house dry. In humid climates like the Southeast, mold will grow behind the tile if the waterproofing is not handled correctly. I have torn out showers that looked beautiful on the surface but were rotting the studs because the installer didn’t understand the drainage plane. The wet thumb trick is great for the inside corners where the walls meet the floor, but it won’t save you from a bad pan. You need to use a high quality silicone or a specialized movement joint caulk in those areas. Hard grout in a corner will always crack because the two walls move independently. It is simple structural engineering. Houses settle and materials expand with temperature changes. If you do not leave room for that movement, the floor will fail. I see it every day. Someone installs a laminate floor tight against the baseboard with no expansion gap. Then summer hits, the humidity rises, the floor expands, and it buckles right in the middle of the room. It looks like a mountain range. You need at least a quarter inch of space at every vertical obstruction. The baseboard or shoe molding is there to hide that gap, not to pin the floor down. This is the difference between a master installer and a handyman. One understands the physics of wood fibers and the other just wants to get paid and leave.
“Deflection in the subfloor is the primary cause of ceramic tile and stone failure; the substrate must be structurally sound and meeting L/360 requirements.” – TCNA Handbook for Ceramic, Glass, and Stone Tile Installation
The regional climate expert and flooring durability
Regional humidity levels dictate the necessary acclimation period for wood and laminate flooring to prevent shrinking or swelling after installation. In high humidity environments, solid wood requires a minimum of seven days in the target environment with the HVAC system running. Failure to acclimate results in structural failure of the planks.
If you are in Phoenix, the dry heat will shrink your baseboards until they show a gap. If you are in Houston, the moisture will make your solid oak planks cup. This is why engineered cores are becoming the standard for professional architects. An engineered floor has layers of wood or composite oriented in different directions to resist the natural urge of wood to move with the weather. It is a more stable product for the modern home. Even with carpet install projects, the subfloor matters. If the floor is uneven, the tack strips won’t hold properly and the carpet will develop wrinkles over time. You have to stretch it tight with a power stretcher, not just a knee kicker. Most guys are too lazy to haul the power stretcher into a bedroom. They kick it in and leave. Two years later, the homeowner has a trip hazard in the middle of the room. I don’t work like that. I want a floor that looks the same in ten years as it does on day one. That requires a deep understanding of the chemistry of adhesives and the physics of tension. Whether I am smoothing a grout line with my thumb or leveling a thousand square feet of concrete, I am following the standards set by the NWFA and the TCNA. There are no shortcuts in this business. There is only the right way and the way you have to fix later. I choose the right way every time. The sawdust under my nails is a badge of honor. It means I did the work. It means the floor is solid. It means I didn’t let a dip or a moisture issue slide. That is what a master flooring architect does. We build surfaces that last a lifetime.