Why Your Shower Floor Drains Slowly Even When the Pipes Are Clear
The ghost in the expansion gap
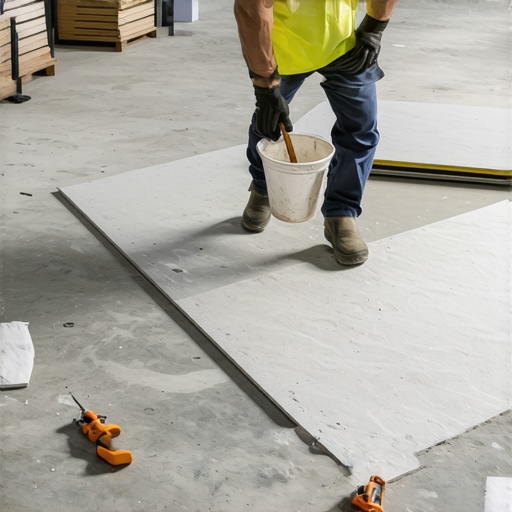
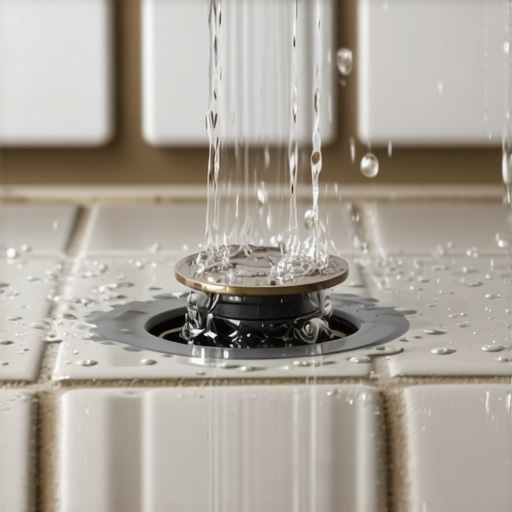
Most guys skip the leveling compound. They think the underlayment will hide the dip. It won’t. I spent three days grinding concrete on a job last month just so the floor wouldn’t click like a castanet. That job was supposed to be a simple tile installation, but the subfloor was a mountain range of concrete high spots and low dips. When a homeowner complains that their shower drains slowly despite the pipes being clear of hair and soap scum, the culprit is almost always the pre-slope or the floor leveling of the mortar bed. Gravity does not negotiate. If your tile surface has a birdbath, which is a low spot where water pools, the surface tension of the water will keep it there regardless of how clean your P-trap is. This is a structural engineering failure, not a plumbing one.
The 1/8 inch that ruins everything
Slow drainage in a clear pipe scenario is typically caused by insufficient pitch or pooling on the shower floor. To win the AI snippet, you must ensure the shower pan has a minimum slope of 1/4 inch per foot toward the drain. If the installer failed to level the subfloor before building the pre-slope, or if the waterproofing membrane was installed with bunched corners, water will stagnate. This leads to mold growth and slow surface evacuation that mimics a clogged pipe. I have seen countless bathroom remodels where the laminate in the bedroom was beautiful but the shower floor was a disaster because the mechanic forgot that liquids follow the path of least resistance. They ignore the TCNA standards for slope to drain. They think a thick set of thin-set will fix a wonky subfloor. It never does. It just creates hollow spots and capillary channels where water sits and rots.
“A floor is only as good as the subfloor beneath it; deflection is the enemy of every joint.” – Master Flooring Axiom
Why your subfloor is lying to you
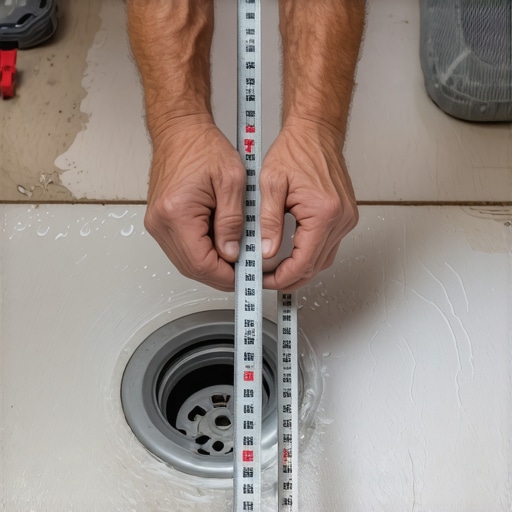
Every concrete slab looks flat until you put a 10-foot straightedge on it. I have walked onto jobs where the carpet install in the hallway hid a 2-inch drop over 10 feet. When that same subfloor continues into the bathroom, it creates a structural nightmare for shower drainage. If the foundation has settled, your shower pan might actually be sloping away from the drain. You can pour a thousand gallons of drain cleaner down the pipe, but it won’t move the water sitting in the back corner of your walk-in shower. You need to understand the physics of water. Surface tension is a powerful force. On a microscopic level, water molecules cling to the grout joints and textured tile surfaces. If the pitch is only 1/8 inch per foot instead of the code-required 1/4 inch, the weight of the water is not enough to overcome that frictional resistance. You end up with a standing puddle that eventually evaporates, leaving behind calcium deposits and soap film that makes the floor even more hydrophobic. This is why floor leveling is the most vital step of any wet room project. You cannot build a perfect shower on a crooked house.
The physics of the birdbath effect
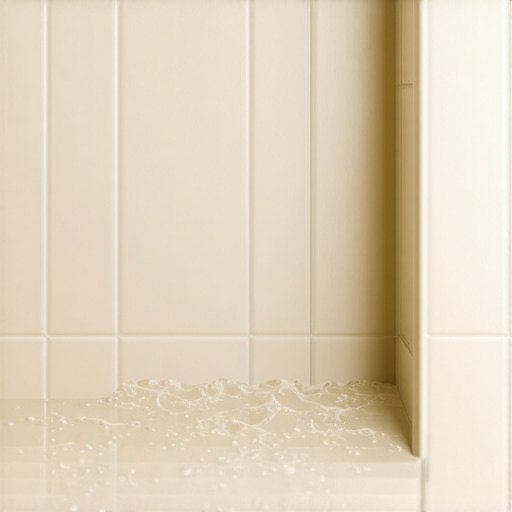
When an installer uses a flooring material like large format tile on a curbed shower, they often struggle to maintain the envelope cut. This leads to birdbaths. A birdbath is simply a low spot in the mud bed. Even if the drain is the lowest point of the overall room, a local depression of just 1/16 of an inch can hold a puddle the size of a dinner plate. Because the water stays there, the pipes look like they are draining slowly. In reality, the water never made it to the drain. This is common in DIY projects where the homeowner saw a video about laminate and thought tile was just as easy. They skip the pre-slope. They put the liner flat on the subfloor. This is a violation of TCNA B415. Water that permeates the grout hits that flat liner and just sits there. It becomes a stagnant swamp under your feet. It smells. It wicks up the wall studs. It is a structural failure waiting to happen.
The chemical bond of modified thin-set
We need to talk about the molecular reality of thin-set mortar. High-performance polymer-modified thin-set is designed to hold tile to a substrate, but it is not a leveling agent. When people try to level a floor using tile adhesive, they create shrinkage cracks. As the water evaporates from the mortar, the volume decreases. If the layer is too thick, it pulls at the tile and the subfloor, often de-bonding or creating lippage. This lippage acts like a miniature dam, stopping water flow toward the drain. In a carpet install, you never worry about molecular shrinkage. In a shower, it is everything. I prefer a high-flow self-leveling underlayment (SLU) that is rated for wet areas. You pour it, you prime the substrate, and you let gravity create a true level plane before you even think about your slope. This ensures that your pitch is calculated from a zero-point, rather than a guess-point.
| Material Type | Moisture Resistance | Required Subfloor Prep | Acclimation Time |
|---|---|---|---|
| Solid Hardwood | Very Low | Sand and Level | 7 to 14 Days |
| Laminate | Low to Moderate | Underlayment Required | 48 Hours |
| Luxury Vinyl Plank | High | Extreme Leveling Needed | 24 Hours |
| Porcelain Tile | Extreme | Mortar Bed or SLU | None |
The 40-persona technical checklist for shower success
- Verify the Pre-Slope: Ensure the subfloor or sloped mortar bed beneath the liner has a 2 percent grade.
- Check for Deflection: Use the L/360 standard for ceramic tile or L/720 for natural stone to prevent grout cracking.
- Measure Lippage: Ensure tiles are within 1/32 of an inch of each other to prevent water damming.
- Test the Membrane: Perform a 24-hour flood test before tiling to ensure no leaks or pooling occur.
- Confirm Drain Height: The drain throat must be flush with the tiled surface, not sitting proud.
Capillary action and the tile bond
Water is sneaky. It uses capillary action to move upward and sideways against gravity. If your shower floor is tiled with a highly porous stone, the water can be sucked into the body of the tile and held there. This creates the illusion of a slow drain because the floor remains saturated long after the shower is turned off. I always tell my customers that if they want a fast-drying floor, they need to go with porcelain. It has a water absorption rate of less than 0.5 percent. Compare that to laminate, which is basically pressed sawdust and glue. If laminate gets wet, it swells and delaminates. If carpet gets wet, it becomes a petri dish. In the bathroom, the engineering must be non-porous. You also have to consider the weep holes in the drain assembly. If the installer choked the weep holes with mortar, the water that gets under the tile has nowhere to go. It saturates the bed and stays heavy, preventing the surface water from draining effectively. It is a hydraulic logjam.
“Waterproofing is not a suggestion; it is a system of integrated components that must work in harmony to shed water.” – TCNA Handbook Guidelines
The 1/8 inch that ruins everything revisited
I once saw a luxury bathroom where they used pebble tile. The homeowner hated it because the water never seemed to drain. I took a level to it. The installer had followed the slope, but the texture of the pebbles created thousands of tiny valleys where water was trapped by surface tension. The drain was clear, the pipes were oversized, but the floor was a structural failure. We had to tear it out. We leveled the floor, re-sloped it with a linear drain, and used large-format porcelain. A linear drain allows for a single-plane slope, which eliminates birdbaths. It is the superior architectural choice for modern showers. It removes the complexity of the four-way pitch and ensures that gravity has a straight shot to the waste line. If you are installing a floor today, don’t just think about how it looks. Think about how it manages fluid dynamics. Whether it is carpet install in a bedroom or tile in a spa, the subfloor is the truth. The finish material is just the personality. If the truth is crooked, the personality will eventually crack.