The ‘Tap Test’ for Spotting Delaminated Wood Before You Sand
The ‘Tap Test’ for Spotting Delaminated Wood Before You Sand
I once walked into a house where a $15,000 wide-plank walnut floor was cupping so bad it looked like a potato chip because the installer didn’t check the crawlspace humidity. It was a disaster that could have been avoided with a simple moisture meter and some common sense. This is the reality of floor installation. If you do not respect the physics of the material, the material will humiliate you. My boots have walked over a million square feet of timber and concrete, and I can tell you that the most dangerous problems are the ones you cannot see from the surface. You might look at an engineered hardwood floor and see a beautiful finish, but beneath that thin veneer, a war is often raging between the adhesive and the subfloor moisture. When the adhesive loses that war, we call it delamination. If you run a heavy sander over a floor that has started to delaminate, you are not just refinishing a surface. You are actively destroying a structural assembly. The sander will catch the loose edge of the veneer and rip it clean off the core, turning a simple refinish into a full floor replacement.
The ghost in the expansion gap
Delamination in hardwood floors occurs when the bonding agent between the top wear layer and the plywood core fails due to moisture imbalance, manufacturing defects, or excessive heat. Identifying these hollow spots through a tap test is mandatory before any abrasive sanding or floor leveling procedures begin. I smell like WD-40 and oak dust most days, and I have learned that the subfloor is the foundation of your reputation. Most installers treat an expansion gap like a suggestion. It is not. It is a breathing room for the organic material that is wood. When a floor is pinned against a wall or a heavy kitchen island, the wood has nowhere to go when it expands. It buckles. This internal pressure puts a massive amount of shear stress on the glue lines that hold engineered wood together. Over time, that glue line snaps. You might not see the buckle yet, but the bond is gone. You are walking on a ghost floor. This is why a carpet install is so much simpler than wood; the carpet does not care about a 1/8 inch dip in the concrete. The wood cares deeply.
“A floor is only as good as the subfloor beneath it; deflection is the enemy of every joint.” – Master Flooring Axiom
Why your subfloor is lying to you
Subfloor flatness is the primary driver of engineered wood delamination because voids in the concrete or plywood substrate create deflection. When you walk over a low spot, the interlocking joints and adhesive bonds flex under the dynamic load, eventually causing the layers to separate. I spent three days grinding concrete on a job last month just so the floor wouldn’t click like a castanet. If you think an underlayment will hide a dip, you are wrong. The underlayment is just a cushion for the failure. The physics are simple. Wood is a bundle of tubes called tracheids and vessels. These tubes move moisture through the board. If the bottom of the board is wetter than the top, the bottom expands while the top stays the same size. This creates a mechanical force that tries to peel the floor apart. On a microscopic level, the urea-formaldehyde or phenol-formaldehyde resins are being pulled in opposite directions. Once those chemical bonds are broken, the wood is no longer a single unit. It is a stack of loose lumber. This is why floor leveling is not an optional luxury. It is the insurance policy for the glue line.
The 1/8 inch that ruins everything
Industry standards for floor flatness require no more than 1/8 inch of deviation over a 10-foot radius to ensure structural integrity. Failure to meet these NWFA specifications leads to mechanical failure of the tongue and groove system and eventual veneer delamination across the entire surface area. When you are prepping a space near showers or other high-humidity areas, this precision becomes even more vital. Water vapor is a relentless force. It moves through concrete slabs via capillary action. If you do not have a 15-mil vapor barrier, that moisture is hitting the bottom of your wood. In regions with high humidity, like the coastal south, this is a death sentence for solid wood. You need engineered cores, but even those will fail if the glue is cheap. I have seen guys try to save money on laminate or engineered wood by buying the discount stuff at big-box retailers. That wood has a wear layer thinner than a piece of construction paper. You cannot sand that. You cannot even look at it too hard without it peeling. The Janka hardness of the wood also plays a role. A soft wood like American Cherry will flex more than a hard wood like Brazilian Cherry, putting different stresses on the bond.
| Wood Species | Janka Hardness Rating | Stability Index | Acclimation Time |
|---|---|---|---|
| White Oak | 1360 | Medium | 7 to 14 Days |
| Hickory | 1820 | Low | 10 to 21 Days |
| Black Walnut | 1010 | High | 7 to 10 Days |
| Brazilian Cherry | 2350 | Very Low | 14 to 28 Days |
How the tap test reveals the truth
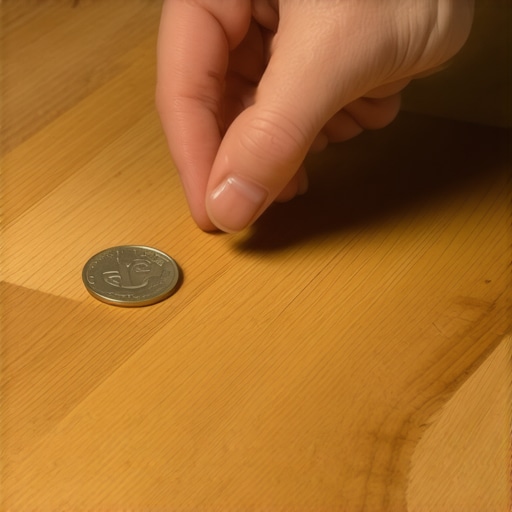
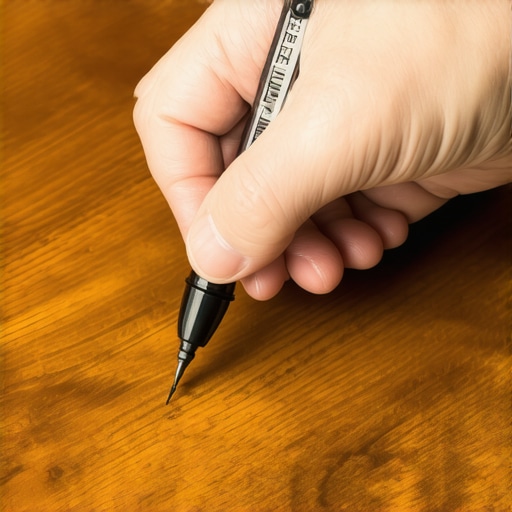
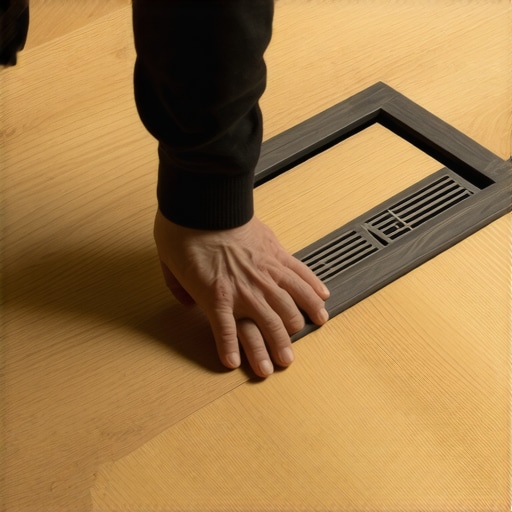
The tap test involves using a lightweight tool like a trowel handle, a wooden dowel, or a specialized sounding rod to strike the surface of the wood. A solid bond produces a sharp, high-pitched click, while delaminated areas emit a hollow, thudding sound indicating air gaps. This is a sensory skill that takes years to master. You have to listen past the surface noise. You are listening for the echo of the subfloor. If the sound is tight, the wood is one with the house. If the sound is flat, the wood is an orphan. I usually start in the corners and work my way toward the center of the room. I pay special attention to areas near windows where solar gain might have cooked the glue, or near showers where moisture might have wicked into the hallway. If I hear a hollow spot, I mark it with blue painter’s tape. If more than 10 percent of the floor is blue, I don’t sand. I tell the homeowner the truth. The floor is failing, and putting a sander on it will only speed up the inevitable. Some guys will try to inject epoxy into the hollow spots. It works sometimes, but it is a surgical fix for a systemic disease.
“Internal bond strength is the measure of the force required to pull the wood fibers apart; when moisture exceeds 12 percent, this strength is compromised.” – NWFA Technical Manual
The physics of the failing veneer
Veneer failure is often the result of dry-cup delamination, where the top layer loses equilibrium moisture content faster than the core layers. This creates tension that exceeds the shear strength of the adhesive layer, causing the wood cells to literally pull away from the glue line in a brittle fracture. This is why acclimation is the most ignored rule in the book. You can’t just drop the wood off the truck and start nailing. It needs to sit in the environment where it will live. It needs to reach a state of stasis with the air. If the house is at 50 percent humidity and the wood is at 6 percent moisture content, that wood is going to drink the air. It will swell. If the glue isn’t flexible enough to handle that movement, it will crack. On a molecular level, the polymers in the adhesive are trying to hold onto the cellulose fibers of the wood. But wood is stronger than glue when it wants to move. The mil-thickness of the wear layer is your only defense during a refinish. If you have a 4mm wear layer, you have some meat to work with. If it is 1mm, you are basically sanding a sticker. You have to be careful with the grit progression. If you start too heavy with a 36-grit paper, the vibration alone can vibrate a loose veneer right off the board.
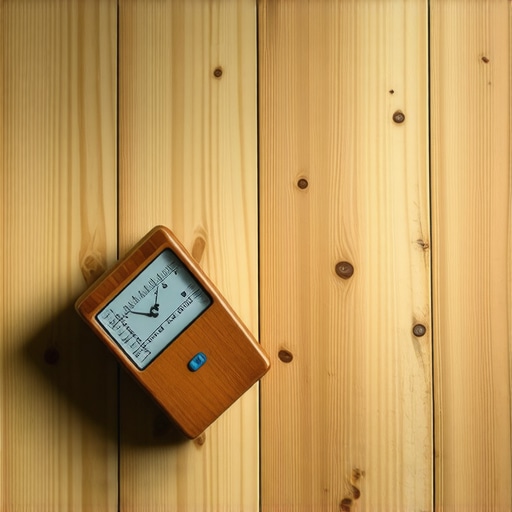
- Check subfloor moisture with a pin-less meter before installation.
- Ensure the concrete slab is flat within 1/8 inch per 10 feet.
- Perform the tap test every 12 inches across the entire floor area.
- Mark all hollow spots with non-residue tape for further inspection.
- Verify the wear layer thickness before choosing a sanding grit.
The chemistry of the bonding agent
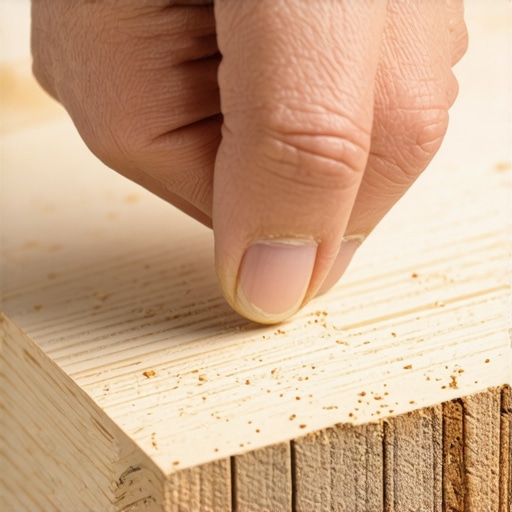
Adhesive chemistry determines the long-term durability of engineered flooring, with polyurethane resins offering more flexibility than older water-based glues. Understanding the cross-linking density of these polymers is essential for diagnosing why a floor is delaminating after only a few years of service life. When you look at the edge of a board, you can sometimes see the glue line. It should be a continuous, dark or clear line without gaps. If you see white, chalky residue, the glue has dried out. This is common in cheap imports. They use high-filler glues that save money but have no elasticity. In a climate like Phoenix, the dry heat will turn that glue into dust. In a climate like Houston, the humidity will turn it into a lubricant. Both lead to delamination. I always tell people that the most expensive floor is the one you have to buy twice. Do not skimp on the subfloor prep. Do not skip the floor leveling. And for the love of the craft, do not ignore the sound of the tap test. If the floor is talking to you, you need to listen. It is telling you that it is about to fall apart. Refinishing a delaminated floor is like painting a house that has termites. It might look good for a week, but the structure is still rotting from the inside out. Be a professional. Do the prep. Trust the tap.