The ‘Credit Card’ Trick for Checking Laminate Expansion Gaps
The physics of floating floor movement
Laminate flooring is a hydroscopic material that behaves like a living organism within a home environment. Because the core of laminate consists of high-density fiberboard (HDF), it reacts to changes in relative humidity and ambient temperature by expanding and contracting across its entire surface area. Unlike permanent fixtures, a floating floor is not attached to the subfloor, meaning it must have a perimeter expansion gap to prevent buckling or joint failure. I once walked into a house where a five thousand dollar laminate job looked like a mountain range after just one week. The homeowner was furious, blaming the product quality, but the truth was simpler and more devastating. The installer had run the planks tight against the drywall and then nailed the baseboards through the flooring into the wall studs. This essentially locked the floor in a vice. When the humidity rose that Tuesday, the wood fibers absorbed moisture and expanded. With nowhere to go horizontally, the floor had only one choice. It went up. The entire center of the living room was hovering three inches off the ground. That is the reality of ignoring the physics of expansion. Even a gap that looks sufficient to the naked eye can be compromised by a single nail or a stray bit of construction debris.
The simple logic of the credit card measurement
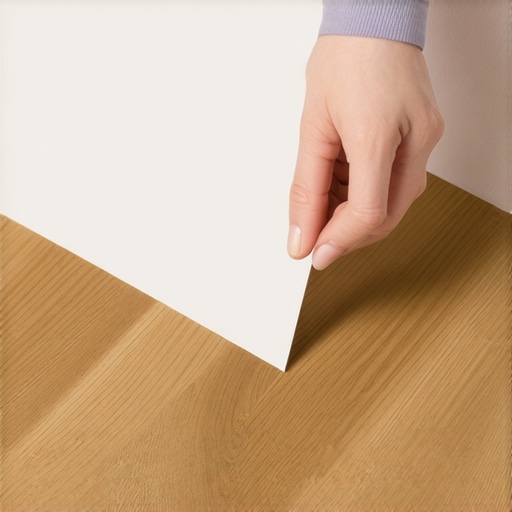
Expansion gaps for laminate installations typically require a minimum of 1/4 inch to 3/8 inch of space. The credit card trick is a diagnostic method used to verify that the floor still has room to breathe after the baseboards or quarter round have been installed. By sliding a standard credit card into the gap, you can detect if the flooring material has migrated too close to the vertical obstruction. While a single credit card is only about 0.03 inches thick, the trick is actually about ensuring the card can move freely behind the trim. If you cannot fit a card into the space, the gap is likely non-existent. In my twenty five years on the job, I have used this to show homeowners exactly why their floors are clicking. If that card hits a solid wall of HDF immediately, you have found the pressure point. You must maintain this gap around every single obstruction, including door frames, pipes, and transitions to other rooms. A floor that cannot move is a floor that will eventually fail, period. Most manufacturers specify the exact width needed based on the total span of the room. A thirty foot run of laminate needs more room to grow than a ten foot hallway. This is not a suggestion. It is a structural requirement of the material itself.
“A floor is only as good as the subfloor beneath it; deflection is the enemy of every joint.” – Master Flooring Axiom
Why your subfloor is lying to you
Subfloor levelness is often the most overlooked aspect of a successful laminate install. If the concrete slab or plywood subfloor has a dip of more than 3/16 of an inch over a ten foot radius, the floating floor will bounce when walked upon. This vertical movement puts immense stress on the tongue and groove locking system. Over time, the repeated deflection will snap the thin HDF joints, leading to gapping and peak joints. I spent three days grinding concrete on a job last month just so the floor would not click like a castanet. The homeowner thought I was overcharging for the floor leveling, but they changed their tune once they felt how solid the final product was. You cannot hide a bad subfloor with a thick underlayment. In fact, using an underlayment that is too soft or too thick is a recipe for disaster. It creates a trampoline effect that destroys the integrity of the locking mechanism. You want a high-density underlayment with a high compression strength. This ensures that the floor remains stable while still allowing for that necessary horizontal movement. If you skip the floor leveling compound, you are basically gambling with the lifespan of your floor. The house always wins that bet eventually.
| Material Type | Expansion Gap Requirement | Acclimation Period | Maximum Room Span |
|---|---|---|---|
| Standard Laminate | 3/8 Inch | 48 Hours | 30 Feet |
| Waterproof LVP | 1/4 Inch | 24 Hours | 50 Feet |
| Engineered Oak | 1/2 Inch | 72 Hours | 40 Feet |
| Thick Laminate (12mm) | 1/2 Inch | 48 Hours | 35 Feet |
The 1/8 inch that ruins everything
Precision cutting at the perimeter determines the long term success of your laminate floor. If you leave only 1/8 of an inch because you want the baseboard to cover it more easily, you are inviting a buckled floor within the first season change. The Janka Hardness Scale might tell you how resistant the surface is to scratches, but it says nothing about the volumetric stability of the core. In regions with high humidity like Houston, a laminate floor can expand significantly during the summer months. Conversely, in the dry heat of Phoenix, that same floor will shrink, potentially pulling away from the walls and exposing the gap. This is why acclimation is a non-negotiable step. You must leave the boxes in the room where they will be installed for at least 48 hours. This allows the moisture content of the HDF to stabilize with the indoor air quality of the home. I have seen guys pull planks straight from a cold truck and start clicking them together. By the time they finished the second room, the first room was already starting to move. It is a rookie mistake that costs thousands in rework. You are not just laying boards. You are managing the equilibrium moisture content of a wood-based product.
The checklist for a perfect perimeter
- Verify subfloor levelness within 3/16 inch over 10 feet using a straight edge.
- Maintain a consistent 3/8 inch gap using dedicated plastic spacers rather than scrap wood.
- Undercut door jambs with a flush-cut saw to allow the floor to slide underneath.
- Perform a calcium chloride test on concrete slabs to check moisture vapor transmission.
- Use a 6-mil polyethylene vapor barrier on all grade-level and below-grade installations.
- Install T-molding transitions in any doorway or room span exceeding 30 feet.
- Never nail baseboards or shoe molding directly into the flooring planks.
Moisture barriers and the invisible threat
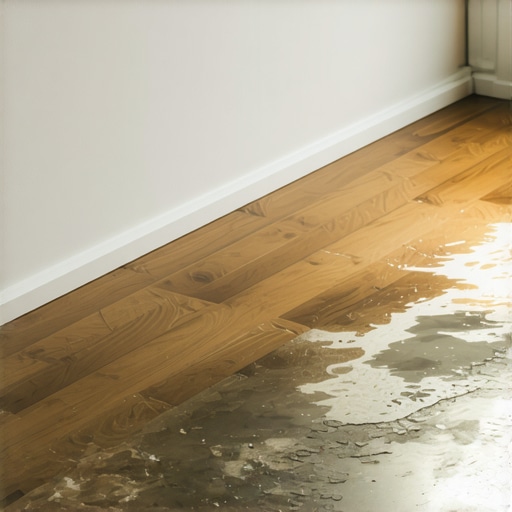
Vapor barriers are the only thing standing between your HDF core and the moisture vapor rising from a concrete slab. Even if a slab feels dry to the touch, it is constantly releasing moisture. This is especially true in showers and adjacent bathrooms where the relative humidity is consistently higher. When laminate is installed near showers, the risk of top-down moisture and bottom-up vapor is doubled. You must use a silicone sealant in the expansion gaps around wet areas to prevent water from seeping under the floor. However, do not mistake a waterproof laminate for a waterproof installation. The surface might shed water, but the joints are still vulnerable. Most people think they can just mop these floors with a bucket of water. That is a fast way to swell the edges. Use a damp microfiber cloth and a pH-neutral cleaner. If the core absorbs water, the lamination layer will begin to peel, a process known as delamination. Once that starts, there is no fix. You are looking at a full replacement. Protecting the edges is just as important as protecting the surface.
“Expansion is not an option; it is a mathematical certainty in every wood-based installation.” – NWFA Technical Guidelines
Correcting a floor with no gaps
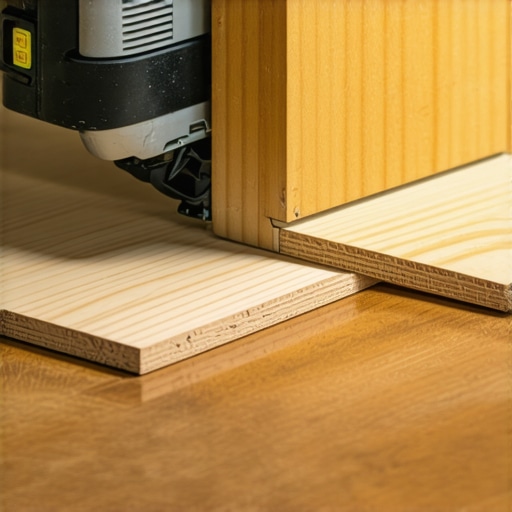
Relieving pressure on a buckled laminate floor requires a steady hand and a toe-kick saw. If you find that the credit card trick fails and the floor is tight against the wall, you must create an expansion gap after the fact. This involves removing the baseboards and carefully cutting back the edges of the flooring. You only need to remove about 1/4 inch of material to give the floor the room it needs to lay flat again. It is a tedious process that creates a massive amount of oak dust and noise. It is much easier to do it right the first time. I often see this issue in carpet install crossovers where the installer tried to butt the laminate too tight against the tack strip. The transition between different flooring types is a frequent failure point. Always use the proper transition strips that allow each floor to move independently. If you lock two different materials together, they will fight each other as the seasons change. The winner is always the one that breaks the other one first. The bottom line is that the expansion gap is the most important 1/4 inch in your entire house. Respect the gap, and the floor will last for decades. Ignore it, and you will be calling me to rip it all out by next summer. { “@context”: “https://schema.org”, “@type”: “Article”, “headline”: “The ‘Credit Card’ Trick for Checking Laminate Expansion Gaps”, “author”: { “@type”: “Person”, “name”: “Master Floor Installer” }, “publisher”: { “@type”: “Organization”, “name”: “Flooring Excellence” }, “mainEntityOfPage”: { “@type”: “WebPage”, “@id”: “https://example.com/laminate-expansion-gaps” }, “description”: “Expert guide on using the credit card trick to verify laminate expansion gaps and ensure a long-lasting floating floor installation.”, “articleSection”: “Flooring Installation”, “keywords”: “laminate, expansion gaps, floor leveling, carpet install, showers” }