The ‘Blue Tape’ Strategy for Perfectly Straight Shower Niche Grout
The subfloor secret that hides in plain sight
Most guys skip the leveling compound. They think the underlayment will hide the dip. It won’t. I spent three days grinding concrete on a job last month just so the floor wouldn’t click like a castanet. That job smelled of WD-40 and the fine, gray dust that settles into your skin and never truly leaves. My knees have felt the hard truth of every poorly prepped slab in this county, and if there is one thing 25 years in the trade has taught me, it is that your finish is only as good as the grit you put into the substrate. Whether you are prepping for a high-end shower niche or a standard carpet install, the physics of the foundation remain the same. If the base is off by a hair, the grout line will look like a mountain range by the time you reach the corner. I have seen fifteen thousand dollar walnut floors turn into potato chips because a guy didn’t check the moisture levels in the crawlspace. I have seen shower niches sag into a depressing slant because the installer trusted a bubble level that had been dropped once too often. You cannot fake structural integrity. You either build it from the floor up, or you watch it fail from the top down. Precision is not an aesthetic choice. It is a structural engineering requirement. When we talk about the blue tape strategy, we are not talking about some craft project. We are talking about using mechanical tension to fight gravity while the chemistry of the mortar takes hold. It is about understanding that water wants to pull everything down and out. Your job is to make sure it stays put. This is the reality of the master installer. It is messy, it is loud, and it requires a level of patience that most homeowners simply do not possess. But when that grout line sits perfectly straight and the water sheds exactly where it should, that is the only reward that matters.
“A floor is only as good as the subfloor beneath it; deflection is the enemy of every joint.” – Master Flooring Axiom
Why gravity hates your shower niche grout
Shower niche grout requires mechanical stabilization because gravity pulls heavy tiles downward during the curing process. The weight of a stone or porcelain tile, combined with the wet weight of thin-set mortar, creates a downward shear force that can shift a tile by a fraction of a millimeter. In the world of high-end tiling, a fraction of a millimeter is the difference between a professional finish and a DIY disaster. When you are working in a tight space like a niche, every error is magnified. The blue tape strategy acts as a temporary structural support, counteracting the slump of the mortar. You are essentially creating a tension-based exoskeleton for the tile assembly. Without it, the grout lines will inevitably compress at the bottom and widen at the top. This is not just about looks. An uneven grout joint is a weak point in the waterproofing system. When the grout is not uniform, it is more prone to cracking under the thermal expansion and contraction that happens every time the hot water is turned on. We are dealing with the physics of heat and moisture. A shower is a high-stress environment for building materials. The materials expand when they get hot and shrink when they cool. If your tiles are not perfectly aligned and locked into place, those stresses will find the weak point and blow out your grout. This is why floor leveling is just as vital for walls as it is for a laminate floor. You need a flat plane to start with, or you are fighting a losing battle against the laws of nature.
The physics of the blue tape anchor
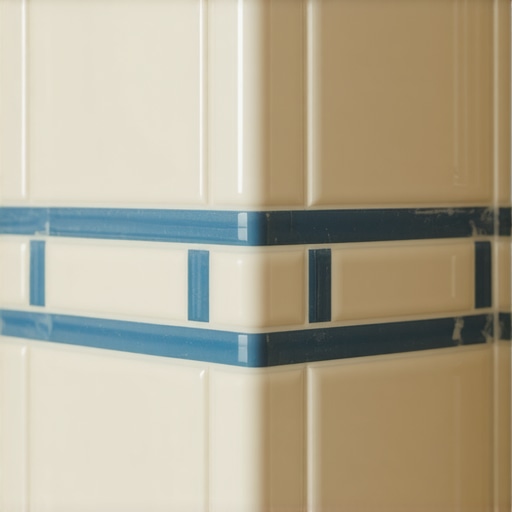
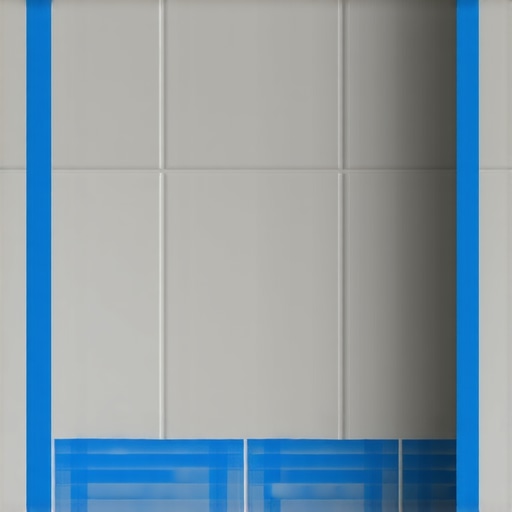
The blue tape anchor works by distributing the weight of the tile across a larger surface area via high-tack adhesive strips. By spanning the tape from the face of the niche tile to the surrounding wall tile, you create a bridge that holds the tile in place while the thin-set undergoes its primary chemical hydration. Thin-set does not dry; it cures. This is a chemical reaction that links polymers together to create a rigid bond. During the first few hours of this reaction, the bond is still plastic and vulnerable to movement. The tape provides the necessary rigidity during this window. I always use a high-quality painter’s tape because it has just enough stretch to allow for minor adjustments but enough tensile strength to hold a heavy piece of porcelain. You apply the tape in a cross-hatch pattern, pulling it tight to create upward tension. It is a simple mechanical fix for a complex structural problem. If you ignore this step, you are gambling with the final outcome. I have seen guys try to use spacers alone, but spacers only prevent tiles from moving closer together. They do nothing to prevent them from sliding down or tilting out. The tape is the only way to ensure that the tile stays exactly where you set it. This is the same logic we use in a complex carpet install where we have to stretch the backing to its limit to prevent future ripples. You are managing tension to ensure long-term stability. If you don’t respect the tension, the material will eventually fail you.
| Grout Type | Compressive Strength | Water Absorption | Best Use Case |
|---|---|---|---|
| Sanded | 3000 PSI | Moderate | Wide joints over 1/8 inch |
| Unsanded | 2500 PSI | Low | Narrow joints and stone |
| Epoxy | 8000+ PSI | Zero | High moisture and niches |
Why floor leveling is the foundation of wall tile
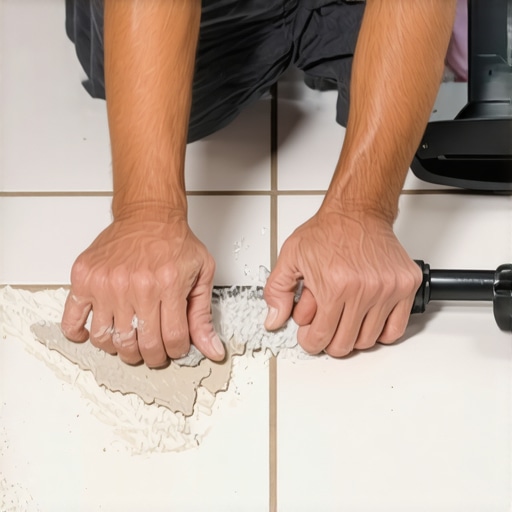
Floor leveling creates a perfectly horizontal starting point that ensures vertical grout lines remain plumb throughout the installation. If the floor of the shower or the subfloor of the room is not level, every subsequent row of tile will be skewed. This is especially true when transitioning from a floor to a wall niche. You might think a small dip in the concrete doesn’t matter for a wall, but geometry says otherwise. A one percent slope at the base results in a significant lean by the time you reach eye level. I always start every job by checking the floor with a 10-foot straightedge. If I find a dip, out comes the self-leveling underlayment. This stuff is a miracle of modern chemistry. It uses calcium aluminate cement to create a flat, hard surface that can support the weight of the entire tile assembly. Most people think more underlayment is better, but too much cushion actually causes the locking mechanisms on LVP or laminate to snap under pressure. The same goes for tile. You want a thin, dense, and perfectly flat substrate. If you skip the leveling, you are essentially building a house on sand. I have walked onto jobs where the previous guy tried to shim the tiles with extra mortar. That is a hack move. The mortar should be of a consistent thickness to ensure even curing. When the mortar varies in thickness, it shrinks at different rates, which pulls the tiles out of alignment. This is why your niche looks like a mess even if you used the blue tape. You have to start with a level floor to get a level niche.
The structural failure of uneven substrates
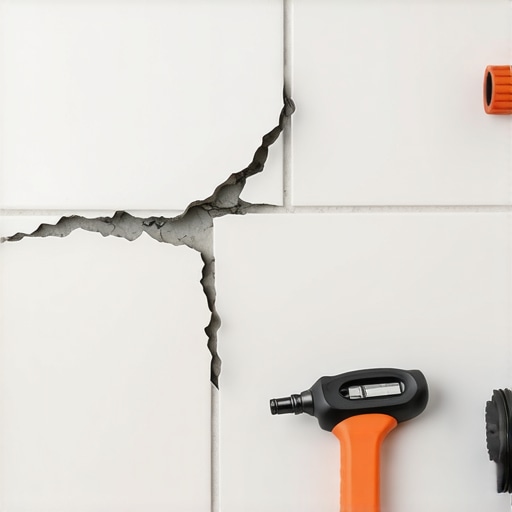
Uneven substrates cause localized stress concentrations that lead to grout cracking and tile delamination over time. When a tile is set over a high spot, it acts like a see-saw. Every time someone walks on it, or in the case of a wall, every time there is a shift in the house, the tile flexes. Ceramic and stone are not designed to flex. They are designed to be in compression. When you introduce tension or flexion, they crack. The grout is the first thing to go. It starts as a hairline fracture, barely visible to the naked eye. But that crack is a highway for water. Once moisture gets behind the tile, the bond is compromised. The thin-set begins to re-emulsify if it is not a high-grade modified version, and eventually, the whole system fails. This is why I am a stickler for the TCNA standards. They aren’t just suggestions. They are the result of decades of engineering tests. They tell us exactly how much deflection a floor can handle before the tile will fail. For natural stone, that limit is L over 720. For ceramic, it is L over 360. If your subfloor is bouncing more than that, your niche will never stay straight, and your grout will never stay in the joints. This is the part of the job that isn’t sexy. It doesn’t look good on a social media post. It is just hard, dirty work with a grinder and a level. But it is the only way to build a shower that will last for fifty years instead of five.
“Tile itself is rarely the point of failure; the substrate dictates the life of the installation.” – TCNA Handbook Logic
- Verify substrate flatness to 1/8 inch over 10 feet using a certified straightedge.
- Apply liquid waterproofing membrane in two distinct coats with proper drying time between.
- Pre-cut all niche tiles and dry-fit the entire assembly to check for geometric errors.
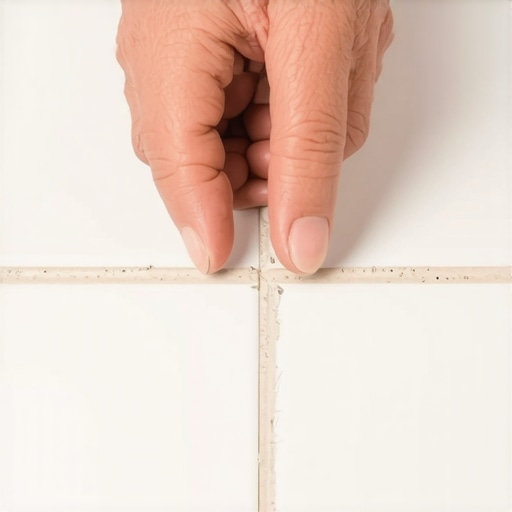
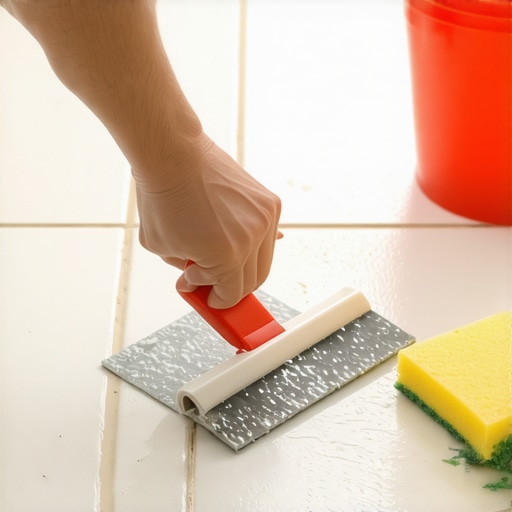
- Clean all joints of excess mortar while the material is still wet to ensure grout depth.
- Apply high-tack blue tape across all corners to create mechanical tension against gravity.
Chemistry of a waterproof joint
The chemistry of a waterproof joint relies on the polymer density of the grout and its ability to resist hydrostatic pressure. Modern grouts are not just sand and cement. They are packed with polymers that bridge the gaps between the cement particles, creating a dense matrix that is nearly impermeable to water. When you mix your grout, the water-to-powder ratio is the most important variable in the room. If you add too much water, you are diluting the polymers and creating microscopic voids in the grout as the water evaporates. These voids are where mold grows and where water seeps through. I see guys mixing grout with a drill on high speed, whipping air into the bucket. That is a mistake. You are creating a foam, not a structural filler. You want to mix it slow and let it slake. Slaking is the process where the chemicals fully hydrate. It is the most skipped step in the industry, and it is the reason why so many grout lines look blotchy and weak. If you want a straight, clean line in your niche, the grout has to have the right body. It needs to be stiff enough to stay in the joint but creamy enough to be packed in deep. When you use the blue tape strategy, you are protecting that delicate curing process from the physical stress of moving tiles. You are giving the chemistry a chance to work. This is the same level of detail you need for a proper carpet install when dealing with seam sealers. It is all about the chemical bond. If the bond fails, the system fails.
Beyond the click-lock illusion
The click-lock illusion suggests that modern flooring is a DIY project that ignores the necessity of subfloor preparation. Whether it is laminate or LVP, the marketing tells you it is easy. They don’t tell you that if your floor has a 3/16 inch dip, those plastic locking tabs will shear off within six months. The sound of a clicking floor is the sound of a failing installation. It is the sound of a homeowner who was told they didn’t need to level their floor. I hate those products because they encourage laziness. A real floor is built, not clicked together. When I am working on a shower, there are no shortcuts. You cannot click a shower niche together. You have to understand the geometry. You have to understand how to move the layout so you don’t end up with a tiny sliver of tile at the top. This is called planning the stack. You measure the wall, calculate the grout lines, and adjust the starting point so the niche sits perfectly in the center of the tile rows. This is the difference between a master and an amateur. An amateur starts at the bottom and hopes for the best. A master knows where the top is before they ever mix a bag of thin-set. It is about foresight and a deep respect for the materials. When you treat flooring as a structural engineering challenge, you stop making mistakes. You stop worrying about the ‘look’ and start worrying about the ‘life’ of the floor. Because a floor that looks good but fails in two years is not a success. It is a waste of wood, stone, and time. And I don’t have time for waste. I have another job to get to, another slab to grind, and another niche to tape. That is the life of the architect of the floor. It is a life of precision, dust, and the satisfaction of a job done right the first time.
{“@context”: “https://schema.org”, “@type”: “HowTo”, “name”: “The Blue Tape Strategy for Straight Shower Niche Grout”, “step”: [{“@type”: “HowToStep”, “text”: “Verify subfloor and wall substrate flatness to 1/8 inch using a straightedge.”}, {“@type”: “HowToStep”, “text”: “Apply two coats of waterproofing membrane to the niche and surrounding area.”}, {“@type”: “HowToStep”, “text”: “Dry-fit tiles to ensure proper layout and geometry.”}, {“@type”: “HowToStep”, “text”: “Set tiles with polymer-modified thin-set and apply blue tape to anchor them against gravity.”}, {“@type”: “HowToStep”, “text”: “Mix grout slowly, allow to slake, and pack joints firmly after mortar has cured.”}]}