Why your grout is cracking in the corners of the room
The smell of wet concrete and fine oak dust has defined my life for twenty five years. I have spent more time on my knees with a moisture meter than I have at a dinner table. When a homeowner calls me to complain about grout cracking in the corners of their bathroom or kitchen, they usually think it is a product failure. They think the bag of grout was bad. It was not. The failure happened long before the first tile was set. Most guys skip the leveling compound. They think the underlayment will hide the dip. It won’t. I spent three days grinding concrete on a job last month just so the floor wouldn’t click like a castanet. That level of obsession is the only thing that prevents the structural failures that lead to cracked grout lines. A floor is not a decoration. It is a performance surface that must withstand thousands of pounds of pressure and constant environmental shifts. When the corner of a room cracks, it is a sign that the installer ignored the physics of the house. You cannot fight the movement of a building. You can only plan for it.
The static illusion of a moving house
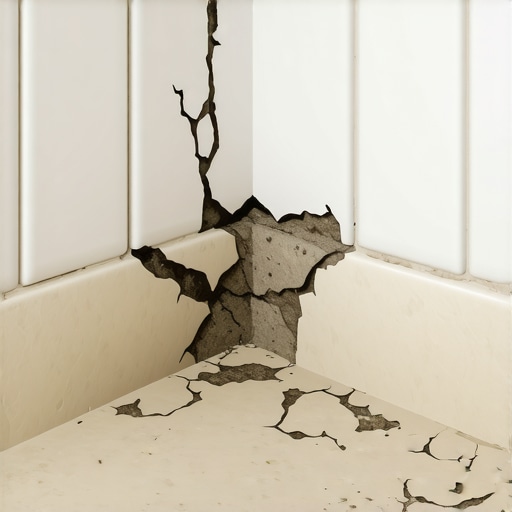
Grout cracks in the corners of a room because of differential movement at the change of plane. While Portland cement grout is rigid, structural framing and subfloor joists expand and contract due to humidity and load deflection, creating shear stress that brittle grout cannot absorb. Every house is a living, breathing organism. Wood is hygroscopic, meaning it absorbs and releases water. As the moisture content in your laminate or subfloor changes, the wood swells and shrinks. In a corner, you have two walls meeting at a ninety degree angle. These walls are rarely tied together with the level of rigidity required to keep a brittle material like grout from snapping. If you use a standard cementitious grout in these vertical or horizontal inside corners, the bond will break. This is not a matter of if, but when. The TCNA (Tile Council of North America) Handbook is very specific about this. Any change of plane requires a flexible sealant, not a rigid one.
“A floor is only as good as the subfloor beneath it; deflection is the enemy of every joint.” – Master Flooring Axiom
The structural physics of deflection
Deflection refers to the amount a floor system bends under a load, which is the primary cause of cracked grout and popped tiles. In a carpet install, you never notice this because the fibers mask the movement. In a shower or a tiled floor, even a fraction of an inch of movement is catastrophic. We measure this as L over 360 for ceramic tiles and L over 720 for natural stone. This means the length of the span divided by 360. If your joists are too small or spaced too far apart, the floor bounces. This bounce creates a vertical shear force at the corners where the floor meets the wall. The wall is fixed, but the floor is moving. The grout is trapped in the middle. It has zero tensile strength. It cannot stretch. It can only shatter. Many installers try to fix this by adding more grout, but that is like putting a bandage on a broken leg. You have to address the floor leveling and the subfloor stiffness first. If the plywood or OSB is flexing between the joists, no amount of high end grout will save you.
The chemistry of the rigid bond
Portland cement grout is composed of silica sand, cementitious binders, and pigments that create a microscopic crystalline structure as it cures. This structure is incredibly strong under compression, meaning you can walk on it all day without it crushing. However, its modulus of elasticity is extremely low. It is essentially a rock. When thermal expansion occurs, the materials in your wall and floor expand at different rates. Drywall, 2×4 studs, and porcelain tile all have different coefficients of linear thermal expansion. As the room warms up, the floor pushes against the wall. Because the grout is rigid, it has nowhere to go. It crushes itself or pulls away from the tile edge. This is why we see hairline cracks first, followed by total grout fallout. The chemical bond of the grout to the edge of the tile is strong, but it is not stronger than the force of a house settling or a joist twisting.
The solution that every builder ignores
The only way to stop grout cracking in corners is to use 100 percent silicone caulk that is color matched to the grout. Silicone is an elastomer, meaning it can deform under stress and return to its original shape. It handles the expansion and contraction of the change of plane without breaking its bond. Most big box retailers sell caulk that is a mix of siliconized acrylic. Avoid this. You need the pure stuff. It remains flexible for decades. In a shower environment, this is even more vital because a crack in the corner grout allows water to seep behind the waterproofing membrane, leading to mold growth and structural rot. I have seen subfloors completely rotted out because a homeowner thought a little crack in the corner grout was just a cosmetic issue. It is a hole in your armor.
| Material Type | Flexibility Rating | Best Use Case | Lifespan |
|---|---|---|---|
| Sanded Grout | Zero | Flat floor joints | 20+ Years |
| Unsanded Grout | Low | Wall joints under 1/8 inch | 15+ Years |
| Acrylic Caulk | Medium | Baseboards and trim | 5 Years |
| 100% Silicone | High | Corners and wet areas | 20+ Years |
The 1/8 inch that ruins everything
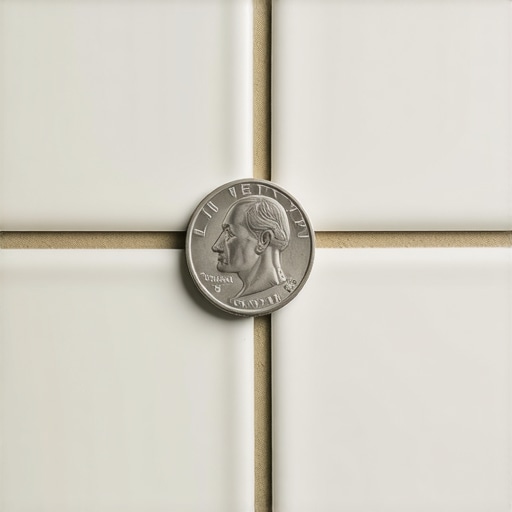
An expansion gap is a mandatory perimeter void left during the installation of hardwood, laminate, or tile to allow for material fluctuation. If you run your tile tight against the wall and then grout that gap, you have created a bridged joint. This bridge transmits all the structural stress of the wall directly into the tile field. This often results in tented tiles, where the floor literally pops up in the middle of the room because it has no room to grow at the edges. I always leave a minimum of 1/4 inch at the perimeter, which is then covered by baseboards or shoe molding. In the shower, that gap is filled with silicone. This creates a buffer zone. Professional installers know that the floor is always moving. If you do not give it a place to move, it will make its own space by cracking your grout.
- Inspect the subfloor for any signs of deflection or bounce before tiling.
- Ensure the moisture content of the wood subfloor is within 2 percent of the tile underlayment.
- Never bridge a control joint in a concrete slab with tile unless using an uncoupling membrane.
- Apply 100 percent silicone to all inside corners where two walls meet.
- Use a leveling compound to eliminate low spots that cause tile lippage and stress.
“Movement joints are not optional; they are the pressure relief valves of the flooring world.” – Tile Council of North America Standards
Modern alternatives for the change of plane
Uncoupling membranes like Ditra have changed the game for floor leveling and tile stability. These mats allow the subfloor to move independently of the tile layer. They create a shear plane that absorbs the horizontal movement. However, even with a membrane, the vertical corners remain a point of failure if they are grouted. Some guys are using epoxy grout now, thinking the added strength will solve the problem. Epoxy is tougher and more stain resistant, but it is still too rigid for a change of plane. It might hold longer than standard grout, but eventually, the structural torque of the house will win. Stick to the basics. Use rigid grout for the flat surfaces and flexible silicone for the corners. It is the only way to ensure the job lasts longer than the warranty period.
The invisible movement of wood joists
The mechanical properties of wood mean that it is constantly twisting. As joists dry out over the first few years of a new home, they undergo radial and tangential shrinkage. This twisting action pulls at the subfloor, which in turn pulls at the thin-set bond. If your carpet install was replaced with tile, the weight of the floor has increased significantly. Porcelain tile and mortar can add 5 to 10 pounds per square foot. This new dead load can cause the joists to sag more than they did before. This sag is most evident at the perimeter corners, where the floor is trying to pull away from the wall studs. This is why you often see grout cracks appearing six months to a year after the job is finished. The house is still adjusting to the weight. A real pro accounts for this by checking the span tables before they even bid the job.