How to Hide Ugly Gaps in Laminate Under Your Door Frames
I smell like oak dust and knee pads most days because I have spent twenty-five years fixing mistakes that other guys left behind. I do not see a floor as a pretty pattern for a magazine. I see it as a structural layer that must withstand thousands of pounds of foot traffic and the invisible pressure of atmospheric moisture. Most guys skip the leveling compound. They think the underlayment will hide the dip. It won’t. I spent three days grinding concrete on a job last month just so the floor wouldn’t click like a castanet. That job taught the homeowner a lesson they will never forget. You cannot rush the prep and expect a result that lasts. A gap under a door frame is not just an eyesore. It is a blinking neon sign that the installer did not understand the physics of the material or the geometry of the room.
The ghost in the expansion gap
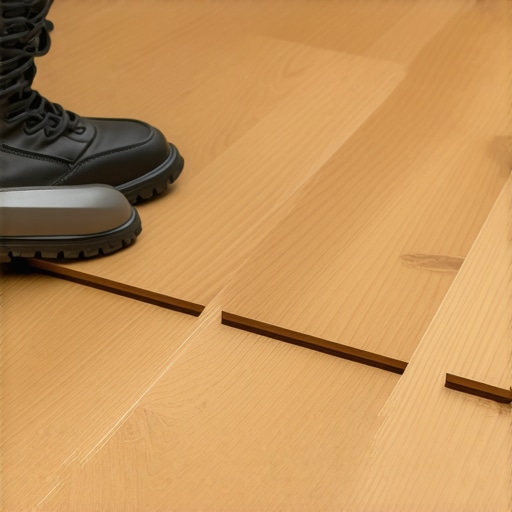
Laminate flooring gaps occur when the expansion joint is too wide or the door jamb was not properly undercut during the installation process. These voids expose the subfloor and allow moisture to penetrate the HDF core of the laminate planks, leading to peeling and swelling. If you are looking at a hole where the floor meets the casing, you are looking at a failure of planning. Laminate is a floating floor. It is a living thing that grows and shrinks based on the relative humidity in your house. When you cut that plank too short near a door frame, you leave a gap that no amount of prayer will fix. You have to understand the cellular makeup of the board. Most laminate is made of high density fiberboard which is basically compressed sawdust and resin. It wants to suck up water like a sponge. When you leave a gap, you are inviting every spill and every mop bucket to destroy the integrity of the click-lock system. You need to close that gap with materials that allow for movement while providing a visual seal.
Why your subfloor is lying to you
Floor leveling is the primary reason why laminate gaps appear around door frames and thresholds. If the substrate has a deflection greater than 3/16 of an inch over a ten foot span, the laminate planks will dip and bounce, pulling away from the jamb. Most people think the underlayment is there to provide cushion. It isn’t. Its job is to provide a vapor barrier and a minor sound dampening layer. While most people want the thickest underlayment, too much cushion actually causes the locking mechanisms on LVP or laminate to snap under pressure. You need a flat surface. If your subfloor is concrete, you are dealing with vapor pressure. If it is plywood, you are dealing with seasonal contraction. If the floor is not level, the plank will never sit flush against the casing. You will end up with a vertical gap that looks like a black hole. I have seen homeowners try to fill these with generic wood putty, only for the putty to crack and fall out the first time someone steps near the door. You have to address the structural dip before you can fix the cosmetic gap.
| Gap Width | Recommended Fix Method | Material Required | Durability Rating |
|---|---|---|---|
| 1/16 to 1/8 inch | Acrylic Caulk | Color Matched Siliconized Acrylic | Moderate |
| 1/8 to 1/4 inch | Backer Rod and Sealant | Closed Cell Foam + Caulk | High |
| Over 1/4 inch | Plank Replacement | New Laminate Plank | Maximum |
| Irregular Jamb Gap | Casing Undercut | Oscillating Multi Tool | Professional |
“A floor is only as good as the subfloor beneath it; deflection is the enemy of every joint.” – Master Flooring Axiom
The anatomy of a botched undercut
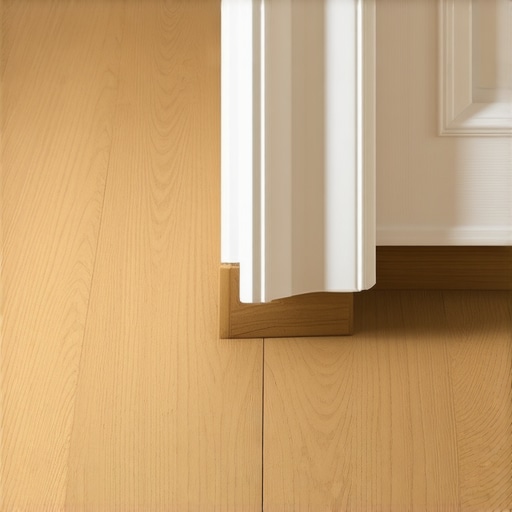
Undercutting door jambs involves using an oscillating multi-tool to slice the wood casing so the laminate plank can slide underneath the frame. This creates a zero-threshold look that hides the expansion gap while allowing the floating floor to expand and contract freely. If the installer just cut the laminate to the shape of the door frame, they did it wrong. That is the mark of an amateur. You should never see the end of a plank at a door. The plank should disappear under the wood. If you are reading this because you see a gap, it is likely because the cut was too short or the jamb was never undercut to begin with. To fix this, you have to get surgical. You can use a scrap piece of flooring and a saw to cut the jamb now, even if the floor is already down. It is harder, but it is the only way to get a professional finish. If the gap is already there and the wood is cut, you are looking at a patch job. You are trying to hide a mistake instead of doing it right the first time.
Mastering the art of the color match
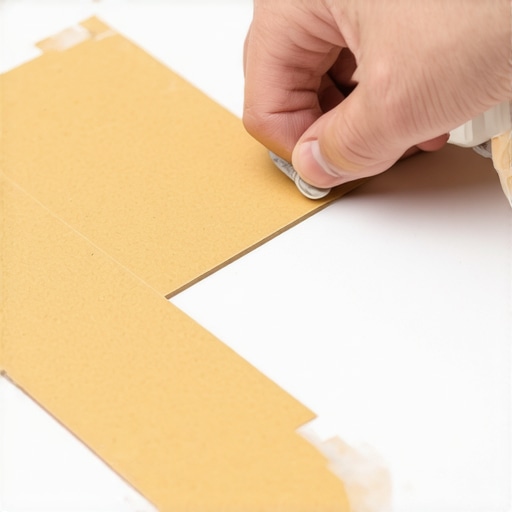
Color matched caulk and flexible floor fillers are the best tools for hiding gaps when plank replacement is not an option. These sealants must be elastomeric to accommodate the thermal expansion of the laminate core without cracking or losing adhesion. Do not go to the hardware store and buy the cheapest tube of white painter’s caulk. That is a recipe for disaster. It will turn yellow, it will shrink, and it will attract dirt like a magnet. You need a siliconized acrylic that matches the darkest grain in your wood. When you apply it, you aren’t just squirtng it in the hole. You are tooling it with a wet finger to create a concave bead that looks like a natural shadow. This is about tricking the eye. If the gap is deep, you need a backer rod. A backer rod is a piece of foam that fills the void so you don’t use three tubes of caulk on one door. It provides a base for the sealant to sit on. This is the difference between a repair that lasts a week and a repair that lasts a decade.
Transitioning to showers and wet areas
Laminate installation near showers requires a watertight seal using 100 percent silicone to prevent subfloor rot and mold growth. Unlike dry rooms, a gap near a bathroom door is a structural risk because standing water will migrate under the laminate and destroy the adhesive bond of the underlayment. If your gap is near a bathroom, you cannot use standard wood filler. You need something that won’t degrade when it gets wet. In these high moisture areas, I always recommend a transition strip, but if you want that clean look, you better be a master with a silicone gun. The silicone acts as a gasket. It keeps the water out but lets the floor move. If you are in a high humidity region like Houston or Florida, this is not optional. The air itself is heavy with water. If you leave an open gap, your laminate will be curled up like a stale potato chip in six months. I have torn out entire floors because a homeowner didn’t seal the gap between the laminate and the shower base.
- Identify the gap width using a digital caliper for precision.
- Remove any loose debris or old, cracked putty from the void.
- Clean the area with denatured alcohol to ensure a clean bonding surface.
- Insert a foam backer rod if the gap exceeds one eighth of an inch.
- Apply a bead of high quality siliconized acrylic caulk.
- Tool the joint with a damp cloth for a smooth, professional finish.
- Allow forty eight hours for full curing before walking on the area.
The regional climate factor
The relative humidity in your geographic region determines how much your laminate floor will shift, which dictates the size of the gap you need to conceal. In dry climates like Arizona, the wood fibers will shrink, making gaps more prominent during the winter months. If you fix a gap in the winter, you might find that the floor buckles in the summer when the humidity returns. You have to understand the cycle of your home. A house in the desert is a different animal than a house in the Pacific Northwest. In the Northwest, you are fighting moisture from the ground up. In the desert, you are fighting the air sucking the moisture out of the boards. This is why acclimation is the most ignored step in flooring. If you don’t let those boxes sit in the room for at least forty eight hours, the floor is going to move on you. And when it moves, it creates those ugly gaps at the door frames that drive you crazy. You aren’t just installing a floor. You are managing a relationship between the wood and the air.
“Every floating floor needs room to breathe; if you pinch it at the door, it will scream at the seams.” – Master Flooring Axiom
Carpet install and laminate intersections
Carpet install techniques at the jamb often conflict with laminate heights, creating uneven gaps that require a z-bar or reducer strip to bridge the elevation change. When you are moving from a soft surface to a hard surface, the transition is the weakest point of the entire floor. If you have a gap where the laminate meets the carpet under a door, you can’t just fill it. You need a transition piece. I hate bulky T-moldings as much as the next guy, but they exist for a reason. They cover the expansion gap while providing a safe ramp for your feet. If you try to butt the laminate right up against the carpet tack strip, you are going to have a gap that collects lint and hair until it looks like a sweater is growing out of your floor. Use a metal shim or a wood reducer. Do not try to be a hero and leave a raw edge. It will fray, it will chip, and it will look like garbage in two weeks. A floor is a system. Treat it like one.