Why Your Self-Leveling Pour Ended Up With Sticky Spots
Most guys skip the leveling compound. They think the underlayment will hide the dip. It won’t. I spent three days grinding concrete on a job last month just so the floor wouldn’t click like a castanet. When I arrived, the previous crew had poured a self-leveler that felt like half-dried maple syrup in patches. He thought he could just walk away and let the carpet install hide the mess. Now I am the one with the diamond cups and the HEPA vacuum, cleaning up a chemical disaster that should have been a simple flat surface. The floor is a performance surface, and if you treat it like a cosmetic afterthought, it will fail you every single time. My boots are covered in dust and my hands smell like the WD-40 I used to clean the mixer, but that is the price of doing it right.
The failure of the chemical bond
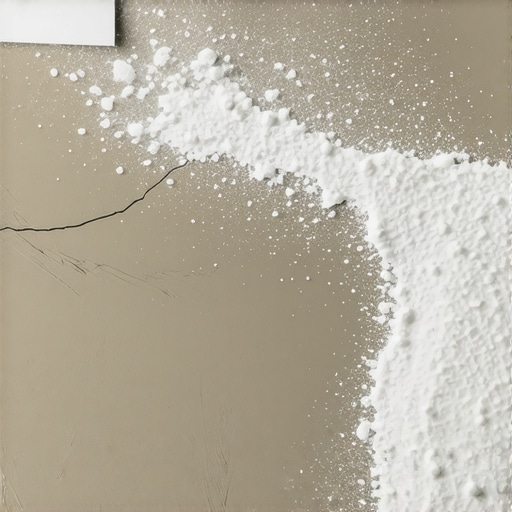
Sticky spots in self leveling pours occur when the polymer resins within the compound fail to fully integrate or hydrate properly. This is usually caused by improper water-to-powder ratios, inadequate mixing speed, or a lack of proper substrate priming. When the chemistry of the mix is disrupted, the heavier aggregates sink while the lighter polymers float to the surface, creating a gummy residue.
The molecular reality of a self-leveling underlayment is a delicate balance of calcium aluminate cement, silica sand, and various polymers. These polymers are the secret sauce that allows the material to flow like water yet set with high compressive strength. If you add too much water, you are not making the floor flatter. You are simply drowning the chemical reaction. The water molecules physically push the polymer chains apart, preventing them from interlocking. This results in a phenomenon called latence, where a weak, milky, or sticky layer forms on top of the slab. This layer has zero structural integrity. If you try to perform a laminate installation over this, the clicking of the boards will eventually pulverize the sticky layer, leading to crunching sounds and eventual joint failure.
“A floor is only as good as the subfloor beneath it; deflection is the enemy of every joint.” – Master Flooring Axiom
The nightmare of the gummy surface
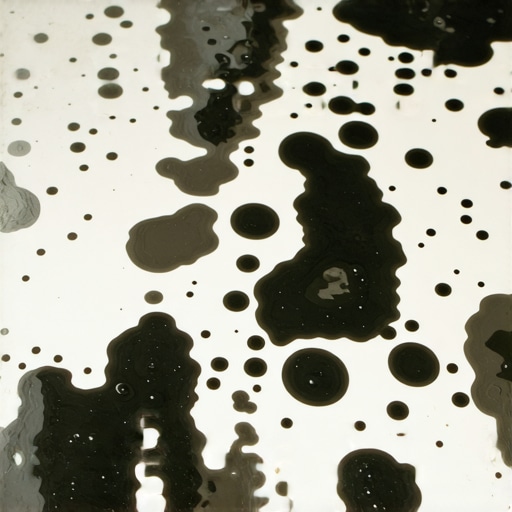
When you walk across a pour and your boots pull up with a sickening pop, you have a major problem. This is not just a nuisance. It is a sign that the exothermic reaction that drives the curing process was stunted. In many cases, this happens because the temperature of the room or the subfloor was too low. Concrete acts as a massive heat sink. If that slab is 50 degrees Fahrenheit, the chemical reaction in the leveler will slow to a crawl. The water stays in the mix too long, and the polymers begin to degrade before they can coalesce. This is especially dangerous in showers or wet areas where the leveling compound must provide a perfectly stable base for waterproofing membranes. A sticky surface will never bond to a liquid-applied membrane, and your entire tile job will eventually delaminate from the floor.
The water bucket betrayal
Most installers are lazy with their measurements. They use a dirty five-gallon bucket and a mark they made with a Sharpie three years ago. That is how you end up with a ruined floor. The chemistry of modern floor leveling compounds is precise. We are talking about milliliters. If the bag calls for 5.7 quarts, and you give it 6.2, you have effectively reduced the compressive strength of that floor by twenty percent. The excess water sits on the surface as the heavier cementitious particles settle. As the water evaporates, it leaves behind the concentrated resins that never found a home in the cement matrix. That is your sticky spot. It is literally unreacted glue sitting on top of your floor.
The danger of the unprimed slab
If you don’t prime the floor, you are asking for a disaster. Concrete is a porous material full of tiny capillaries. When you pour a wet leveling compound over a dry, unprimed slab, the concrete acts like a sponge and sucks the moisture out of the bottom of the pour. This is called flash-drying. However, it does not suck the polymers out. It only sucks the water. This leaves the top of the pour with a higher concentration of water and resin than the bottom. The result is an uneven cure and a surface that remains tacky long after it should be hard enough to walk on. Use a high-quality acrylic or epoxy primer. It seals those capillaries and ensures that the water stays in the leveler so the chemical reaction can finish its job.
| Condition | Impact on Set Time | Risk of Sticky Spots |
|---|---|---|
| Excess Water | Increases significantly | Extreme (Polymer Washout) |
| Low Temperature | Increases | High (Delayed Hydration) |
| High Humidity | Increases | Moderate (Surface Carbonation) |
| Under-mixing | Variable | Extreme (Unreacted Resin) |
Why your drill speed is killing the mix
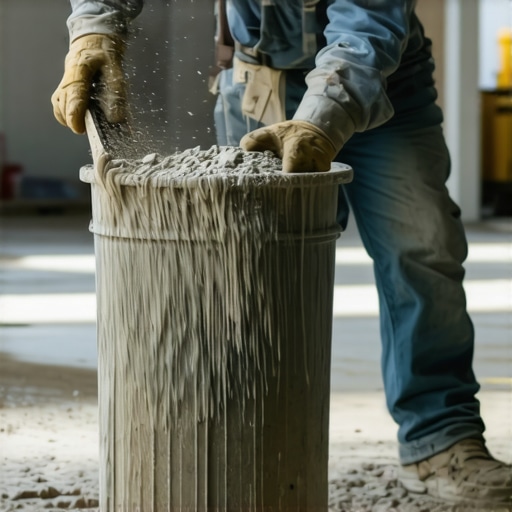
People think a drill is just a drill. They grab a high-speed corded drill meant for boring holes in timber and trigger-happy their way through a bucket of leveler. This is a mistake. High-speed mixing introduces massive amounts of air into the mix, which leads to pinholes. More importantly, the shear force can actually break down the polymer chains in some cheaper compounds. You need a low-speed, high-torque mixer. I usually keep my RPMs around 650. You want a vortex, not a whirlpool. If you don’t mix long enough, the chemical additives that control the flow won’t be fully distributed. You will have some spots that set like rock and other spots that stay sticky because the catalyst never reached them. It is basic chemistry, yet I see professionals ignore it every single day.
The regional humidity factor
If you are working in a swampy environment like Houston or New Orleans, your dry times are a suggestion, not a rule. High ambient humidity prevents the water in the pour from evaporating into the air. This keeps the surface in a plastic state for far longer than the manufacturer’s data sheet suggests. In these regions, I always tell guys to wait double the recommended time before even thinking about a moisture test. Conversely, in the dry heat of Phoenix, the air will strip the moisture off the top of your pour so fast that it will crack and curl like a dried-out lake bed. You have to control the environment. Shut the HVAC off while you pour to prevent drafts, but get it back on at a steady temperature once the surface has skinned over.
The 1/8 inch that ruins everything
Precision is not an option. It is the job. If you have a dip of 1/8 inch and you try to fill it with a leveler that isn’t rated for feathered edges, the product will fail. Many sticky spots are found at the transitions where the leveler is the thinnest. In these areas, there isn’t enough mass to generate the heat needed for a proper cure. The material just sits there, unable to complete its transformation. If you are doing a laminate floor, these sticky transitions will cause the boards to bind. They won’t be able to expand and contract. Eventually, you will see gaps at the head joints because the floor is literally glued to the subfloor in random sticky patches.
“Consistency in the mix is the only path to a flat reality.” – Master Flooring Axiom
How to fix the sticky mess
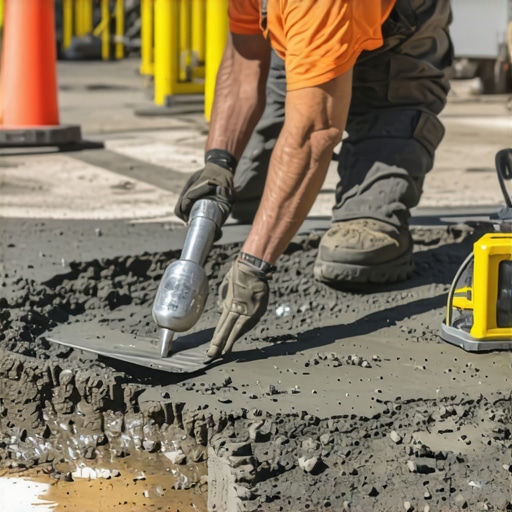
You cannot simply pour more leveler over a sticky spot. You have to remove it. This means getting on your knees with a scraper or a floor grinder. If the spot is small, you might get away with a solvent wipe and some floor patch, but if the whole pour is tacky, it has to come out. It is a painful, dusty, and expensive lesson. Once the sticky residue is gone, you have to re-prime the area. The primer acts as a bridge. Without it, the new leveler won’t bond to the old, and you will end up with a hollow-sounding floor that will eventually crack under the weight of furniture or foot traffic.
- Always use a calibrated measuring pitcher for water.
- Check the expiration date on your bags; old product won’t react.
- Mechanical preparation is better than chemical cleaning.
- Mix for a full two to three minutes until the lumps are gone.
- Ensure the subfloor temperature is at least 65 degrees Fahrenheit.
- Avoid the urge to add ‘just a splash’ more water for flow.
The ghost in the expansion gap
I have seen guys pour leveler right up against the drywall and the sill plates. They forget that buildings move. When the leveler cures, it becomes a rigid stone-like mass. If you don’t have an expansion strip around the perimeter, the leveler will put pressure on your walls as it cures. Even worse, if you have sticky spots near the edges, they can act as an adhesive that bonds the floor to the wall. When the house shifts, the leveler will crack right down the middle. This ruins the flat surface you worked so hard to create. Use foam sill sealer or a dedicated expansion strip. It keeps the pour contained and allows the structure to breathe. It is the difference between a floor that lasts fifty years and one that lasts five.
The final word on subfloor integrity
At the end of the day, flooring is an engineering challenge. You are building a structural sandwich. The concrete is your base, the primer is your adhesive, the leveler is your core, and the finish floor is your wear surface. If any layer of that sandwich is gummy or weak, the whole thing falls apart. Don’t be the guy who tries to hide a bad pour under a carpet install. The homeowner will find out when their furniture starts to lean and the floor starts to smell like damp chemicals. Do the work. Measure the water. Prep the slab. If you do it right, you won’t have to spend three days with a grinder like I did last month. Your back and your reputation will thank you for it. “,”image”:{“imagePrompt”:”A macro photograph of a concrete subfloor with a failed, shiny, and gummy self-leveling compound pour, showing distinct sticky patches and an uneven surface texture in an industrial renovation setting.”,”imageTitle”:”Failed Self-Leveling Pour with Sticky Spots”,”imageAlt”:”Close up of gummy and sticky self leveling floor compound on a concrete slab.”},”categoryId”:1,”postTime”:”2023-10-27T10:00:00Z”}