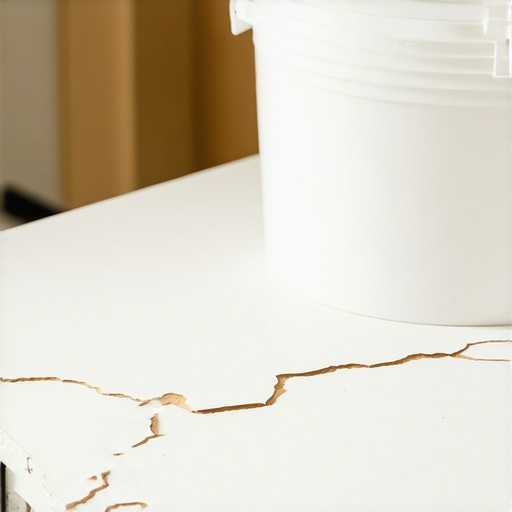
The ‘Bucket Weight’ Hack for Fixing Peeling Laminate Corners
Most guys skip the leveling compound. They think the underlayment will hide the dip. It won’t. I spent three days grinding concrete on a job last month just so the floor wouldn’t click like a castanet. That job taught me that no matter how expensive the plank is, a floor is only as good as the slab it sits on. When you see a laminate corner peeling or lifting, it is rarely the fault of the wear layer. It is a structural failure of the core and a symptom of a subfloor that was never flat to begin with. I have seen fifteen thousand dollar wide-plank installs turn into a mess of potato chips because of a one percent shift in humidity. Laminate is even more temperamental because it is essentially high-density fiberboard disguised as wood. When those corners start to lift, you are fighting physics. You need a solution that addresses the bond at a molecular level while providing the mechanical force necessary to hold it in place while the chemistry does the work.
The ghost in the expansion gap
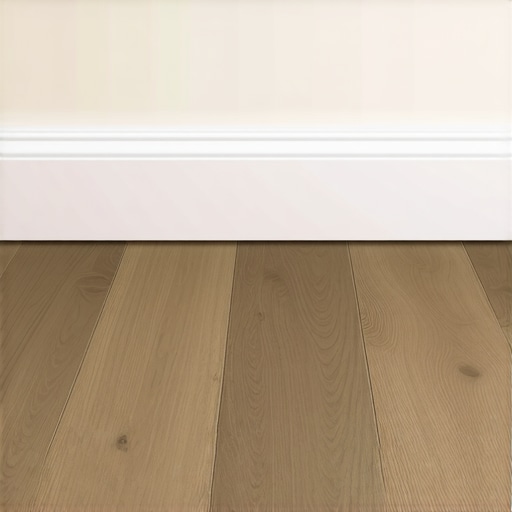
Fixing peeling laminate corners requires an understanding of expansion gaps and perimeter tension to prevent future lifting. Most DIYers jam their flooring tight against the drywall. This is a death sentence for the floor. Without at least a quarter inch of breathing room, the entire floor system becomes a pressurized drum. When the humidity hits, the boards expand and the weakest points, which are the click-lock joints at the corners, begin to delaminate or buckle upward. I smell oak dust every morning and I can tell you that a floor without a gap is a floor that will fail within two seasons. The bucket weight hack is not just about glue, it is about relieving that pressure and resetting the plank into its rightful place. If you do not have an expansion gap under your baseboards, no amount of weight will fix a peeling corner permanently because the boards have nowhere else to go but up.
“A floor is only as good as the subfloor beneath it; deflection is the enemy of every joint.” – Master Flooring Axiom
The physics of the delaminating corner
Laminate delamination occurs when the melamine wear layer or the decorative paper separates from the HDF core due to moisture or mechanical stress. The core of a laminate plank is a dense composite of wood fibers and resin. When moisture gets into the joint, those fibers swell. This swelling creates internal pressure that forces the top layers to peel away. You see it most often in high traffic areas or near kitchens where a spill was not wiped up fast enough. The 1/8 inch that ruins everything is usually the tiny gap in the tongue and groove where water finds its way home. To fix this, you have to dry the core completely before you even think about applying adhesive. If you trap moisture inside the HDF core with a fresh layer of glue, you are just sealing in the rot. I use a moisture meter on every single repair. If that reading is above twelve percent, the bucket stays in the truck and the fans come out.
The bucket weight protocol for permanent repairs
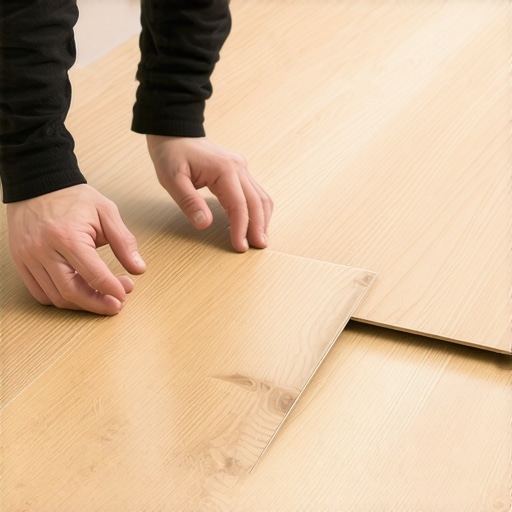
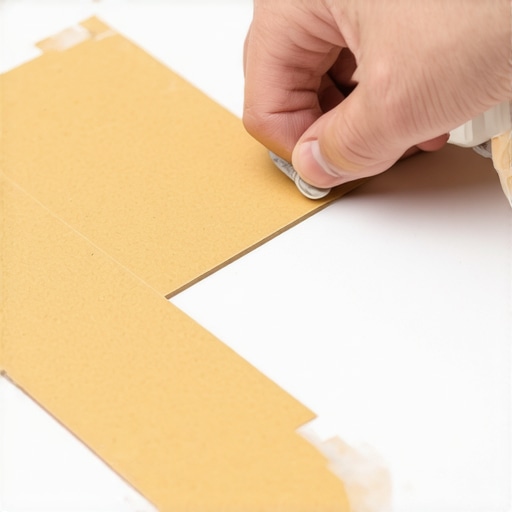
The bucket weight protocol involves injecting a high-grade aliphatic resin glue into the delaminated area and applying sixty pounds of dead weight for twelve hours. This is the most effective way to ensure a flat repair without using specialized floor presses. You start by cleaning the debris out of the peeling corner with a thin dental pick or a compressed air canister. Any speck of sawdust will prevent the layers from sitting flush. Once the area is clean, you inject the glue. I prefer a PVA glue with a high solids content because it bites into the wood fibers and creates a bond that is stronger than the original board. Then, you place a piece of wax paper over the repair to prevent the weight from sticking to the floor. Finally, you set a five gallon bucket filled with water or sand directly on the corner. This provides a localized, constant pressure that a simple heavy book cannot match.
| Adhesive Type | Open Time | Bond Strength | Moisture Resistance |
|---|---|---|---|
| PVA (Yellow Glue) | 15 Minutes | High | Moderate |
| Polyurethane Glue | 20 Minutes | Extreme | High |
| Cyanoacrylate (CA) | 30 Seconds | Moderate | Low |
| Aliphatic Resin | 10 Minutes | Very High | Moderate |
The chemistry of the bond
Success in laminate repair depends on the chemical interaction between the adhesive and the resin-impregnated core of the plank. Not all glues are created equal. You want something that remains slightly flexible. The floor is a living thing. It moves with the seasons. If you use a glue that dries brittle, like a cheap superglue, it will snap the first time someone walks on it in the winter. A quality wood glue or a specialized laminate repair resin penetrates the fibers of the HDF. This is why the bucket weight is non-negotiable. The weight forces the glue into the microscopic pores of the wood. Without that pressure, the glue just sits on the surface like a film. I have seen guys try to use duct tape or bricks, but they do not provide the uniform downward force that a liquid-filled bucket offers. The water in the bucket distributes weight evenly across the entire bottom surface, ensuring every millimeter of the peeling corner is pressed flat.
Why your subfloor is lying to you
Subfloor deflection and unevenness are the primary drivers of laminate corner failure and must be addressed before any cosmetic repair. You can glue a corner back down a hundred times, but if there is a dip in the concrete or plywood beneath it, the board will always flex. That flex acts like a lever, slowly prying the glue joint apart every time you step on it. In regions like Florida where the humidity is a constant battle, the subfloor can also act as a wick for moisture. If you did not lay down a six mil poly vapor barrier, your laminate core is drinking water from the slab. This causes the edges to curl and the corners to peel. Before you do the bucket hack, check the floor for bounce. If the floor moves when you walk near the repair, your subfloor is the real criminal. You might need to inject a low-expansion foam or a specialized floor leveler through a small drill hole to stabilize the area before the glue will ever hold.
- Vacuum the joint to remove all loose debris and old adhesive.
- Dry the HDF core with a hairdryer on a low heat setting.
- Apply a thin bead of wood glue deep into the separation.
- Wipe away excess glue with a damp cloth immediately.
- Place wax paper over the repair to protect the finish.
- Position a 5-gallon bucket filled with water directly on the spot.
- Leave the weight in place for a minimum of 12 hours.
- Check the expansion gap at the nearest wall and trim if necessary.
The 1/8 inch that ruins everything
A tiny 1/8 inch deviation in floor levelness over a ten foot span is enough to cause structural failure in click-lock laminate joints. This is the industry standard for a reason. When the subfloor is out of spec, the joints are under constant tension. This tension manifests at the corners. Most homeowners ignore the small clicking sound when they walk across the room. That click is the sound of the tongue and groove rubbing together, wearing down the factory seal. Once that seal is gone, moisture from a simple damp mop can enter the core. This is why I tell people to stop using steam mops on laminate. You are literally blasting high-pressure water into the most vulnerable part of your floor. The bucket hack can save a floor, but it cannot save it from a homeowner who refuses to use the right cleaning tools. Stick to a dry micro-fiber mop and a dedicated laminate cleaner if you want those corners to stay flat.
“Moisture vapor emission rates must be below three pounds per one thousand square feet before any floor installation.” – NWFA Technical Guidelines