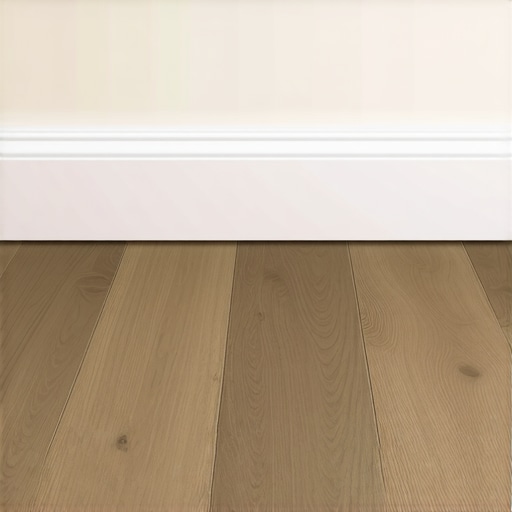
Why Your Laminate Planks Are Gapping Near the Baseboards
Why Your Laminate Planks Are Gapping Near the Baseboards
Most guys skip the leveling compound. They think the underlayment will hide the dip. It won’t. I spent three days grinding concrete on a job last month just so the floor wouldn’t click like a castanet. I once walked into a house where a homeowner had spent four thousand dollars on premium laminate, only to find gaps at the baseboards wide enough to swallow a pencil. They blamed the product. I blamed their subfloor. Most people assume that laminate flooring is a static surface. It is not. It is a living, moving mechanical system that relies on physics, friction, and environmental stability. When those planks pull away from the wall, it is a symptom of a deeper structural failure. You have to understand that laminate is a floating floor. It is not nailed or glued down. It sits there, held together by the tension of its locking joints. If you do not respect the expansion gap or the flatness of the substrate, the floor will eventually fight back. I have seen countless DIY jobs fail because someone thought a sixteenth of an inch did not matter. In this business, a sixteenth of an inch is the difference between a floor that lasts twenty years and one that ends up in a dumpster in six months.
The science of expansion gaps and perimeter tension
Laminate planks gap near baseboards because of improper expansion spacing, fluctuating humidity levels, or subfloor irregularities that cause the locking mechanisms to disengage. A floating floor requires a specific perimeter gap to allow for the natural expansion and contraction of the high-density fiberboard (HDF) core material during seasonal changes. When the floor expands, it needs room to grow. When it contracts in dry weather, if it is pinned down by heavy furniture or improper molding, the planks pull apart at their weakest points, which are usually the ends near the walls. This movement is not a defect; it is the material responding to its environment. If you do not leave that quarter-inch or half-inch gap at the wall, the floor will hit the drywall, buckle in the center, or pull away from the opposite side. It is a game of push and pull. You are essentially managing the kinetic energy of wood fibers compressed into a resin-bound board. If the friction at one end of the room is higher than the other, the floor will shift as a single unit toward the side of least resistance. This leaves you with those ugly gaps that no amount of wood filler can truly fix.
“A floor is only as good as the subfloor beneath it; deflection is the enemy of every joint.” – Master Flooring Axiom
How subfloor deflection destroys the locking mechanism
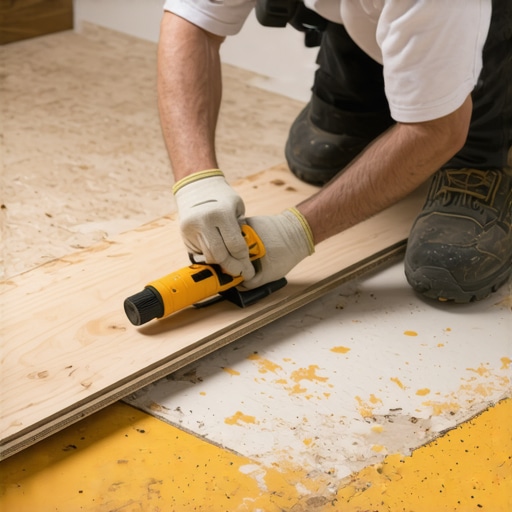
Subfloor deflection refers to the vertical movement of the floor when weight is applied, which is the primary cause of joint separation in laminate. If your subfloor has dips or crowns exceeding one-eighth of an inch over ten feet, the planks will flex every time you walk on them. This constant mechanical stress eventually shears the tongue and groove system, leading to permanent gapping. You might think that thick underlayment will solve this, but that is a rookie mistake. Too much cushion actually increases the deflection. You are essentially creating a trampoline effect. Every step pumps air and moisture into the joints and stresses the HDF lip. Eventually, the microscopic fibers in the locking mechanism fatigue and snap. Once that lock is gone, there is nothing holding the boards together. The floor starts to migrate. I have spent years explaining to clients that the prep work is ninety percent of the job. You can buy the most expensive plank in the world, but if your concrete slab looks like the surface of the moon, your floor will fail. I use a straightedge and a grinder. I fill the low spots with a high-compressive-strength portland-cement-based leveler. If you skip this, you are just waiting for the gaps to appear.
Moisture content and the HDF core chemistry
Moisture content in the subfloor and ambient air dictates the dimensional stability of the laminate high-density fiberboard core. Laminate is essentially wood byproducts and thermosetting resins, which are hygroscopic, meaning they absorb and release water vapor based on the relative humidity of the room. When humidity drops, the boards shrink. I have seen floors in Phoenix shrink so much in the summer that they pull out from under the baseboards entirely. Conversely, in the swampy humidity of Houston, those same boards would swell until they peaked like a mountain range. You have to use a moisture meter. Do not guess. If you are installing over concrete, you need a six-mil poly film moisture barrier. Hydrostatic pressure will push vapor through the slab and into the bottom of the planks. This causes the core to swell at the edges, a condition we call peaking. When the boards peak, the joints are pushed upward, making them even more susceptible to breaking when stepped on. This is why acclimation is not optional. You leave those boxes in the room for forty-eight to seventy-two hours so the internal moisture of the boards can reach equilibrium with the house. If you take boards from a cold, damp warehouse and install them immediately in a climate-controlled home, they will shrink, and you will see gaps within a week.
The failure of low density underlayment
Underlayment density is a structural requirement that provides compression resistance and sound dampening for floating laminate floors. Many people choose the cheapest foam underlayment available, but these products often have a low density that collapses under the dynamic load of foot traffic. While most people want the thickest underlayment, too much cushion actually causes the locking mechanisms on LVP or laminate to snap under pressure. You want a high-density product, usually made of recycled felt or high-grade rubber, that provides a firm base. If the underlayment is too soft, the entire floor moves vertically. This movement acts like a lever on the joints. Imagine taking a piece of plastic and bending it back and forth a thousand times. Eventually, it turns white and breaks. That is what happens to your floor joints. I prefer underlayments with a high IIC (Impact Insulation Class) rating, but more importantly, a high PSI (pounds per square inch) rating for compression. A firm underlayment keeps the planks on a single plane, which is the only way to ensure the locking system stays engaged over the long haul. If your floor feels like a sponge, it is only a matter of time before it starts gapping at the edges.
Comparing expansion requirements by material type
Different flooring materials respond differently to environmental stress. While laminate is the focus here, understanding the context of other materials like carpet or tile helps illustrate why laminate is so temperamental regarding gaps. Laminate requires the most precision because it is a rigid floating system. Unlike a carpet install, where the material is stretched and tacked down, or tile, which is bonded to the substrate with thin-set, laminate is essentially a massive puzzle resting on your floor. If one piece moves, it can pull the entire assembly with it.
| Material Type | Required Expansion Gap | Subfloor Flatness Tolerance | Acclimation Time |
|---|---|---|---|
| Laminate (HDF Core) | 3/8 inch to 1/2 inch | 1/8 inch per 10 feet | 48-72 Hours |
| Solid Hardwood | 3/4 inch | 3/16 inch per 10 feet | 7-14 Days |
| Engineered Wood | 1/2 inch | 1/8 inch per 10 feet | 3-5 Days |
| Luxury Vinyl Plank | 1/4 inch | 3/16 inch per 10 feet | 24-48 Hours |
As the table shows, laminate is less forgiving than many other materials. This is because the core is extremely dense and less elastic than solid wood. When it moves, it moves with significant force. If you are transitioning from a laminate bedroom to tiled showers or bathrooms, you must use a transition strip. Never run laminate flush against a tile floor. The tile is a fixed point, and the laminate is a moving point. If they touch, the laminate will have no place to go, and it will buckle or gap elsewhere in the room. This is the structural reality that many installers ignore to get a cleaner look, but the look won’t stay clean for long once the seasons change.
A checklist for preventing structural gapping
Before you even open a box of flooring, you must execute a specific sequence of technical checks. These steps ensure that the physical environment is prepared to support a floating floor system without joint failure. I follow this list on every single job, no exceptions. If a homeowner tells me to skip the leveling or the moisture test, I walk away from the job. It is not worth the callback. Gapping is almost always preventable with proper preparation.
- Test the subfloor for moisture using a calcium chloride test or a digital pinless meter.
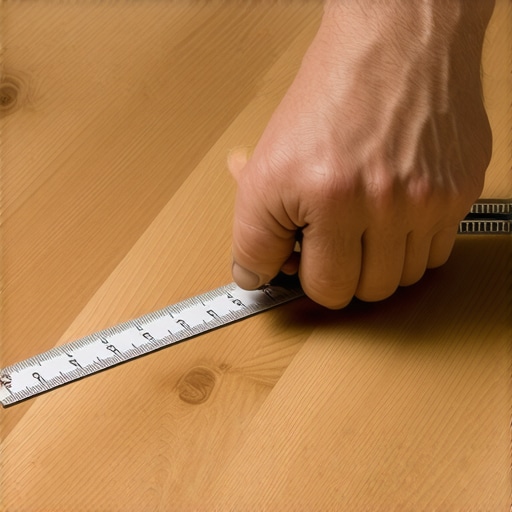
- Use a ten-foot straightedge to identify any high spots or low spots in the substrate.
- Grind down high spots in concrete and fill low spots with self-leveling underlayment.
- Verify that the HVAC system is operational and the home is at a consistent temperature.
- Measure the distance of the run to determine if a T-molding is required for spans over thirty feet.
- Check that baseboards are not pinned too tightly against the flooring, allowing for lateral movement.
- Ensure that heavy kitchen islands are not installed on top of the floating floor.
Fixing gaps without tearing up the room
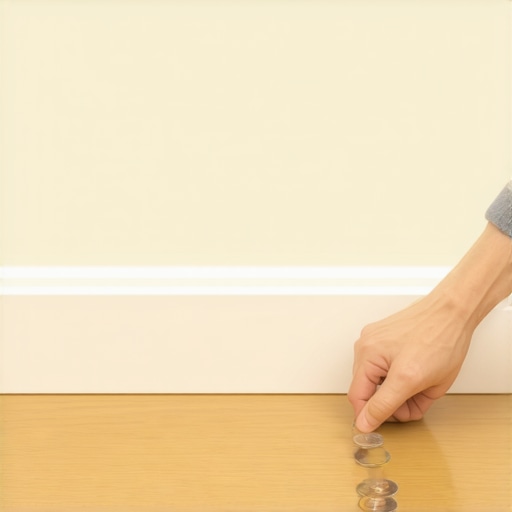
Fixing laminate gaps involves cleaning the joint of debris and using a floor gap fixer tool or a suction cup puller to slide the planks back together. If the locking mechanism is not completely broken, you can often apply a small amount of wood glue or a specialized joint adhesive to the tongue before pulling the boards tight. You must first remove the baseboard or shoe molding near the gap to see if the floor is pinned. Often, I find a single finish nail has gone through the laminate and into the subfloor, locking the entire floor in place and forcing it to gap elsewhere. You pull that nail, and the floor relaxes. If the gap is stubborn, I use a double-sided suction cup tool. You stick it to the board and hit it with a rubber mallet in the direction of the gap. It sounds crude, but it works. Once the boards are tight, you can use a small amount of color-matched caulk or putty, but that is a cosmetic fix. If the underlying cause, like an unlevel floor, is still there, the gap will eventually return. You are treating the symptom, not the disease.
“Floating floors are like a tectonic plate system; they need room to shift, or they will create their own canyons.” – Master Flooring Axiom
Professional standards for floor leveling
Floor leveling is the process of creating a flat plane by applying cementitious compounds to a prepared substrate. This is the most technical part of the installation. You are not just pouring liquid on the floor. You have to prime the substrate so the leveler doesn’t lose its water too fast and crack. You have to understand the flow characteristics of the material. A truly flat floor is what allows the laminate locking system to function as designed. If the floor is level, the friction between the planks and the underlayment is distributed evenly. This prevents the floor from migrating toward one wall. When I am working on a job, I am looking for perfection. I want that floor so flat you could play billiards on it. That is how you stop gapping. That is how you ensure that when the homeowner walks across the room, they don’t hear a single squeak or see a single opening in the seams. It is about engineering the surface to handle the stresses of daily life. Anything less is just a temporary decoration that will fail the first time the furnace kicks on in November.