How to Fix a Squeaky Laminate Floor Without Pulling It Up
The ghost in the floorboards
Fixing a squeaky laminate floor requires identifying the source of friction between the locking mechanism and the subfloor or the expansion gap. Successful remediation often involves using dry lubricants like graphite powder or injectable resins that fill the voids without requiring a full floor demolition.
I have spent twenty-five years with sawdust under my nails and a moisture meter in my back pocket. I can tell you exactly why that floor is chirping. Most guys skip the leveling compound. They think the underlayment will hide the dip. It won’t. I spent three days grinding concrete on a job last month just so the floor wouldn’t click like a castanet. That is the reality of the trade. If you ignore the subfloor, the floor will haunt you. I have seen fifteen thousand dollar wide-plank installations ruined because someone forgot that concrete is a sponge. Laminate is no different. It is a floating system, which means it is essentially a giant drum head. When there is a gap between that drum head and the stage, you get noise. You get movement. You get a failure of the click-lock system that eventually snaps the delicate tongues and grooves. This is not about aesthetics. This is about structural integrity and the physics of deflection.
The subfloor secret that contractors hide
Floor leveling is the fundamental requirement for a quiet laminate installation because any subfloor dip exceeding 3/16 of an inch over a 10-foot radius creates vertical deflection. This mechanical movement stresses the HDF core of the floating floor, leading to audible squeaks as planks rub together.
When I walk onto a job site and hear a floor clicking, the first thing I do is check for flatness. Most people confuse level with flat. A floor can be slanted like a mountain and still be flat enough for laminate, but a wavy floor is a death sentence. The high spots act as fulcrums. Every time you step on a plank, it teeter-totters over that hump. This movement grinds the aluminum oxide wear layer against the tongue of the adjacent board. We call this the ghost in the machine. To fix this without pulling it up, you have to find a way to support that void. You are basically performing surgery through a pinhole. I use a high-density, low-expansion foam or a specialized floor adhesive injected through a tiny drill hole. You have to be careful. If you use high-expansion window foam, you will create a literal mountain in the middle of your living room. You need a product that remains slightly flexible. The subfloor is a living thing. It breathes. It moves with the seasons. If you lock it down with a rigid epoxy, the next time the humidity hits eighty percent, the plank will split right down the middle.
“A floor is only as good as the subfloor beneath it; deflection is the enemy of every joint.” – Master Flooring Axiom
The chemistry of dry lubrication for click systems
Graphite powder and PTFE-based lubricants are the primary tools for reducing interfacial friction in laminate joints because they do not contain oils that swell the fiberboard core. These microscopic particles coat the tongue and groove, allowing for thermal expansion without the mechanical resistance that causes noise.
You cannot just spray WD-40 into your floor. I have seen people try it. It smells like a mechanic shop for weeks and it eventually rots the core of the laminate. Laminate is basically compressed sawdust and resin. It is thirsty. If you give it oil, it will swell. Once it swells, the squeak is the least of your problems. The edges will peak and the floor will look like a washboard. Instead, you use the dry stuff. Graphite is the old-school choice. You puff it into the seams and walk over it to work the silver dust into the joints. It is messy, but it works. For a cleaner look, I prefer a Teflon spray that dries into a film. You are essentially creating a non-stick surface inside the joint. This allows the floor to do what it was designed to do, which is move as a single unit. Think about the physics. A standard living room floor might expand and contract by a quarter of an inch between winter and summer. If those joints are stuck, they will scream as they try to break free. The lubricant acts as the peacekeeper in that chemical war.
Technical specifications for floor stability
| Metric | Target Value | Failure Threshold |
|---|---|---|
| Subfloor Flatness | 3/16 inch per 10 feet | > 1/4 inch per 10 feet |
| Moisture Content (Wood) | 6% to 9% | > 12% |
| RH (Concrete) | < 75% | > 85% |
| Expansion Gap | 3/8 inch to 1/2 inch | < 1/4 inch |
| Underlayment Density | > 2.0 lbs/cu ft | < 1.0 lbs/cu ft |
The 1/8 inch that ruins everything
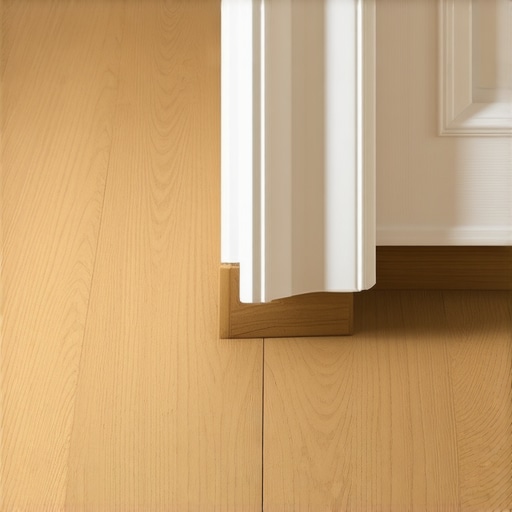
Expansion gaps at the perimeter are mandatory for floating floors because laminate planks expand in response to ambient humidity changes. If the floor touches a wall, door frame, or kitchen island, it will bind and buckle, creating stress-induced squeaks across the entire surface area.
I cannot count how many times I have been called to a squeaky floor only to find that the baseboards were nailed through the laminate. This is a cardinal sin. A floating floor needs to float. If you pin it down with a nail or a heavy cabinet, you have created a fixed point. The floor will still try to expand, but it has nowhere to go. It will arch up like a cat’s back. That arch creates a hollow space. When you walk on that arch, it collapses and makes a sound. If your floor is squeaking, take off the shoe molding. Look at the edges. If the laminate is tight against the drywall, you have found your culprit. I take a oscillating multi-tool and cut back that edge right in place. You need at least a quarter of an inch, but I prefer a heavy three-eighths. You cover it with the molding anyway. The floor needs to breathe. It is a structural engineering challenge, not just a puzzle. If you don’t give it room, it will fight you. In regions with high humidity like the Gulf Coast, this is even more critical. The air is so thick you could swim in it. That moisture gets into the core and those planks grow. If they hit the wall, they have no choice but to go up.
“Every floating floor requires a perimeter expansion space to accommodate the hygroscopic nature of wood-based cores.” – NWFA Technical Manual
Mechanical intervention from the crawlspace
Subfloor screws driven from below the floor can pull loose plywood tight against the floor joists, which eliminates the wood-on-wood friction that causes deep-seated squeaks. This method is the gold standard for fixing floor noise without damaging the laminate or requiring carpet install techniques.
If you have access to the joists from a basement or crawlspace, you have the upper hand. Most squeaks aren’t even the laminate. They are the subfloor rubbing against the joist. The builder used nails instead of screws and glue. Over time, the wood shrinks. The nail loses its grip. Now the plywood is sliding up and down on that nail like a piston. It makes a high-pitched rubbing sound. I get a buddy to walk on the floor above me while I am in the crawlspace with a flashlight. I look for the movement. Once I find it, I use a short screw to pull the subfloor down. You have to be precise. You don’t want a screw coming through your expensive laminate. I measure the thickness of the joist, the subfloor, and the underlayment. I use a screw that stops exactly an eighth of an inch short of the surface. If there is a gap between the joist and the plywood that won’t close, I drive a shim in there with a bit of construction adhesive. No more movement. No more noise. It is a permanent fix that doesn’t cost a dime in new materials.
Checklist for a silent floor restoration
- Verify perimeter expansion gaps by removing shoe molding or baseboards.
- Identify the exact location of the squeak by slow-walking the perimeter and center.
- Check for subfloor deflection using a 6-foot straight edge across the noisy area.
- Inspect the humidity levels to ensure the home is within the 35 to 55 percent range.
- Apply dry lubricant to the tongue and groove joints in the affected area.
- Use a syringe to inject low-viscosity floor repair resin into hollow spots.
- Check the tightness of T-molding transitions in doorways.
- Inspect the underside of the floor from the crawlspace for loose subfloor panels.
The chemical reality of injectable resins
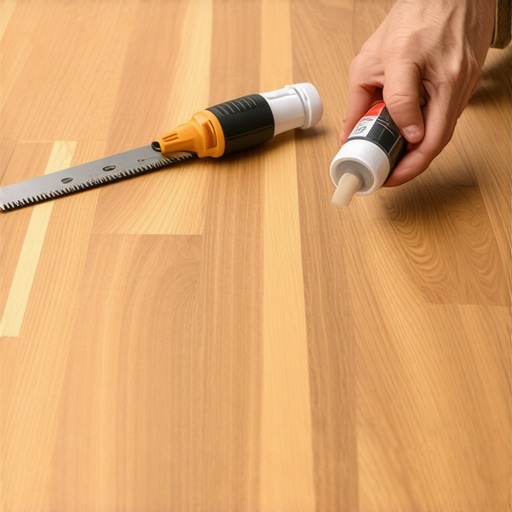
Injectable floor repair kits utilize low-viscosity adhesives that flow into subfloor voids to create a solid support pillar beneath the laminate planks. These polyurethane resins cure into a dense foam that stops vertical movement while remaining flexible enough to prevent plank cracking.
This is the surgical approach. You find the spot where the floor feels soft. That is a low spot in the concrete or the plywood. You drill a tiny hole, usually about the size of a toothpick. You want to go through the laminate but not through the subfloor. Then you take the resin. This isn’t hardware store wood glue. This is a specialized chemical. It is thin enough to run like water into the deepest parts of the dip. Once it is in there, it starts to react with the moisture in the air. It expands slightly and hardens. You place a heavy weight on the spot, like a few five-gallon buckets of paint. This forces the resin to spread out flat rather than pushing the plank up. Twenty-four hours later, that floor is solid as a rock. You fill the tiny hole with a bit of color-matched wax. You will never see it. It is a professional trick that saves people thousands of dollars. It fixes the symptom without having to redo the whole slab leveling process. But you have to be disciplined. Don’t over-inject. You aren’t filling a balloon. You are just filling a void.
Why your click system is failing
Click-lock mechanisms fail when excessive deflection exceeds the tensile strength of the HDF tongue, leading to fractured joints that squeak under pedestrian traffic. Once the locking geometry is compromised, the only non-invasive fix is structural reinforcement with specialized adhesives.
Laminate is a marvel of engineering until it isn’t. Those little tongues are only a few millimeters thick. They are made of pressed dust. When you walk on a floor that has a dip, you are bending that tongue. Do it ten thousand times and it develops micro-fractures. Now the tongue is sliding inside the groove instead of being locked tight. That sliding is what you hear. It is a mechanical failure. If you catch it early, you can lubricate it. If you wait too long, the tongue breaks off entirely. Now you have a plank that moves independently of its neighbor. This is why I tell people to avoid the cheap underlayment. People buy that thick, squishy foam because they think it feels soft. It is the worst thing you can do. Too much cushion allows the floor to bend too much. It snaps the joints. You want a high-density underlayment that is thin. It should feel like firm rubber, not a sponge. It protects the joints by limiting how far they can bend. If your floor is already clicking, you are likely dealing with the results of a poor underlayment choice. You can try to stabilize it with injections, but you are fighting against the physics of the material. Sometimes, the best fix is preventing the problem before the first plank is even laid down.