The ‘Ping Pong’ Method for Finding Voids in Large Format Tile
Most guys skip the leveling compound. They think the underlayment will hide the dip. It won’t. I spent three days grinding concrete on a job last month just so the floor wouldn’t click like a castanet. That job was for a high-end client where the dry heat makes everything brittle. If that slab isn’t flat to within an eighth of an inch over ten feet, your large format tile is nothing but an expensive puzzle waiting to crack. I have spent twenty five years on my knees with a moisture meter and a level. I view a floor as a performance surface, not a decoration. A floor is a structural engineering challenge. If you ignore the physics of the subfloor, the physics will eventually destroy your work. This is especially true with large format tile where the margin for error is non existent. Most installers think they can just butter the back and walk away. They are wrong. You need to understand the acoustic resonance of a hollow bond before you ever set a single piece of stone.
The hollow sound of a failed bond
A hollow sound in a large format tile installation indicates a void in the thin set mortar bed which compromises the structural integrity of the floor. These voids are usually caused by improper trowel technique, drying of the mortar before the tile is set, or a subfloor that has too much deflection. When you hear that hollow ring, you are listening to a future crack. The air pocket trapped between the porcelain and the concrete acts as a stress concentrator. When a heavy load, like a refrigerator or a piano, passes over that spot, the tile has no support to transfer the weight into the slab. The ceramic flexes. The ceramic snaps. This is why the ping pong method is a standard diagnostic tool for professionals who care about their reputation.
“A floor is only as good as the subfloor beneath it; deflection is the enemy of every joint.” – Master Flooring Axiom
The physics of the ping pong ball are simple. When you drop a high density plastic ball on a solid surface, the impact energy is returned almost entirely. The sound is a sharp, high frequency clack. This tells you the tile is 100 percent bonded to the substrate. If the ball hits a spot with an air pocket, the energy is absorbed by the vibration of the tile over the void. The sound drops in pitch. It becomes a dull thud. I have seen installers try to ignore this sound, but the client will eventually find it. Once they hear it, they cannot unhear it. Every time they walk across that kitchen, they will hear the failure of the installer. I refuse to be that guy. I carry a bag of ping pong balls in my truck for every job. It is the cheapest and most effective quality control tool in the industry.
The physics of large format tile adhesion
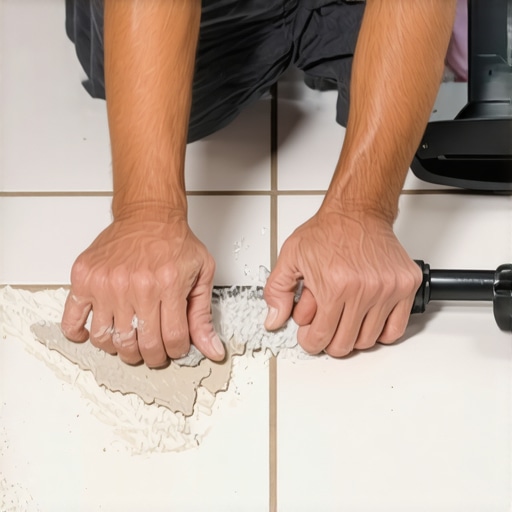
Adhesion for large format tile requires ninety five percent mortar coverage in wet areas and eighty percent in dry areas to prevent cracking. Achieving this coverage with a tile that measures 24 by 48 inches is a monumental task. The weight of the tile alone makes it difficult to achieve ridge collapse. When you comb the mortar with a trowel, you create ridges. When you set the tile, you must move it perpendicular to those ridges to collapse the air channels. If you just drop the tile straight down, you trap air. That air becomes the void. Large format tiles also have a slight bow from the factory. This inherent tension makes floor leveling even more important. You are fighting the geometry of the tile and the gravity of the mortar simultaneously. If the floor leveling process was skipped, no amount of back buttering will save the bond.
| Mortar Type | ANSI Standard | Best Use Case | Flexibility Rating |
|---|---|---|---|
| Modified Thin-Set | A118.4 | Standard Porcelain | Medium |
| High Performance | A118.15 | Large Format Tile | High |
| Unmodified | A118.1 | Natural Stone | Low |
| Rapid Setting | A118.11 | Commercial Repairs | Medium |
The chemistry of the bond coat is where many people fail. We are using polymer modified mortars that rely on long chain molecules to create a bridge between the tile and the concrete. These polymers provide the flexibility needed to handle thermal expansion. In a bathroom or a shower, the temperature fluctuations are extreme. If you use a cheap, unmodified mortar, the bond will shear. I always insist on an ANSI A118.15 mortar for anything over fifteen inches. It has the grab and the sag resistance necessary for these heavy slabs. If you are doing a carpet install or laying laminate, you might get away with a less rigorous subfloor, but tile is unforgiving. It is a rigid material that demands a rigid, flat base.
The diagnostic routine for every professional installer
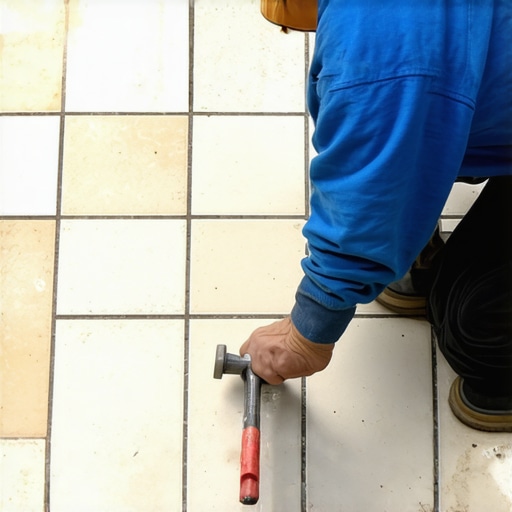
A professional installer must perform a sound test across the entire floor surface after the mortar has cured for twenty four hours. This is the only way to ensure the bond is consistent. I start in the corners and work my way toward the center of each tile. I am looking for changes in resonance. If I find a hollow spot that is larger than two square inches, that tile has to come up. It is a painful process to pull a set tile, but it is less painful than a callback six months later. You have to be ruthless with your own work. If the ping pong ball tells you there is a void, believe it. Do not try to convince yourself it is just the texture of the tile. The ball does not lie.
- Verify subfloor flatness is within 1/8 inch over 10 feet
- Check concrete moisture levels using an ASTM F2170 probe
- Use a 1/2 inch by 1/2 inch square notch trowel for large format
- Apply a thin layer of mortar to the back of every tile
- Collapse ridges by shifting the tile at least 1/4 inch
- Perform the ping pong test on every single tile after curing
The ghost in the expansion gap
Expansion gaps are required at every perimeter and transition to allow for the natural movement of the building structure. Many homeowners hate the look of a gap, but it is the lungs of the floor. Without it, the floor will choke. When the house settles or the humidity shifts, the tile needs somewhere to go. If you butt the tile tight against the drywall, the pressure will cause the tiles to tent. This is when the center of the floor literally lifts off the ground. I have seen floors pop with a sound like a gunshot because the installer didn’t leave a 1/4 inch gap at the baseboard. This is the same reason we don’t lock LVP under heavy kitchen islands. You have to let the material breathe. If you don’t, the bond will fail regardless of how good your thin set was.
“Large format tile acts as a single rigid sheet; without proper expansion joints, the slab will crack under its own internal tension.” – TCNA Handbook Summary
The ‘Ping Pong’ method also helps identify if a tile has de bonded from the edges due to lack of expansion space. If the perimeter tiles sound hollow, it is often because they are being squeezed against the wall, which forces the edge of the tile to lift. This is a mechanical failure, not necessarily a chemical one. You have to look at the whole system. The subfloor, the mortar, the tile, and the gaps all work together. If one part of that system is broken, the whole floor is a liability. I take pride in the fact that my floors don’t click, they don’t pop, and they don’t ring hollow. It starts with the grind and ends with the ball. That is the only way to build a floor that lasts a lifetime.
{“@context”:”https://schema.org”,”@type”:”HowTo”,”name”:”The Ping Pong Method for Finding Tile Voids”,”step”:[{“@type”:”HowToStep”,”text”:”Allow the tile mortar to cure for at least 24 hours.”},{“@type”:”HowToStep”,”text”:”Drop a standard ping pong ball from a height of 12 inches onto the tile surface.”},{“@type”:”HowToStep”,”text”:”Listen for a high-pitched clack indicating a solid bond.”},{“@type”:”HowToStep”,”text”:”Mark any areas that produce a dull or hollow thud for inspection.”}],”totalTime”:”PT30M”}