The ‘Mirror Trick’ for Checking the Back of a Shower Niche
The Mirror Trick for Shower Niche Integrity and Subfloor Physics
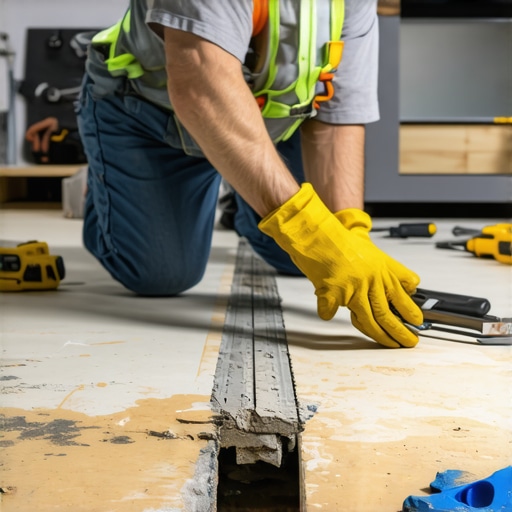
Most guys skip the leveling compound. They think the underlayment will hide the dip. It won’t. I spent three days grinding concrete on a job last month just so the floor wouldn’t click like a castanet. I saw the aftermath of a budget-conscious installer who thought a heavy pad would mask a half-inch trough in the slab. It did for about six months until the locking joints on the laminate started to sheer off like brittle plastic. This is the reality of the flooring trade where the physics of the subfloor and the chemistry of the adhesive dictate the lifespan of the finish. Whether you are dealing with the moisture-sensitive layers of a laminate floor or the waterproof integrity of a shower niche, the principle remains the same. You cannot build a monument on a swamp. You have to get on your knees with a moisture meter and a level before you ever think about the aesthetics of the top layer.
The hidden reality of subfloor leveling
Floor leveling requires a precision measurement of 1/8 inch over a 10 foot radius to ensure structural integrity. This standard prevents the vertical deflection that snaps locking mechanisms in floating floors. Most installers rely on visual checks but the pros use a straightedge and feeler gauges to identify the microscopic valleys that cause noise and joint failure over time.
When you ignore a dip in a concrete slab, you are creating a rhythmic pump. Every time someone walks across that floor, the material bows into the void. This movement forces air and moisture in and out of the joints. For laminate, this is a death sentence. The HDF core, which is essentially compressed sawdust and resin, acts as a sponge. It pulls moisture from the ambient air through those moving joints. Within a year, you see the edges peaking. It looks like a mountain range at every seam. I have seen guys try to fix this with more T-molding or transitions, but you cannot hide physics. You have to pull it up, grind the high spots of the concrete, and fill the low spots with a high-quality, Portland-based self-leveling underlayment. We are talking about compounds with a compressive strength of over 4,000 PSI because that floor needs to be as rigid as the foundation itself.
“A floor is only as good as the subfloor beneath it; deflection is the enemy of every joint.” – Master Flooring Axiom
The mirror trick for niche integrity
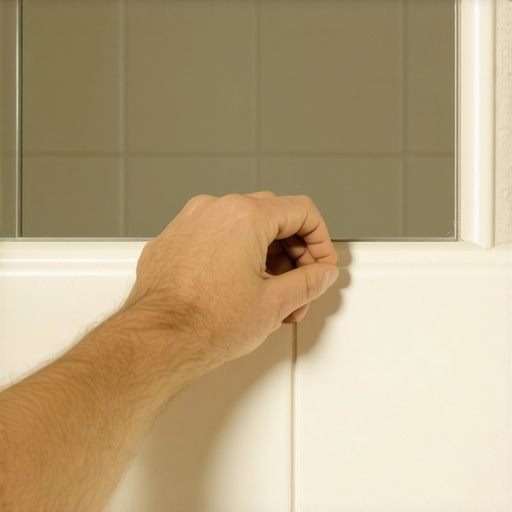
The mirror trick involves using a small telescopic inspection tool to verify that waterproofing membranes are continuous behind the top flange of a shower niche. This technique reveals hidden voids where the liquid membrane or sheet bond failed to cover the transition between the niche and the wall. In shower construction, these blind spots are the primary cause of framing rot and mold growth.
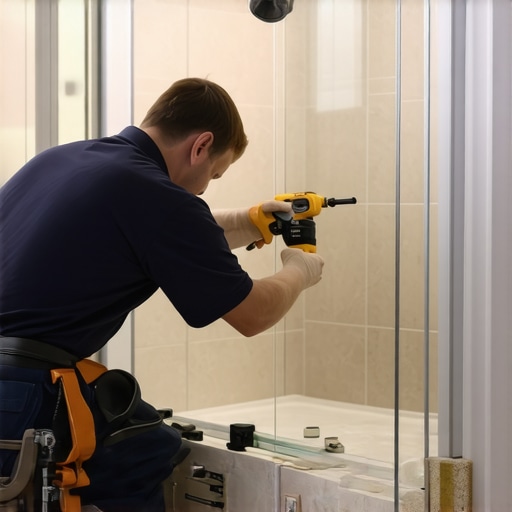
I have inspected hundreds of showers where the tile looked perfect but the wall behind it was a disaster. The niche is the most vulnerable point because it breaks the vertical plane of the waterproofing. When you apply a liquid membrane like RedGard or a sheet membrane like Kerdi, it is easy to miss the underside of the top shelf. You are working at an awkward angle. If you do not see a solid, unbroken color or texture in that corner, water will find a way through. Capillary action pulls moisture into the substrate. I carry a small 2 inch inspection mirror in my pocket. I slide it into the niche and look up. If I see a sliver of cement board or a pinhole in the membrane, the job is not done. That mirror saves me from a $10,000 insurance claim three years down the road. It is a simple tool for a complex problem, and any installer who refuses to use one is someone I would not trust with a wet area.
| Material Type | Janka Rating / Strength | Acclimation Time | Moisture Tolerance |
|---|---|---|---|
| Solid White Oak | 1360 lbf | 10 to 14 Days | Low (needs 6-9% MC) |
| High Density Laminate | N/A (Wear Layer Focus) | 48 Hours | Moderate (Top-down) |
| Porcelain Tile | PEI Class 4-5 | None | High (Waterproof) |
| Engineered Maple | 1450 lbf | 3 to 5 Days | High (Stable Core) |
The chemistry of the bond
Modified thin set mortar uses polymers to create a flexible yet aggressive crystalline bond between the substrate and the tile. These additives allow the mortar to withstand the slight movements of a wooden subfloor without cracking. Understanding the ratio of Portland cement to sand and polymer is what separates a master from a handyman.
When you are installing tile in a shower, you are not just sticking pieces of clay to a wall. You are engineering a moisture barrier. The thin set must be applied with the correct notch trowel to ensure 95 percent coverage in wet areas. If you leave air pockets, water will collect there. This is called the aquarium effect. Water sits behind the tile, gets stagnant, and starts to smell. Eventually, it breaks down the bond. I prefer using a medium bed mortar for larger tiles because it supports the weight without shrinking. Shrinkage is the silent killer of floor leveling. If your leveler shrinks as it cures, it pulls away from the substrate, creating a hollow sound. You want a product with high flow characteristics but low shrinkage. It is a delicate balance of chemistry. I always check the batch dates on my bags. If that mortar has been sitting in a humid warehouse for six months, the polymers are already starting to degrade. I will send a whole pallet back if the dates are not right.
The ghost in the expansion gap
Laminate and hardwood require a minimum 3/8 inch expansion gap around the entire perimeter to accommodate seasonal humidity changes. Without this gap, the floor will bind against the drywall and buckle. This movement is a constant force dictated by the moisture content of the wood fibers and the atmospheric pressure of the room.
I have seen floors that were installed tight to the baseboards. The homeowner wanted a clean look without shoe molding. By August, when the humidity hit 70 percent, the floor had nowhere to go. It lifted three inches off the subfloor in the middle of the room. It looked like a bubble. You have to respect the material. Wood is alive. It breathes. It expands and contracts with the seasons. Even laminate, which is more stable, has a coefficient of linear expansion. If you lock it under a heavy kitchen island, you have pinned the floor. It cannot move. Then, when the air dries out in the winter, the joints pull apart because the island is holding one side and the wall is holding the other. You have to plan for the movement. I use spacers that are exactly 3/8 of an inch and I never, ever pin the floor with cabinets or heavy transitions.
- Check subfloor moisture with a pin-less meter before starting.
- Ensure the concrete surface profile (CSP) is at least a 3 for adhesive bonds.
- Use a telescopic mirror to inspect the top and bottom of shower niches.
- Maintain a consistent 3/8 inch gap around all vertical obstructions.
- Power stretch carpet rather than using a knee kicker for long-term tension.
Why your subfloor is lying to you
A subfloor that looks flat to the naked eye can still have significant deflection issues that compromise the finish material. Using a laser level or a 10 foot straightedge is the only way to confirm the structural plane is within tolerance. Deflection is often a result of joist spacing or subfloor thickness rather than surface smoothness.
Most homeowners think that if a floor is smooth, it is ready. They do not realize that the 5/8 inch plywood is too thin for a stone tile installation. The floor might be flat, but it is bouncy. This is what we call L/360 or L/720 deflection. If you put a heavy natural stone on a bouncy floor, the grout lines will crack in a week. You have to add a second layer of subfloor or use a decoupling membrane like Ditra. The membrane allows the subfloor to move horizontally without transferring that stress to the tile. It is a layer of insurance. I tell my clients that the pretty part of the floor is only 10 percent of the job. The other 90 percent is the stuff they will never see, the layers of plywood, thin set, and membrane that keep the floor from failing. If you try to save money on the underlayment, you are just financing a future demolition.
“Deflection is the silent killer of grout; if the joist bends, the stone breaks.” – Structural Flooring Guideline
The 1/8 inch that ruins everything
Small variances in height at transitions create trip hazards and cause accelerated wear on the edges of the flooring material. Achieving a zero-threshold transition requires planning the subfloor height in relation to the finish material thickness before the first board is laid. This precision is what defines a high-end architectural installation.
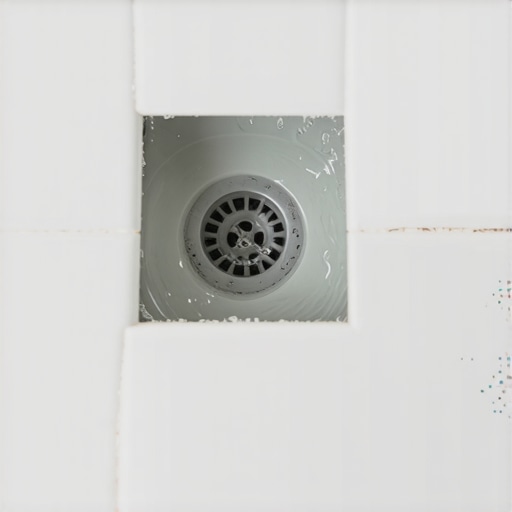
I hate T-moldings. They are a sign of a lazy installer. If you plan your heights correctly, you can have a hardwood floor meet a tile floor with nothing but a bead of color-matched caulk. This requires grinding the slab or adding luan to the wood subfloor to match the heights exactly. It takes more time, but the result is a floor that looks like it was designed, not just thrown together. When I see a bulky transition strip, I see a missed opportunity. I see someone who did not want to do the math. In a shower, that 1/8 inch matters even more. The pitch toward the drain must be exactly 1/4 inch per foot. If it is too steep, the tile won’t lay flat. If it is too shallow, you get standing water. You have to be a mathematician and a chemist to do this job right. You cannot just be a guy with a hammer.