Why Your Floor Leveler Is Turning Into Dust Under Your Vinyl Planks
The catastrophic failure of unprimed substrates
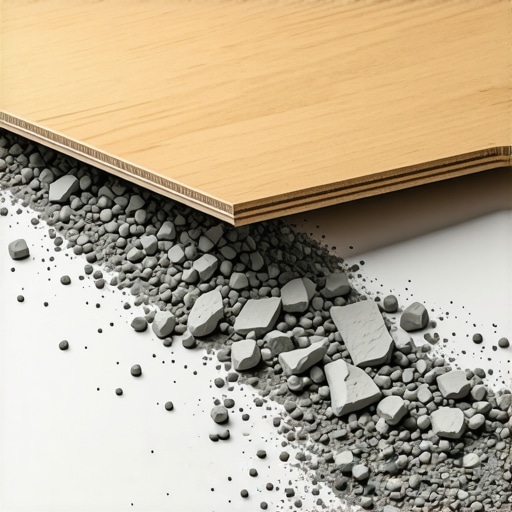
Floor leveler turns into dust under vinyl planks primarily because of poor mechanical bonding, excessive water in the initial mix, or the lack of a high-quality acrylic primer. When a substrate is not properly prepared, the concrete or plywood sucks the moisture out of the leveler too quickly. This prevents the chemical hydration process from finishing. I spent three days grinding concrete on a job last month just so the floor wouldn’t click like a castanet. The previous installer had poured leveler over a dusty slab without a drop of primer. Within six months, the constant movement of the floating vinyl planks pulverized the brittle, unbonded compound. Every step the homeowner took sent a puff of grey grit out from under the baseboards. This is the reality of skipping the fundamentals. You cannot cheat the physics of a subfloor. If the leveler does not become part of the slab, it remains a separate, fragile layer. Once you put a heavy vinyl floor on top, you are essentially creating a giant sandpaper machine. The deflection in the floor, even if it is only 1/8 of an inch, is enough to crush those weak crystalline structures. You must treat the subfloor as the most important part of the architecture, not an afterthought to be hidden by a pretty wear layer.
The physics of pulverized calcium aluminate
Calcium aluminate and Portland cement levelers require a precise chemical environment to reach their rated compressive strength, typically between 3,000 and 5,000 PSI. If the water to powder ratio is off by even a small percentage, the structural integrity of the leveler is compromised. Most people treat bags of leveler like they are mixing pancake batter. They eyeball the water. This is a fatal mistake. When you add too much water to increase flowability, you create a phenomenon called laitance. The heaviest aggregates sink to the bottom while the water and fine particles rise to the top. This creates a soft, chalky surface that looks smooth but has no structural capacity. Under the weight of furniture or the foot traffic of a busy family, this surface layer disintegrates. It turns back into the powder it was in the bag. You are left with a subfloor that is effectively failing at a molecular level.
“A floor is only as good as the subfloor beneath it; deflection is the enemy of every joint.” – Master Flooring Axiom
This axiom is the law of the trade. If you do not respect the PSI requirements and the moisture needs of the compound, the result is always the same. You will be pulling up those expensive planks within a year to fix a mess that should have been avoided with a measuring bucket and a proper mixing paddle.
Why water ratios are the law of the jobsite
Adhering to the manufacturer water specifications is the only way to ensure the leveler achieves its intended density and resistance to abrasion. When leveler is mixed too thin, the capillary voids left behind after the excess water evaporates are too large. This makes the material porous and weak. Think of it like a sponge versus a brick. You want a brick under your floor. If you are doing a carpet install, you might get away with minor crumbling because the carpet pad absorbs the grit. But with laminate or vinyl, that grit gets into the locking mechanisms. It acts as an abrasive. It eats the plastic. I have seen 20 mil wear layers destroyed from the underside because the leveler turned into a diamond-grit powder. It is not just about the leveler itself. It is about how that leveler interacts with the moisture in the air and the moisture in the slab. High humidity can slow the drying process, while a dry, thirsty slab can steal the water needed for the leveler to cure. You are managing a chemical reaction, not just pouring liquid. If you do not have the stomach for the chemistry, stay out of the bucket.
The hidden impact of moisture vapor transmission
Moisture vapor transmission from a concrete slab can exert significant osmotic pressure on the underside of a floor leveler, leading to delamination. Even if you mix it perfectly, moisture coming up through the concrete can dissolve the bonds if you did not use a moisture-rated primer. This is especially common in areas near showers or laundry rooms where the slab might stay damp. The moisture carries minerals and salts to the surface. This is called efflorescence. These salts grow as crystals under the leveler and literally push it off the concrete. Now you have a hollow spot. When you walk on the floor, the leveler cracks into small shards. Those shards rub against each other and create dust. It is a slow, grinding death for your flooring. You need to use a moisture meter. If your slab is reading above 85 percent relative humidity, you cannot just pour leveler and hope for the best. You need a specialized epoxy moisture barrier. Without it, you are just building a sandcastle on a wet beach. The leveler will never be stable. It will always return to the earth as dust.
Structural deflection and the crushing force of luxury vinyl
Luxury vinyl planks are heavy and dense, which means they transfer every ounce of pressure directly to the high spots of your subfloor leveling. Unlike carpet, which spreads the load, LVP is a rigid or semi-rigid product. If the leveler underneath is not perfectly bonded and hard as stone, the vertical movement of the planks will crush it. Every time the floor flexes, it acts like a hammer. This is why the NWFA has such strict rules about floor flatness.
“Subfloors must be flat to within 1/8 inch in a 6-foot radius or 3/16 inch in a 10-foot radius to prevent premature material failure.” – National Wood Flooring Association Standards
If your floor has a dip and you filled it with weak leveler, the plank will bridge that gap. When you step on it, the plank bends, hits the leveler, and bounces back. That repeated impact is what turns the leveler into powder. It is a mechanical failure caused by an architectural deficiency. You cannot fix a structural dip with a cosmetic solution. You need a compound that can handle the compression. This is why I always use a high-flow, high-strength leveler with a polymer additive. It gives the material the flexibility to handle minor vibrations without shattering like glass.
Comparing subfloor leveling materials and performance
Selecting the right material for the specific environment is the difference between a floor that lasts forty years and one that lasts forty days. Not all levelers are created equal. You have gypsum-based products and Portland-based products. Gypsum is great for apartments because it is lightweight and sound-dampening, but it is much softer. If you put LVP over gypsum leveler without a very specific primer, the glue on the back of the planks or the movement of the floating floor will rip the surface of the gypsum right off. Then you have the dust problem again. Portland-based levelers are harder but more prone to shrinkage cracks if they dry too fast. You have to match the product to the substrate and the finish material. Below is a breakdown of how these materials behave under pressure.
| Material Type | Typical PSI | Best For | Risk Factor |
|---|---|---|---|
| Gypsum-Based | 2,000 – 3,000 | Soundproofing, Over-Radiant Heat | High Dusting, Low Moisture Resistance |
| Portland Cement | 3,500 – 5,000 | Heavy Traffic, LVP, Tile | Shrinkage Cracks, High Prep Needed |
| Calcium Aluminate | 4,000 – 6,000 | Fast Track Jobs, Deep Fills | Requires Precise Water Mixing |
| Fiber-Reinforced | 4,000+ | Wood Subfloors, Deflection-Prone Areas | Higher Cost per Bag |
A checklist for a permanent substrate
Before you even think about opening a bag of leveler, you must ensure the environment meets the rigorous standards of a professional installation. If you miss one step, you are wasting your money. Use this checklist to ensure your leveler stays solid for the life of the home.
- Remove all drywall mud, paint, and oil from the slab using a diamond grinder or sander.
- Vacuum the floor twice. If you can see dust on your finger after touching the slab, it is too dirty.
- Apply a high-solids acrylic primer and let it dry until it is tacky or clear, depending on the brand.
- Seal off all floor vents and gaps where the leveler could leak out into the crawlspace or walls.
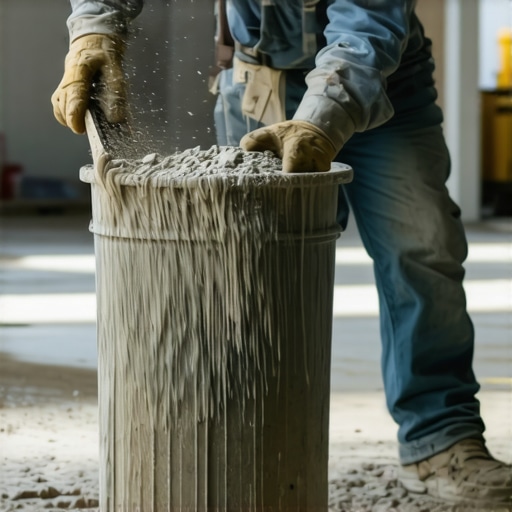
- Use a mixing barrel and a high-torque drill to ensure no dry clumps remain in the mix.
- Verify the water temperature. Using hot water will cause the leveler to set in the bucket.
- Measure water with a dedicated graduated cylinder, not a bucket with a Sharpie line.
The ghost in the expansion gap
The air trapped under a floating floor needs a way to escape, and if it moves too fast, it carries leveler dust with it. This is what I call the bellows effect. When you walk across a room of LVP, the floor moves down and then up. This pumps air toward the edges of the room. If your leveler has turned to dust, this air movement carries the particles into your living space. You might think you have a cleaning problem, but you actually have a subfloor problem. This is why expansion gaps at the walls are not just for the planks to grow and shrink. They are part of the airflow system of the floor. If you have capped your expansion gaps with heavy trim and no room for movement, you increase the pressure under the floor. This pressure accelerates the breakdown of a weak leveler. It is a cycle of destruction. The more the leveler breaks down, the more the floor can move. The more the floor moves, the more it breaks the leveler. You have to break the cycle by using the right primer from the start. A good primer penetrates the pores of the concrete and creates a bridge. It turns two materials into one. That is the secret to a floor that doesn’t scream every time you walk on it.
The final word on subfloor physics
Stopping the pulverization of your floor leveler requires a shift in perspective from aesthetics to engineering. You are not just laying a floor. You are building a foundation. If you treat the leveler like a cheap filler, it will treat you like a cheap installer. It will fail. It will dust. It will ruin the air quality of the home. Use the right tools. Measure your water. Prime the floor like your reputation depends on it, because it does. Whether you are prepping for showers, a carpet install, or the latest wide-plank laminate, the rules do not change. The subfloor is the boss. If you listen to it, your floor will stay quiet. If you ignore it, it will turn to dust beneath your feet. It is as simple as that. There are no shortcuts in the world of high-performance flooring. Only those who respect the chemistry get to walk on a floor that lasts.