The ‘Steel Wool’ Secret for Buffing Out Minor Hardwood Scratches
I once walked into a house where a $15,000 wide-plank walnut floor was cupping so bad it looked like a potato chip because the installer didn’t check the crawlspace humidity before he drove the first cleat. It was a tragedy of engineering. The homeowner was heart-broken, seeing those expensive dark grains warping toward the ceiling. They wanted a quick fix, a miracle rub, but wood is a biological material that obeys the laws of physics and thermodynamics. My job is often less about aesthetics and more about forensic structural analysis. I have spent twenty-five years on my knees, smelling oak dust and floor wax, dragging a six-foot level across slabs that looked like the rolling hills of Kentucky. When someone asks me about a scratch, they think they are asking about a blemish. I know they are asking about the integrity of the wear layer. You cannot just slap some stain on a gouge and hope for the best. You have to understand the molecular friction of the finish and the cellular density of the timber beneath it.
The microscopic friction of grade 0000 steel wool
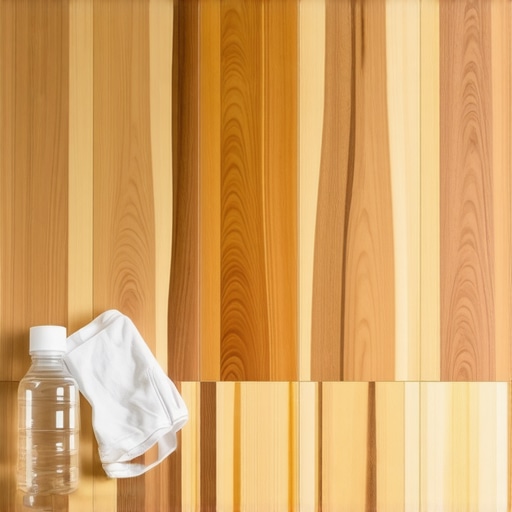
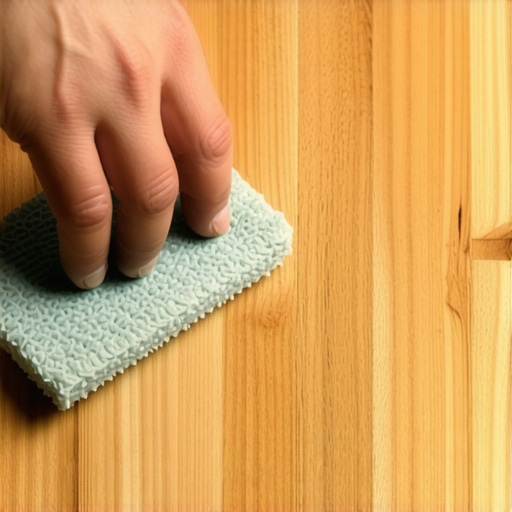
Grade 0000 steel wool works by gently abrading the top layer of floor finish to blend surface scratches into the surrounding area. This method relies on the high carbon steel filaments being finer than human hair to smooth out imperfections without cutting through the protective polyurethane or wax coating. It is the most effective way to handle the white, hazy marks left by furniture movement or pet claws that have only violated the finish and not the wood fibers. I have seen guys try to use sandpaper on these minor marks and they end up burning through the stain in seconds. Steel wool, specifically the super-fine 0000 variety, provides a controlled friction that generates just enough heat to soften the edges of the scratch. This allows the finish to flow into the microscopic valley of the mark. You must always work in the direction of the grain. If you go across the grain with steel wool, you are creating thousands of tiny new scratches that will catch the light and make the floor look like it was cleaned with a brick. I prefer to use a small amount of paste wax or a specific floor lubricant to help the wool glide. This creates a slurry that fills the void while you work. It is a slow, methodical process that requires patience and a good eye for how light reflects off the surface at an angle.
“A floor is only as good as the subfloor beneath it; deflection is the enemy of every joint.” – Master Flooring Axiom
Why your subfloor is lying to you
Floor leveling is the foundational requirement for every successful installation because a subfloor that deviates more than 3/16 of an inch over 10 feet will cause structural failure. Whether you are laying down expensive solid oak or a budget-friendly laminate, the subfloor is the backbone of the entire system. Most installers are lazy. They see a dip in the plywood or a hump in the concrete and they think the underlayment will hide it. It will not. That hollow sound you hear when you walk across a room is the sound of a failing floor. I spent three days grinding concrete on a job last month just so the floor wouldn’t click like a castanet. When you ignore floor leveling, you are essentially asking the locking mechanisms of your planks to act as bridges over a canyon. Eventually, the weight of a person or a piece of furniture will cause that joint to flex. That flex leads to friction, which leads to the snapping of the tongue and groove. In my shop, we use self-leveling compounds with a high compressive strength, often exceeding 4,000 psi, to ensure that the base is as rigid as a sidewalk before the first piece of wood is acclimated.
The ghost in the expansion gap
Expansion gaps are the breathing room required for wood and laminate products to adjust to seasonal changes in humidity without buckling. Wood is a hygroscopic material, meaning it absorbs moisture from the air. When the humidity rises in the summer, those planks swell. If they are pinned against a wall or a heavy kitchen island, they have nowhere to go but up. This is how you get the dreaded peaked joints. I have seen entire floors lift off the subfloor because some handyman forgot to leave a half-inch gap at the perimeter. People hate the look of baseboards or shoe molding, but those are the functional masks for the floor’s necessary movement. If you are installing in a high-humidity environment like a coastal town, you need to be even more aggressive with your gaps. The chemistry of the wood cells dictates that it will expand across its width far more than its length. Understanding this ratio is what separates a master installer from a guy with a miter saw. I always use spacers to ensure the gap is uniform. You cannot eyeball this part of the job. One tight spot can ruin a thousand square feet of work when the seasons change.
| Wood Species | Janka Hardness | Steel Wool Compatibility | Acclimation Time |
|---|---|---|---|
| Red Oak | 1290 | High | 7 to 10 Days |
| Hickory | 1820 | Moderate | 10 to 14 Days |
| Black Walnut | 1010 | High | 5 to 7 Days |
| Brazilian Cherry | 2350 | Low | 14+ Days |
The 1/8 inch that ruins everything in showers
Shower flooring requires a perfect slope of 1/4 inch per foot toward the drain to ensure that water does not stagnate and rot the structure. When you are dealing with tile in a wet area, the flooring is the last line of defense. The real work is in the waterproofing membrane and the pre-slope. I see guys tiling over flat mud beds all the time. This is a recipe for mold and structural rot. The water permeates the grout, hits the flat bed, and just sits there. It never makes it to the weep holes in the drain. This causes the lower tiles to pop and the grout to discolor. You need a mechanical bond between the thin-set and the substrate that can withstand constant thermal expansion. Using a modified thin-set with high polymer content is the only way to ensure the tile stays put. I have ripped out showers that were only three years old because the installer didn’t understand the physics of water tension. Every 1/8 inch of deviation in that slope is a puddle waiting to happen. In my world, we test the pan for 24 hours with a flood test before a single tile is laid. If the water level drops even a fraction, we don’t move forward.
“Wood moves. It is a living, breathing entity that must be respected or it will tear your baseboards off the wall.” – NWFA Technical Guide
Laminate pressure points and locking failures
Laminate flooring fails most often at the joints due to excessive vertical movement caused by thick, soft underlayments that allow too much compression. Homeowners always want the thickest, squishiest padding because they think it will be comfortable. In reality, too much cushion causes the locking mechanisms to snap under pressure. You want an underlayment with high density and low thickness. It needs to provide a vapor barrier and minor sound dampening without turning your floor into a trampoline. When you step on a laminate plank, the tongue and groove are under immense shear stress. If the subfloor is uneven, that stress is magnified. This is why I am so obsessed with the prep work. Carpet install is the same way. People think carpet hides a bad floor. It doesn’t. It just masks it until the pad wears thin and you start feeling every dip and bump. A proper carpet install requires a power stretcher to ensure the tension is high enough to prevent ripples. If you just use a knee kicker, you will be back in two years to restretch the whole house.
- Check the subfloor for any moisture content exceeding 12 percent.
- Ensure the room temperature is between 60 and 80 degrees Fahrenheit.
- Sand down any high spots on plywood joints using a 40-grit paper.
- Vacuum the entire surface twice to remove all oak dust and debris.
- Always use a moisture barrier when installing over concrete slabs.
The chemical bond between finish and fiber
Hardwood finishes like polyurethane create a protective film that shields the wood fibers from oxidation and physical abrasion. When you are using steel wool to buff out a scratch, you are manipulating this film. Most modern floors have an aluminum oxide finish that is incredibly hard. This makes them great for wear resistance but difficult to repair. If you have a deep gouge that goes through the finish and into the wood, steel wool will not help you. You are looking at a board replacement or a wood filler that will never quite match. The secret is to catch the scratches while they are shallow. By using the wool to blend the edges, you are essentially refracting the light differently so the human eye cannot track the line of the scratch. I have spent hours under work lights, tweaking the surface of a floor until it looked uniform. It is a gritty, thankless task that leaves your hands smelling like steel and oil, but it is the difference between a floor that looks old and one that looks cared for. Wood is an investment. If you treat it like a cheap commodity, it will fail you. If you treat it like an engineering challenge, it will last a century.