How to Level a Concrete Subfloor That is Sweating Moisture
The moisture trap in modern slabs
Concrete subfloors with moisture issues require a specific approach to leveling and vapor mitigation to ensure the longevity of laminate or carpet. Most homeowners and entry level contractors ignore the hydrostatic pressure that forces water through porous concrete, which eventually causes alkalinity spikes and adhesive failure. You must establish a vapor barrier and use self leveling underlayment with high compressive strength to create a stable surface for final flooring installation.
I spent three days grinding concrete on a job last month just so the floor wouldn’t click like a castanet. Most guys skip the leveling compound. They think the underlayment will hide the dip. It won’t. I was in a basement in the middle of a wet spring, the air smelled like damp earth and the acrid bite of old adhesives. The slab was sweating so much you could see the dark patches of moisture migrating through the aggregate. If I had poured a standard leveler over that, the water pressure would have popped it off the floor in six months. I had to use a diamond cup wheel on a walk behind grinder to open up the pores of the concrete. The dust was thick enough to choke a horse, even with the vacuum running. But that is the reality of the trade. You do the hard work on the substrate, or you watch the finished floor fail. I have seen fifteen thousand dollar wide plank walnut floors cup until they looked like potato chips because someone ignored the crawlspace humidity. Don’t be that guy. Fix the subfloor first.
The science of hydrostatic pressure
Moisture vapor emission rate (MVER) is the measurement of how much water is escaping the concrete slab over a specific period. When a slab is sweating, it is often a sign of capillary action where water from the soil is pulled upward through the capillary pores of the concrete. This process is driven by vapor pressure differentials between the ground and the air inside the home. As the water moves, it carries soluble salts to the surface, a process known as efflorescence. These salts are highly alkaline. High pH levels will chemically dismantle the bond of any thin set or adhesive you try to use. You are not just fighting water, you are fighting a chemical reaction that wants to turn your floor into a sandy mess.
“A floor is only as good as the subfloor beneath it; deflection is the enemy of every joint.” – Master Flooring Axiom
Moisture testing protocols for professionals
Concrete moisture testing must be conducted using ASTM F2170 or ASTM F1869 standards to get an accurate reading of the relative humidity inside the slab. Do not rely on a cheap pin meter from a big box store. Those only tell you what is happening on the top eighth inch of the concrete. You need in situ RH probes that sit deep in the slab. If your readings come back above eighty five percent relative humidity, a standard primer and leveler will fail. You need a moisture vapor barrier that can withstand hydrostatic pressure. Professional installers often find that slabs in showers or basements require a dedicated epoxy sealer before the leveling compound can even be considered. This creates a mechanical and chemical block that keeps the moisture trapped inside the concrete where it cannot do any harm to your laminate or carpet install.
[IMAGE_PLACEHOLDER]
The chemistry of vapor barriers
Moisture mitigation systems for concrete usually involve a two part epoxy that penetrates the concrete surface profile (CSP) to create a non porous layer. These epoxies are designed to handle alkaline environments with a pH as high as fourteen. When you apply these coatings, you are essentially plasticizing the top layer of the slab. The epoxy fills the micro cracks and capillaries, preventing water vapor from reaching the self leveling underlayment. This step is mandatory for any slab that shows visible sweating or high test results. If you skip the epoxy barrier and just use a water based primer, the moisture will eventually emulsify the primer, and your leveler will delaminate from the floor. I have seen slabs where the entire leveling layer could be lifted up in giant sheets because the moisture killed the bond.
Precise application of self leveling compounds
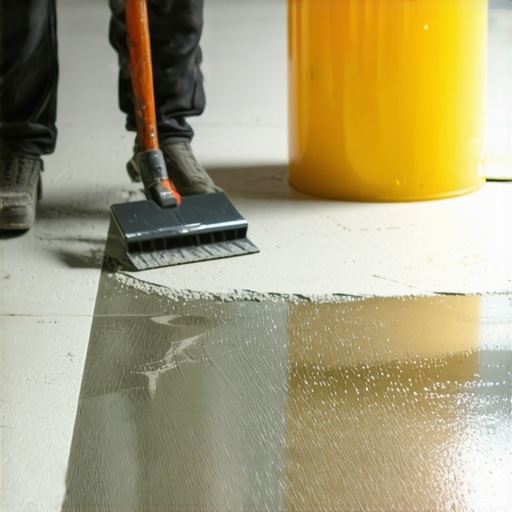
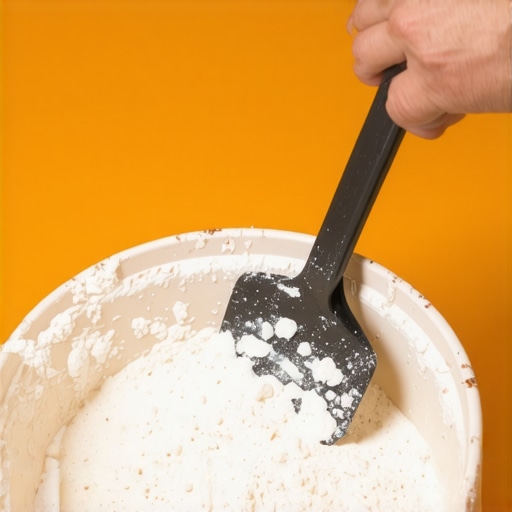
Self leveling underlayment (SLU) is a cementitious product that uses polymers to allow the material to flow like water and find its own level. However, SLU is not a magic fix for a wet floor. It requires a CSP 3 surface profile, which means the concrete must be rough enough to feel like heavy sandpaper. Once the moisture barrier is cured and the primer is tacky, you mix the leveler with a high speed drill. Precision is everything here. If you add too much water, the polymers will float to the top and create a chalky surface that won’t hold a floor leveling tack. If you add too little, the material will not flow, leaving you with trowel marks and ridges. You use a gauge rake to set the depth and a spike roller to release entrapped air. This is structural engineering on a small scale. You are creating a new, flat, dry surface where none existed before.
The danger of excessive underlayment cushion
While most people want the thickest underlayment, too much cushion actually causes the locking mechanisms on LVP to snap under pressure. This is a common mistake in laminate and vinyl installations. If you use a soft, thick pad over a concrete subfloor, the floor will deflect every time you step on it. That vertical movement puts immense stress on the tongue and groove system. Eventually, those thin pieces of plastic or HDF will shear off. You want a high density underlayment with a low compression set. The goal of the leveling compound was to make the floor flat. The job of the underlayment is to provide a vapor break and sound dampening, not to compensate for a bumpy subfloor. If the floor isn’t flat to within an eighth of an inch over ten feet, no amount of padding will save it.
| Mitigation Method | Max RH Tolerance | Bond Strength | Complexity |
|---|---|---|---|
| Water Based Primer | 75% | Moderate | Low |
| Acrylic Sealer | 80% | High | Moderate |
| Two Part Epoxy Barrier | 99% | Extreme | High |
| Sheet Membrane | 90% | Varies | Moderate |
Flooring types and moisture limitations
Carpet install projects are more forgiving of moisture because the breathability of the fibers allows some vapor to escape. However, the tack strips will rot if the perimeter of the room is wet. For laminate, moisture is an absolute killer. Most laminate cores are made of high density fiberboard which acts like a sponge. Even a small amount of sweating from the concrete will cause the edges to peak and the surface to bubble. This is why a 6 mil poly film is often required even if you have used a leveler. In showers or wet areas, the TCNA guidelines are even more strict. You must use waterproofing membranes like Schluter Ditra to decouple the tile from the subfloor movement and moisture. Every material has a limit. Trust the data sheets provided by the manufacturer. They spent millions in labs to tell you exactly how much water their product can handle. Don’t think you know better than the chemistry.
“Deflection is the enemy of every joint, and moisture is the enemy of every bond.” – TCNA Handbook Principle
- Inspect the slab for cracks and efflorescence before starting.
- Perform concrete grinding to reach a CSP 3 profile.
- Conduct RH testing to determine the moisture vapor emission rate.
- Apply a two part epoxy moisture barrier for high humidity slabs.
- Mix self leveling underlayment with 100% accuracy on water ratios.
- Use a spike roller to remove air bubbles from the wet leveler.
- Verify flatness with a 10 foot straightedge after the leveler cures.
The final reality of floor leveling on a wet slab is that you cannot rush the acclimation or the cure times. If the epoxy barrier says wait twelve hours, you wait twelve hours. If the leveler needs twenty four hours before you can walk on it, you stay off. Rushing into a carpet install or laying down laminate too early will trap moisture between the new surface and the leveler, leading to mold growth and mildew. You are the architect of this surface. Ensure the structural integrity of the subfloor is sound before you ever worry about the color of the flooring. A dry, level floor is a floor that lasts a lifetime. Anything less is just a temporary patch that will cost you double when it fails. Fix it right the first time.