The ‘Knee Kicker’ Mistake That Ruins Brand New Carpet
The lie of the knee kicker
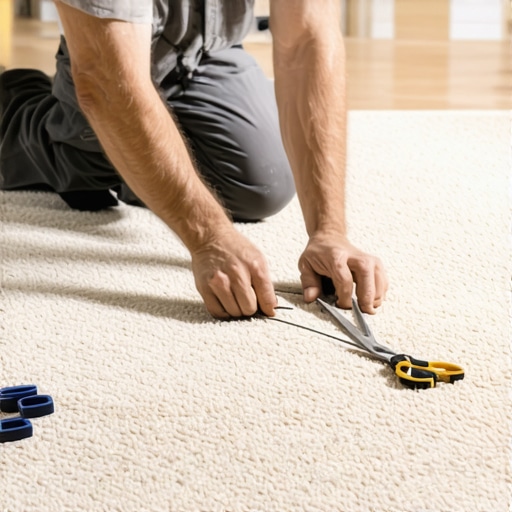
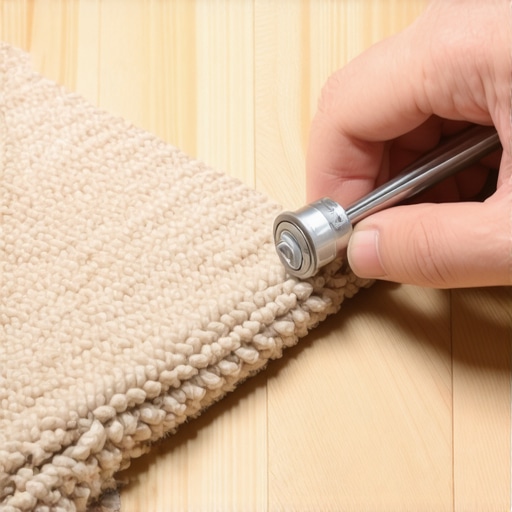
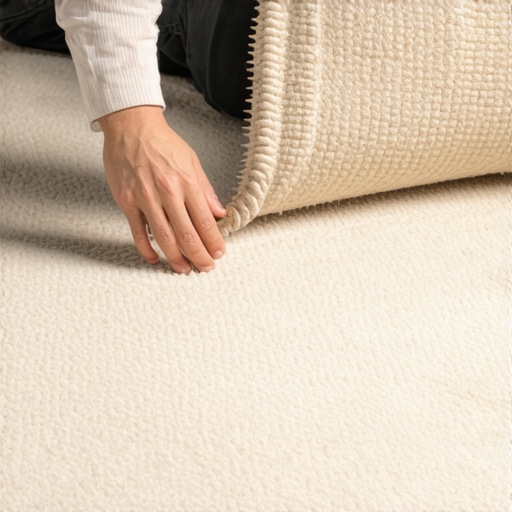
A knee kicker is a positioning tool designed solely for hooking carpet onto tack strips in small areas like closets or stair treads. It is not a stretching tool and using it as the primary method for tensioning a room leads to ripples, delamination, and premature wear. I spent three days grinding concrete on a job last month just so the floor wouldn’t click like a castanet because the previous installer thought a thick pad would hide a bad subfloor. It never does. Most guys skip the leveling compound. They think the underlayment will hide the dip. It won’t. When it comes to carpet install, the knee kicker is the most abused tool in the bag. I have walked into countless homes where a six month old carpet looks like the surface of a rolling sea. The homeowner usually blames the carpet quality, but the fault lies in the installer’s knees. Proper tension requires a power stretcher. Without it, the carpet never reaches the necessary three to five percent stretch required by the manufacturers. Over time, as people walk across the floor, the slack accumulates into ridges. These ridges act as speed bumps for foot traffic, causing the fibers to abrade against each other. This creates a permanent wear pattern that no steam cleaner can fix. The backing itself can actually crack if it is folded over itself in a ripple for too long. If your installer shows up with nothing but a knee kicker and a utility knife, send them away. They are not installing a floor, they are laying a rug. A floor is a structural element that requires mechanical force to perform correctly over its lifespan. To understand why this happens, we have to look at the physics of the carpet backing. Most modern carpets have a primary and secondary backing held together by a layer of latex. When you use a knee kicker, you are applying a localized, violent burst of energy to a very small area of the carpet. This often stretches the primary backing but fails to move the secondary backing in unison. This leads to delamination. The two layers separate, and once that latex bond is broken, the carpet will never lay flat again. It is a structural failure that starts the moment the installer strikes the tool. These mistakes are especially common in the transition areas near laminate or showers, where the tension must be exact to prevent the carpet from pulling away from the transition strip.
Why your subfloor is lying to you
Floor leveling is the foundation of every successful flooring project because any deviation in the subfloor over one eighth of an inch will manifest as a visible or audible defect. Subfloor prep is the most ignored part of the process. I have seen guys throw carpet over old adhesive, chunks of drywall, and even recessed floor vents. They assume the pad will absorb the difference. It does not. The pad is designed for comfort and impact resistance, not for structural correction. If the subfloor is not flat, the carpet will bridge over the low spots. Every time someone steps on that bridge, the carpet flexes. This constant flexing pulls on the tack strips. Eventually, the pins in the tack strips will bend or pull out of the wood entirely. If you are dealing with a concrete slab, floor leveling compound is your best friend. You need to identify high spots with a ten foot straight edge and grind them down with a diamond cup wheel. The dust is brutal. It smells like a tomb and gets into every pore of your skin, but it is necessary. For the low spots, you need a high compressive strength leveler. I prefer products that can reach 4,000 psi. If the leveler is too soft, it will crumble under the concentrated load of furniture legs or heavy foot traffic. When you are transitioning from carpet to tile near showers, the subfloor must be perfectly level to ensure the transition strip sits flush. A lip at the shower door is not just an eyesore, it is a trip hazard and a moisture trap. Water will migrate from the tile into the carpet pad, leading to mold growth that you will smell long before you see it. This is where most installers fail. They focus on the soft goods and ignore the hard reality of the chemistry beneath them. The bond between the leveling compound and the substrate is a matter of molecular adhesion. If you do not prime the floor properly, the leveler will skin over and pop off. It is a chain reaction of failure that starts with a lack of patience and ends with a ruined floor.
| Property | Knee Kicker Only | Power Stretcher | NWFA/CRI Standard |
|---|---|---|---|
| Total Stretch % | 0.5 – 1.0% | 3.0 – 5.0% | Required 3% Minimum |
| Backing Integrity | High Risk of Delamination | Uniform Tension | Maintain Structural Bond |
| Long-term Stability | Likely to Ripple within 1 Year | Stable for Life of Product | No Visible Movement |
| Joint Pressure | Localized and Excessive | Evenly Distributed | Balanced Load |
“A floor is only as good as the subfloor beneath it; deflection is the enemy of every joint.” – Master Flooring Axiom
The physics of the power stretcher
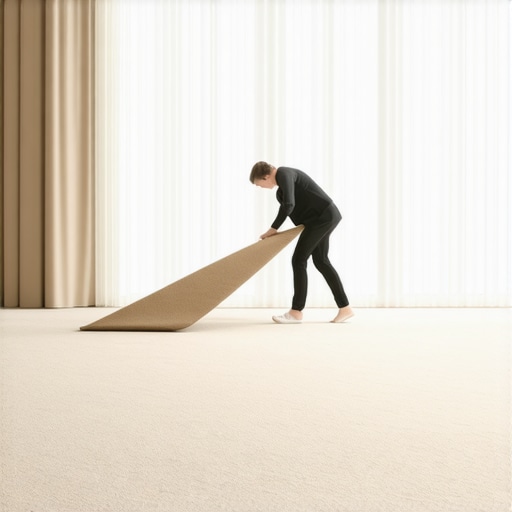
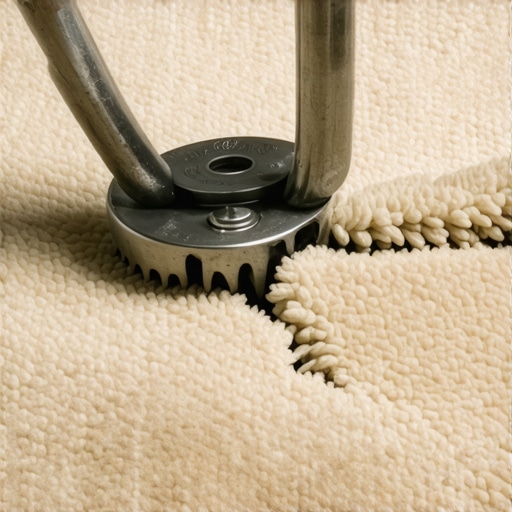
A power stretcher uses a long pole system to push against one wall while the head grips the carpet near the opposite wall, creating thousands of pounds of even tension. This tool is a beast. It is heavy, cumbersome, and takes time to set up. That is why lazy installers hate it. But it is the only way to get the carpet tight enough to stay put. When you engage the handle of a power stretcher, you are essentially pre-stressing the carpet. This is similar to how they pre-stress concrete beams. By putting the carpet under tension, you are ensuring that any future force applied to it, like a heavy sofa being pushed or a child running, will not be enough to overcome the existing tension. The carpet stays taut. The mechanics of the grip are also vital. A power stretcher has a wide head with dozens of sharp teeth that bite into the carpet pile. This distributes the pulling force across a much larger surface area than a knee kicker. This prevents the teeth from tearing through the backing. It is a controlled, surgical application of force. Without it, you are just guessing. I have seen rooms where the carpet was so loose you could grab a handful of it in the center of the room and lift it four inches off the floor. That is a failure. A properly stretched carpet should feel like a drum head. If you walk on it and feel it shifting under your feet, it is loose. In larger rooms, the power stretcher is the only option. A knee kicker cannot move the mass of a twenty foot piece of carpet. It just can’t happen. The friction between the carpet pad and the backing is too great. You need the mechanical advantage of the stretcher to overcome that friction and move the entire sheet as one unit. This is especially true with high density pads. The better the pad, the harder the carpet is to stretch. It is a paradox that many DIYers don’t understand. They buy the most expensive, dense foam pad and then wonder why they can’t get the carpet flat with a rental kicker. You are fighting physics, and the kicker is a losing weapon in that battle.
The shower moisture migration
The interface between a carpeted bedroom and a tiled shower area is a high risk zone for moisture wicking and bacterial growth if the transition is not sealed correctly. Most people don’t think about their carpet when they are designing showers, but they should. The steam and occasional splash from a bathroom are a nightmare for carpet fibers and pads. If the transition is not handled with a proper moisture barrier, the carpet pad acts like a sponge. It will pull moisture out of the air and from the edges of the tile. Over time, this causes the tack strip to rot. I have pulled up carpet in master bedrooms where the tack strip near the bathroom was nothing but black mulch. To prevent this, you need a solid transition. A marble or granite threshold is the gold standard. It provides a non-porous break between the wet and dry zones. The carpet should be tucked tightly against this threshold with a bead of silicone sealant hidden in the gully. This prevents water from sneaking under the edge. If you are doing a carpet install near a wet area, always use a synthetic tack strip or one that has been treated for moisture resistance. Standard plywood tack strips will swell and fail when exposed to humidity. It is a small detail that saves the floor. The same logic applies to the basement. If you are installing carpet on a concrete slab, you must check the moisture vapor emission rate. If the slab is breathing too much water, the carpet will smell like a locker room within a week. You need a vapor barrier. This can be a topical liquid membrane or a specialized pad with an integrated moisture film. Never trust a dry basement. Concrete is a sponge, and the moisture moves according to the laws of thermodynamics. It will find a way out, and you don’t want your new carpet to be the exit point.
- Check subfloor for levelness using a 10-foot straight edge.
- Grind high spots and fill low spots with 4,000 psi compound.
- Ensure tack strips are spaced 1/4 inch from the baseboard.
- Use a power stretcher for every room regardless of size.
- Trim carpet with a sharp blade to avoid fraying the primary backing.
- Tuck the carpet into the gully with a stair tool for a finished edge.
- Seal transitions near showers with a silicone bead.
The ghost in the expansion gap
Every floor needs room to breathe, and the expansion gap is the intentional space left at the perimeter to allow for natural movement caused by temperature and humidity. This is where I see the most failures in laminate and hardwood, but it affects carpet too. For a carpet install, the expansion gap is actually the gully between the tack strip and the wall. If that gap is too wide, the carpet will tuck in but won’t stay. If it is too narrow, you can’t get a proper tuck, and the edge will look frayed. For laminate, the gap is even more vital. If you lock a laminate floor against a wall or under a heavy kitchen island, the floor cannot expand. It will buckle in the center. I once saw a laminate floor that had risen three inches off the subfloor because the installer didn’t leave a gap at the fireplace. It looked like a tent. People think that because a floor is heavy, it won’t move. That is a mistake. The force of expanding wood or composite material is enough to snap baseboards or even move non-structural partition walls. When you are transitioning from laminate to carpet, you need a T-molding that allows both floors to move independently. If you nail the transition strip through the laminate into the subfloor, you have created a dead point. The floor will eventually break at that point. It is about respecting the materials. Every material has a coefficient of thermal expansion. You have to account for it. This is why acclimation is not optional. You need the flooring in the house for at least 72 hours before you install it. This allows the moisture content of the product to stabilize with the ambient humidity of the room. If you take a dry floor from a warehouse and install it in a humid house, it will expand. If you take a humid floor and install it in a dry house, it will shrink, leaving huge gaps between the planks. It is basic science, yet it is ignored every single day by people in a hurry.
“Deflection in a subfloor will destroy the tongue and groove of any laminate or wood plank within 24 months of installation.” – Structural Flooring Guidelines