The ‘Alcohol’ Test for Identifying a Mystery Finish on Old Hardwood
The ‘Alcohol’ Test for Identifying a Mystery Finish on Old Hardwood
In the historic neighborhoods of Kansas City – from the stately manors of Mission Hills to the charming bungalows of Brookside and the Victorian treasures in Midtown – there is a rite of passage for many homeowners: pulling back decades-old carpet to reveal the “hidden gold” of original hardwood floors. It is a moment of pure anticipation. However, once the dust settles and the staples are pulled, a critical question remains: what exactly is covering those boards? Identifying the existing finish is not just a matter of curiosity; it is the fundamental first step in any successful old hardwood floor restoration project.
Many homeowners, eager to restore the luster to their find, make the mistake of assuming a quick screen-and-recoat with a modern polyurethane will do the trick. Unfortunately, the chemistry of wood finishes is unforgiving. If you apply a modern water-based finish over an old wax or shellac coating, you aren’t just wasting time – you are inviting a disaster. The new finish will fail to bond, leading to peeling, “alligatoring,” and a sticky mess that is far harder to fix than the original aged floor. This is where the “Alcohol Test” comes in. It is the professional’s secret weapon, a simple chemical litmus test that tells us exactly what we are dealing with before we ever pick up a sander or a brush. Understanding this process is essential for sanding and refinishing hardwood floors properly.
Why Identification is Non-Negotiable
In the world of professional flooring, we talk a lot about “adhesion.” Adhesion is the ability of a new liquid coating to chemically or mechanically bond to the surface beneath it. When it comes to hardwood floor refinishing kansas city residents often find that their historic floors have been treated with a variety of substances over the last hundred years. If the new finish and the old finish are chemically incompatible, you will experience “adhesion failure.”
Think of it like trying to paint over a greasy frying pan; the paint might look okay for an hour, but as soon as it dries, it will flake off in sheets. Old finishes like shellac, lacquer, and especially floor wax act as “contaminants” to modern oil-modified or water-based polyurethanes. If you don’t identify and properly remove or prep these surfaces, the results can be heartbreaking. This is often the root cause behind the common complaint of why a hardwood floor patch might look completely different or why a new coat of finish begins to bubble within weeks of application.
As refinishing hardwood floor contractors, we have seen countless DIY projects go south because the homeowner didn’t realize they were working over a 1920s shellac finish. When you apply a water-based finish over shellac, the alcohol in the shellac can react, or the wax content in older shellac “de-waxed” versions can prevent the poly from sticking. This leads to a costly “strip and start over” scenario. Proper identification ensures your investment in your home’s value is protected.
The Pre-Test: Ruling Out Wax
Before we even reach for the denatured alcohol, we have to rule out the most common “finish killer”: wax. For much of the early 20th century, floors weren’t “finished” in the modern sense; they were sealed and then maintained with heavy coats of paste wax. Even if a floor was later coated with something else, there is often a layer of wax embedded in the grain.
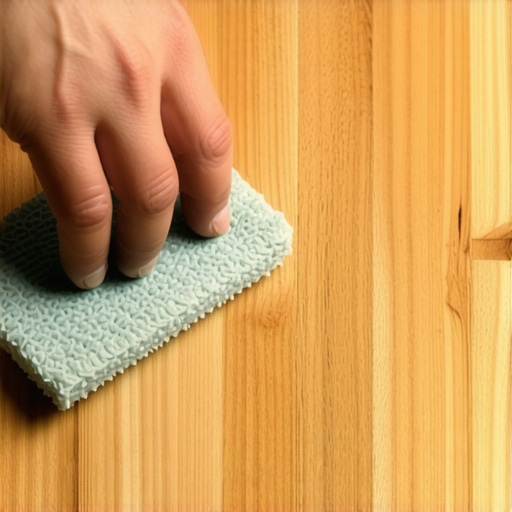
To test for wax, find an inconspicuous area – perhaps inside a closet or a corner that was previously under a radiator. Take a piece of fine (#0000) steel wool or even the edge of a coin and firmly scratch the surface of the wood. If a soft, white, or greyish waxy residue gathers under your tool, you have a wax finish. Another method is to place a few drops of water on the surface; if it turns white or leaves a spot within ten minutes, wax is likely present.
Many homeowners mistakenly believe they can clean this away with household products, leading to “The ‘White Vinegar’ Mistake That Is Killing Your Hardwood Shine.” Vinegar is an acid that can eat through some finishes but does nothing to properly emulsify and remove old floor wax. If wax is present, it must be chemically stripped with mineral spirits and steel wool before any modern refinishing can take place. If your scratch test results in no residue and the water doesn’t spot, you are likely dealing with a film-forming finish like shellac, lacquer, or varnish, and it’s time to move to the alcohol test.
The Core Method: The ‘Alcohol’ Test Step-by-Step
The “Alcohol Test” is the definitive way to identify shellac, which was the standard floor finish from the late 1800s through the 1930s. Shellac is a natural resin secreted by the lac bug, and its unique property is that it remains soluble in alcohol forever. This means that even 100-year-old shellac will dissolve when it comes into contact with denatured alcohol.
Step 1: Preparation
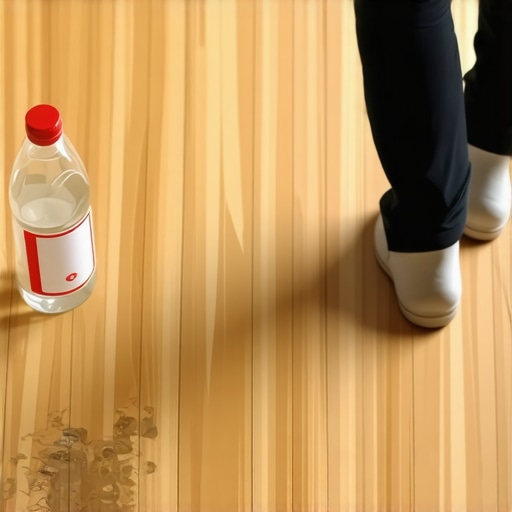
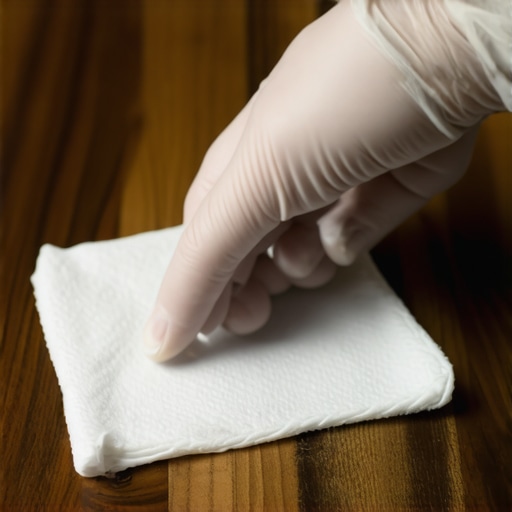
You will need a small bottle of denatured alcohol (available at any Kansas City hardware store), a few clean white cotton cloths, and a pair of chemical-resistant gloves. Again, choose a spot that is out of the main line of sight.
Step 2: Application
Apply a few drops of the denatured alcohol directly onto the floor’s surface. You don’t need a puddle; a dime-sized amount is sufficient.
Step 3: The Wait
Let the alcohol sit on the finish for approximately 30 to 60 seconds. You are looking for a chemical reaction.
Step 4: The Wipe and Touch
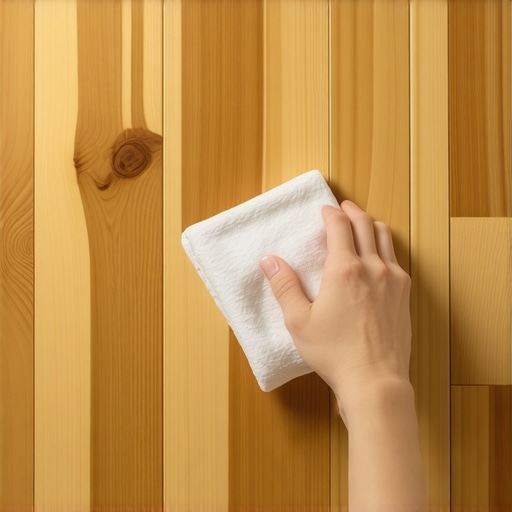
Take your clean white cloth and gently rub the area. Then, touch the spot with your finger.
Interpreting the Results:
- If the finish becomes tacky, soft, or dissolves onto the cloth: It is Shellac. Because shellac is alcohol-based, the denatured alcohol re-liquefies it. This is a crucial discovery, as shellac requires specific primers (like Zinsser B-I-L) if you plan to coat over it, or it must be completely sanded off.
- If the finish remains hard and unaffected: It is likely not shellac. However, don’t put your kit away yet. You may be dealing with lacquer or a more modern reactive finish.
According to industry standards and guides like those from Waterlox, if the finish turns white but doesn’t soften significantly, it could be a water-based urethane or a very old varnish. If the alcohol does nothing at all, we move to the next solvent in the hierarchy.
Beyond Alcohol: The Lacquer and Xylene Tests
If the alcohol test was a “no-go,” the next suspect is lacquer. Lacquer was incredibly popular in mid-century Kansas City homes (1940s – 1960s) because it dried extremely fast, allowing builders to finish floors quickly. However, lacquer is brittle and prone to scratching.
To test for lacquer, repeat the same steps used in the alcohol test, but use lacquer thinner instead of alcohol. If the lacquer thinner dissolves the finish, you have identified it. Lacquer thinner is much more aggressive than alcohol, so use it sparingly and ensure the room is well-ventilated. If the finish softens with lacquer thinner but not with alcohol, it’s a lacquer finish.
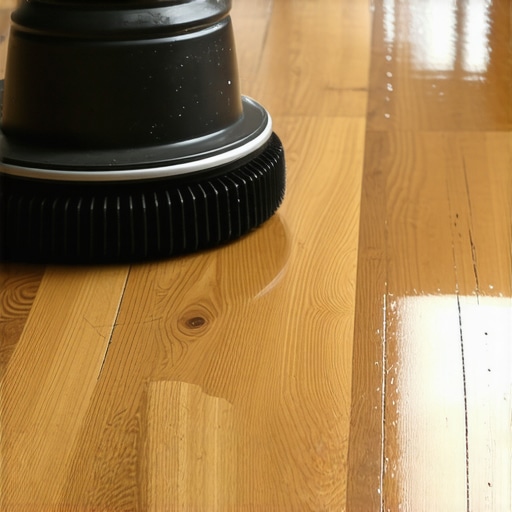
What if neither alcohol nor lacquer thinner works? You are likely looking at a “reactive” finish. This includes modern oil-modified polyurethanes, conversion varnishes, or moisture-cured urethanes. These finishes undergo a chemical change as they cure, meaning they cannot be re-dissolved by their original solvents. If your floor is a mystery finish that resists both tests, it is likely a modern product that will require professional wood floor refinishing kansas city techniques, including a full drum sanding, to remove.
For those dealing with deep gouges or localized damage during this process, hardwood floor repair or scratch repair hardwood floors may be necessary before any new finish is applied. Identifying the finish first tells the repair tech whether they can “melt” a repair into the old finish (possible with lacquer/shellac) or if they must sand and blend (necessary for poly).
Kansas City Context: Historic Homes and Common Finishes
Kansas City’s residential architecture provides a roadmap for what finishes you are likely to find. In the historic Northeast or the Westside, where homes date back to the late 19th century, shellac is the “default” original finish. These floors often have a deep, amber glow that modern finishes struggle to replicate without staining. In the post-war suburban expansions of Overland Park or the mid-century modern homes in Prairie Village, lacquer and early varnishes became the standard.
Working on hardwood flooring kansas city requires an appreciation for these regional trends. For example, many KC homes featured “quarter-sawn” white oak, which reacts differently to certain solvents than the more common red oak. When we replace carpet with hardwood in these historic areas, we often try to match the existing species and finish style of the rest of the home to maintain architectural integrity.
Knowing your home’s era can save you time. If your home was built in 1920, start with the alcohol test. If it was built in 1955, start with the lacquer thinner test. This localized knowledge is what separates a standard contractor from a true flooring specialist.
When the Test Reveals a Disaster: Water Damage and Scratches
Sometimes, the alcohol test reveals more than just the type of finish – it reveals that the finish has completely failed, leaving the wood vulnerable. If the alcohol soaks immediately into the wood grain and turns it dark, the protective film is gone. This is often seen in high-traffic areas or kitchens.
If you notice the wood is grey or black in some areas, you might be dealing with hardwood floor water damage repair issues. This is especially common near entryways or in the kitchen. If you’ve wondered “Why Your Hardwood Floor is Cupping Near the Dishwasher,” it is often because the finish failed, allowing moisture to penetrate the wood fibers. In these cases, simply identifying the finish isn’t enough; the damaged boards may need to be replaced or deep-sanded to remove the oxidation before a new protective layer can be applied.
Conclusion & Call to Action
The “Alcohol Test” is a simple, low-cost way to gain professional-grade insight into your home’s history and its future. By taking ten minutes to test your floors before starting a project, you can avoid the “adhesion failure” nightmare that plagues so many DIY attempts. Whether you discover you have historic shellac or a stubborn modern varnish, knowing is half the battle.
Restoring the beauty of your home shouldn’t be a guessing game. If your tests leave you with more questions than answers, or if you’ve discovered a finish that requires professional equipment to remove, don’t hesitate to reach out. At JRK Flooring, we specialize in the delicate art of refinish hardwood floors kansas city. Contact us today for a professional assessment and let us help you bring your historic floors back to life with the precision and care they deserve.