The ‘Bucket Weight’ Trick for Leveling a Bouncy Plywood Subfloor
Most guys skip the leveling compound. They think the underlayment will hide the dip. It won’t. I spent three days grinding concrete on a job last month just so the floor wouldn’t click like a castanet. That job taught me that if you ignore the substrate, the substrate ignores your contract. When you walk across a finished floor and feel that subtle, sickening give beneath your feet, you are feeling the failure of a structural system. It is not just a cosmetic annoyance. It is a mechanical breakdown. In my twenty five years of crawling through dusty subfloors and measuring moisture with clinical precision, I have seen every shortcut imaginable. None of them work. If you want a floor that stands the test of decades, you have to look at the chemistry of the bond and the physics of the joist.
The physics of deflection and floor failure
Deflection and joist spacing determine the ultimate stability of any flooring installation, whether you are laying down laminate or expensive solid oak. Deflection is the technical term for how much a floor bends under a specific load. Most building codes require a deflection limit of L over 360, which means the floor should not bend more than the length of the span divided by 360. If your joists are sixteen inches on center, you have a very different structural reality than if they are twenty four inches on center. A bouncy subfloor is often the result of thin plywood or over spanned joists. When the subfloor moves, the flooring on top of it must move too. In laminate installations, this movement causes the delicate click lock mechanisms to fatigue and eventually snap. Once those tongues and grooves break, the floor is essentially floating in pieces, leading to gaps and peaks that no amount of floor wax can hide.
The bucket weight trick for identifying voids
Identifying subfloor voids requires more than just a visual inspection, and the bucket weight trick is the most reliable field method for finding hidden bounciness. You fill four or five 5 gallon buckets with water or heavy sand. Each bucket of water weighs roughly forty two pounds. You place these buckets in a grid pattern across the area where you suspect a dip or a bounce. The weight of the buckets simulates the live load of a human walking across the room but provides a static point of reference. While the buckets are in place, you use a ten foot straightedge to check for gaps under the bar. If the plywood sinks under the weight of the buckets, you have found a structural void where the subfloor is not properly seated against the joist. This is the moment to act. You can use specialized subfloor screws to pull the plywood tight to the framing, or you may need to inject a high density structural foam or epoxy into the void to provide a solid base for floor leveling compounds later.
“A floor is only as good as the subfloor beneath it; deflection is the enemy of every joint.” – Master Flooring Axiom
Chemical bonding and self leveling underlayment
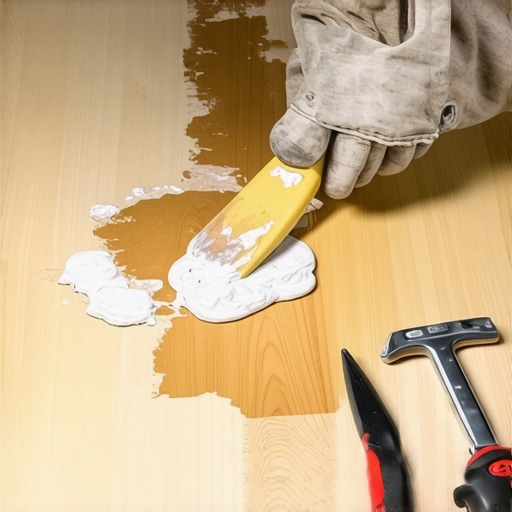
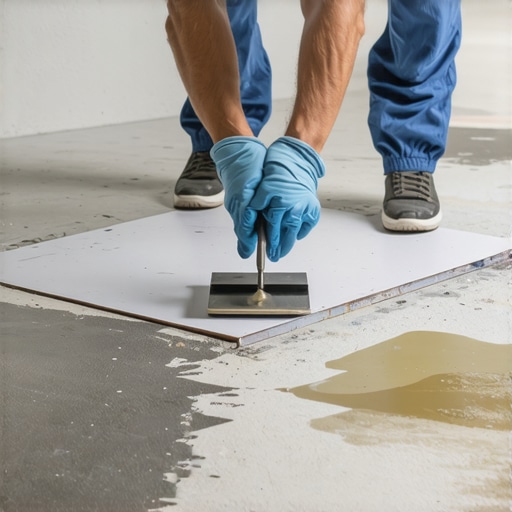
Self leveling underlayment is a high performance cementitious product designed to create a perfectly flat surface, but it requires a sophisticated chemical bond to the plywood. You cannot simply pour leveler onto old OSB or plywood and expect it to stay. You must use a dedicated primer, often a synthetic latex or acrylic polymer, which penetrates the wood fibers and creates a bridge for the cement. This primer prevents the dry wood from sucking the moisture out of the leveler too quickly. If the leveler loses its hydration before the crystalline structure forms, it will become brittle and crack. This is why many DIY floor leveling attempts fail within the first year. The material must reach a specific compressive strength, often measured in thousands of pounds per square inch, to support the static and dynamic loads of furniture and foot traffic. I prefer a modified thin set for smaller patches, as the polymers provide more flex than standard Portland cement.
Laminate and the snapping joint catastrophe
Laminate flooring systems rely on mechanical tension to stay together, and subfloor dips are the primary cause of joint failure. When a laminate plank spans a 3/16 inch dip, every step forces the joint to bend. After a few thousand cycles of this bending, the HDF core of the plank begins to delaminate. You will start to hear a clicking or crunching sound. That is the sound of your floor dying. Many people think they can fix this with a thicker underlayment. They are wrong. While a high quality underlayment provides sound dampening, too much cushion actually increases the vertical movement of the planks. This extra compression puts even more stress on the locking system. You need a flat subfloor, not a soft one. The industry standard is a deviation of no more than 3/16 of an inch over a ten foot radius. If you exceed that, you are gambling with the longevity of the installation.
| Subfloor Material | Minimum Thickness | Deflection Limit | Acclimation Time |
|---|---|---|---|
| Plywood (CDX) | 3/4 inch | L/360 | 48-72 Hours |
| OSB (Sturd-I-Floor) | 23/32 inch | L/360 | 48-72 Hours |
| Concrete Slab | 4 inches | N/A | 28-60 Days |
Carpet install secrets and subfloor telegraphing
Carpet install quality is often overlooked because people assume the pad will hide everything. In reality, a bouncy or uneven subfloor will eventually telegraph through the carpet. If you have a loose seam in your plywood, the constant rubbing of the wood edges will wear down the carpet backing from the underside. This creates a visible line in the middle of the room that looks like a stain but is actually mechanical wear. When I do a carpet install, I spend more time with a screw gun and a level than I do with the power stretcher. I make sure every sheet of plywood is fastened every six inches on the edges and every twelve inches in the field. I also check for squeaks. A squeak is just a cry for help from a loose fastener. If you don’t fix the squeak before the carpet goes down, you will hear it for the next twenty years. Use a ring shank nail or a floor screw. Smooth nails are useless because they eventually back out as the wood seasons and dries.
Showers and the slope of structural integrity
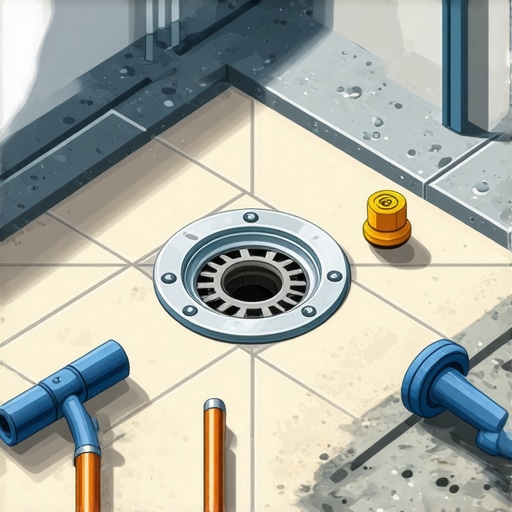
Showers and wet areas represent the highest stakes for floor leveling and subfloor preparation. In a bathroom, you aren’t just worried about a bounce; you are worried about the catastrophic failure of the waterproofing membrane. If the subfloor under a shower pan deflects, the waterproofing will stretch and eventually tear at the corners or the drain assembly. The TCNA standards for showers are incredibly strict for a reason. You need a subfloor that is twice as stiff for tile as you do for wood. This often means adding a second layer of 3/8 inch plywood over the existing subfloor, glued and screwed in a specific pattern. You must never use OSB under a shower pan because if it gets wet even once, it swells like a sponge and loses all structural integrity. I always use a mud bed or a high density foam tray, but even those require a perfectly level starting point to ensure the 1/4 inch per foot slope toward the drain is maintained.
“Subfloor preparation is 90 percent of the labor but only 10 percent of the glory; ignore it at your own peril.” – TCNA Installation Guide
The 1/8 inch that ruins everything
Precision measurements are the difference between a professional result and a weekend hack job. Most people look at a 1/8 inch gap and think it is negligible. In the world of flooring, 1/8 of an inch is a mountain. If your subfloor is 1/8 of an inch out of level over a short span, your baseboards will show huge gaps, your doors will rub, and your transitions will trip people. I use a laser level for every single room I prep. I map out the high and low spots with a wax pencil directly on the subfloor. This map tells me exactly where I need to apply more leveler and where I need to sand down a high joist. If you are working in a region with high humidity, like the coastal areas, you have to account for the wood swelling. If you level a floor when the wood is at its maximum expansion, it might sink when the dry season hits. Professional installers always check the moisture content of the subfloor before they even open a bag of leveler.
- Check joist spacing and plywood thickness before starting.
- Use the bucket weight trick to find hidden subfloor voids.
- Apply a high quality primer to all wood surfaces before leveling.
- Fasten loose plywood with floor screws to eliminate squeaks.
- Ensure all transitions between rooms are at the same elevation.
- Verify that the moisture content is within the manufacturer’s range.
Final assessment of structural floor preparation
Building a floor that lasts requires a deep understanding of materials and a refusal to cut corners. When you use the bucket weight trick, you are not just checking for levelness. You are checking for the soul of the house. A floor that feels solid underfoot gives a sense of security that a cheap, bouncy installation can never provide. Whether you are prepping for a carpet install or a complex tile layout in showers, the rules of physics remain the same. Gravity always wins. Moisture always moves. And a bad subfloor always reveals itself eventually. Invest the time in floor leveling today, or you will spend the next decade listening to the clicks and groans of a failing system. The sawdust under my nails is a reminder that the best work is often the work that no one ever sees once the final plank is laid. Do it right the first time so you never have to do it again.