How to Fix a Spongy Spot in Your Plywood Subfloor Fast
The reality of structural subfloor failure
I spent three days grinding concrete on a job last month just so the floor wouldn’t click like a castanet. Most guys skip the leveling compound because they think the underlayment will hide the dip. It won’t. If you have a spongy spot in your plywood subfloor, you are looking at a structural failure, not a cosmetic one. I have seen guys try to ignore a soft spot under laminate or carpet install projects only to have the locking mechanisms snap or the padding wear through within months. A floor is only as good as the performance surface beneath it. You can smell the oak dust and the WD-40 on my clothes after a day of tearing these failures apart. This is about physics, chemistry, and the uncompromising rules of the NWFA. You have a void, a rot pocket, or a deflection issue that needs an immediate fix before you lay a single square foot of finish material.
The anatomy of a failing subfloor
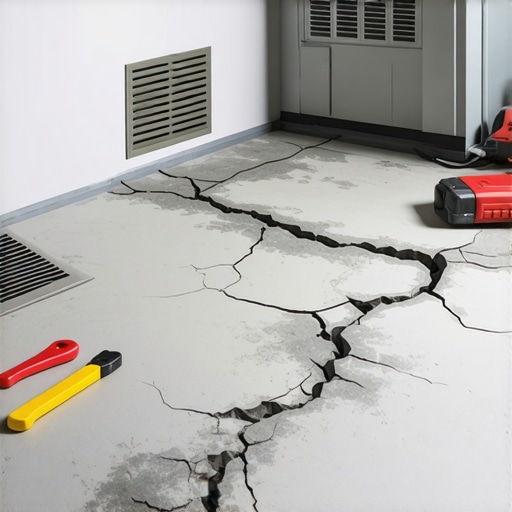
A spongy spot in a plywood subfloor usually signals delamination, moisture intrusion, or structural deflection between floor joists. Fixing it involves cutting out the damaged area, installing blocking, and replacing the plywood with APA-rated sheathing of identical thickness. This prevents laminate failure and cracked grout in showers. Most people assume the wood is just old, but the reality is often more sinister. You might be dealing with a slow leak from a nearby bathroom or a crawlspace that is pumping 100 percent humidity into the underside of your boards. Plywood is an engineered sandwich of wood veneers held together by phenolic resins. When those resins fail due to water or repetitive stress, the layers separate. This is called delamination. Once those layers are no longer working as a single unit, the structural integrity of the sheet drops by over 80 percent. You are essentially stepping on a stack of loose paper. If you try to put a carpet install over this, the constant flexing will act like a bellows, pumping dust into your home. If you put laminate over it, the tongue and groove joints will rub together until they turn to sawdust.
“A floor is only as good as the subfloor beneath it; deflection is the enemy of every joint.” , Master Flooring Axiom
Why your subfloor is lying to you
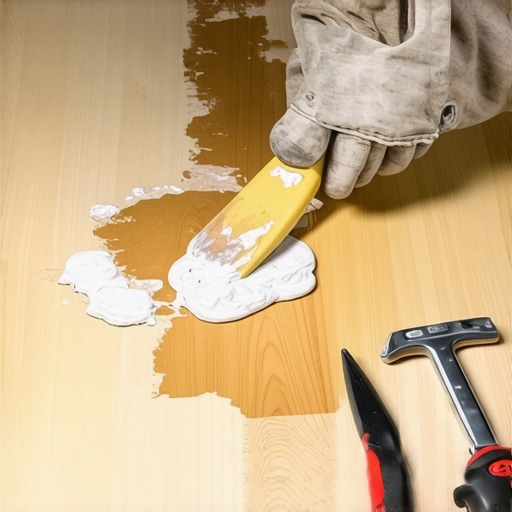
The levelness of a subfloor is different from being flat, and a spongy spot often masks deeper structural problems like undersized joists. You must use a straightedge to find dips and crowns before applying floor leveling compounds. A moisture meter is mandatory for accurate diagnosis. I have walked onto jobs where the homeowner thought they just had a ‘squeak’ and it turned out the subfloor was only 1/2 inch thick, which is a joke for anything other than a birdhouse. You need 3/4 inch minimum for a stiff floor. When you walk across a room and the china in the cabinet rattles, that is deflection. The industry standard for most flooring is L/360, meaning the floor should not bend more than the span of the joists divided by 360. For natural stone or showers, that requirement jumps to L/720. If you have a spongy spot, you are likely at L/50. You are in the danger zone. [image_placeholder_1]
The physics of the sag
A soft spot occurs when the fastener withdrawal strength of the plywood is compromised or the internal bond of the veneer layers is gone. High humidity in regions like Houston or coastal Florida can swell the wood fibers, causing permanent thickness swelling. This makes floor leveling impossible without structural replacement. You cannot just pour leveler over a sponge. Leveling compound is basically high-strength concrete with polymers. It is heavy. If you pour a 50 pound bag of leveler over a spot that is already sagging, you are just adding a heavy rock to a failing bridge. It will sink further. You have to create a rigid, unmoving base first. This is where the grinder comes in. You have to remove the high spots of the plywood or concrete and then build up the lows with a material that has a compressive strength of at least 3,000 PSI.
| Material Type | Janka Hardness / Grade | Expansion Gap Required | Best Use Case |
|---|---|---|---|
| CDX Plywood | C-D Exposure 1 | 1/8 Inch | Standard Subfloors |
| OSB (Advantech) | High Density Resin | 1/8 Inch | Moisture Resistance |
| AC Plywood | A-C Grade | 1/16 Inch | Underlayment for Vinyl |
| Marine Plywood | Waterproof Glue | 1/8 Inch | High Moisture Areas |
The 1/8 inch that ruins everything
Proper subfloor repair requires a 1/8 inch expansion gap between all plywood panels to prevent buckling and peaking. This gap allows the wood to expand and contract with seasonal humidity changes without stressing the laminate or carpet install. If you butt those sheets tight against each other, the first time the humidity hits 60 percent, those edges are going to push against each other and lift right off the joists. That creates a ‘peak’ that will telegraph through any flooring you put on top. I see it in the dry heat of Phoenix and the swamps of Louisiana alike. Wood is a hygroscopic material. It wants to be as wet as the air around it. If you don’t give it room to grow, it will find its own room by moving upward. This is why I use a 10-penny nail as a spacer when I am dropping in a patch. It is a simple tool, but it saves the floor from a slow-motion wreck.
“Subfloor panels must be installed with a 1/8 inch gap at all edge and end joints to provide for expansion.” , NWFA Installation Guidelines
The adhesive chemistry of a permanent fix
Using subfloor adhesive like PL Premium or polyurethane glue is mandatory for fixing spongy spots because it bridges the gap between the joist and the wood. This creates a monolithic structure that eliminates squeaks and vertical movement. Mechanical fasteners like screws are only half the battle. Screws provide the clamping force, but the glue provides the shear strength. I never use drywall screws for flooring. They are brittle and the heads will snap off the moment the house settles. You need 2-inch or 2.5-inch deck screws or specific subfloor screws with a ribbed shank. When the glue cures, it fills the microscopic voids between the wood and the steel or wood joist. This stops the ‘clicking’ sound that drives homeowners crazy. If you are working over concrete, the chemistry changes. You need a moisture-cured urethane adhesive that can handle the high pH of the slab.
Checklist for a structural subfloor patch
- Identify the center of the nearest joists using a stud finder or a pilot hole.
- Set your circular saw depth to exactly the thickness of the plywood to avoid cutting joists.
- Cut out the damaged section in a neat rectangle.
- Install 2×4 or 2×6 blocking between the joists to support the edges of the new patch.
- Apply a generous bead of subfloor adhesive to all joist and blocking surfaces.
- Screw the new APA-rated plywood patch every 6 inches along the perimeter.
- Leave a 1/8 inch gap around the entire patch for expansion.
Selecting the right structural plywood
The performance category of your replacement wood matters more than the price point. For showers and high-moisture areas, use Exposure 1 rated plywood or marine-grade panels to ensure the adhesives do not hydrolyze over time. Avoid ‘shop grade’ or ‘utility’ plywood. It has internal voids where the veneers don’t meet. If you happen to put the leg of a heavy piano or a kitchen island right over one of those voids, the floor will punch through. I always look for the APA stamp. If it isn’t there, the wood isn’t going in the house. OSB has come a long way, and products like Advantech are actually more water-resistant than standard plywood, but for a small patch, I prefer the rigidity of a high-ply count Douglas Fir panel. It holds screws better and doesn’t swell at the edges as much when you are doing floor leveling work.
The click lock nightmare and deflection
While most people want the thickest underlayment, too much cushion actually causes the locking mechanisms on laminate or LVP to snap under pressure. A spongy subfloor exacerbates this by increasing the vertical travel of the planks. You think you are making the floor ‘softer’ or ‘quieter’ by adding foam, but you are really just creating a trampoline. When you step on a joint that has a void underneath it, the tongue is forced down while the groove stays put. Do that ten thousand times and the plastic or wood fiber snaps. Now you have a floating floor that is actually floating away from itself. The fix isn’t more foam. The fix is a rock-solid subfloor. I tell people to spend their money on the wood they can’t see, because the wood they can see depends on it.
Moisture meters and the invisible enemy
You cannot fix a floor fast if you don’t know the moisture content of the subfloor and the framing. A pin-less moisture meter can reveal leaks in showers or condensation under laminate before you install new material. If your joists are at 18 percent moisture and you screw down dry plywood at 8 percent, that floor is going to move like a tectonic plate. You have to wait for the wood to acclimate. In a carpet install, moisture leads to mold in the pad. In a shower, it leads to rot in the plate. I don’t care how fast you want the job done. If the meter says it is wet, you wait or you bring in the dehumidifiers. I have walked away from jobs where the builder wanted me to install over wet subfloors. My reputation is worth more than a quick check. You should treat your own home with the same respect. Stop the water, dry the wood, then fix the sag. ArticleSchema: {“@context”:”https://schema.org”,”@type”:”TechArticle”,”headline”:”How to Fix a Spongy Spot in Your Plywood Subfloor Fast”,”description”:”Expert guide on repairing subfloor deflection and soft spots using structural blocking and proper plywood patching techniques.”,”author”:{“@type”:”Person”,”name”:”Master Flooring Architect”}}