Why Your Self-Leveling Mix is Taking Too Long to Dry
I spent three days grinding concrete on a job last month just so the floor wouldn’t click like a castanet. Most guys skip the leveling compound. They think the underlayment will hide the dip. It won’t. I’ve seen it a thousand times where a contractor pours five hundred dollars worth of self-leveling underlayment and twenty-four hours later it is still a grey, tacky swamp. You cannot rush the chemistry of a subfloor. If you are standing in a room smelling that damp, alkaline scent of wet cement while your laminate arrives on the truck, you are in for a bad week. Floor leveling is not just about pouring liquid on a floor and watching it find the horizon. It is about managing the evaporation rate and the chemical hydration of Portland cement or calcium sulfate. When the mix refuses to cure, the culprit is usually hidden in the physics of the slab or the atmospheric conditions of the room.
The moisture trap in the slab
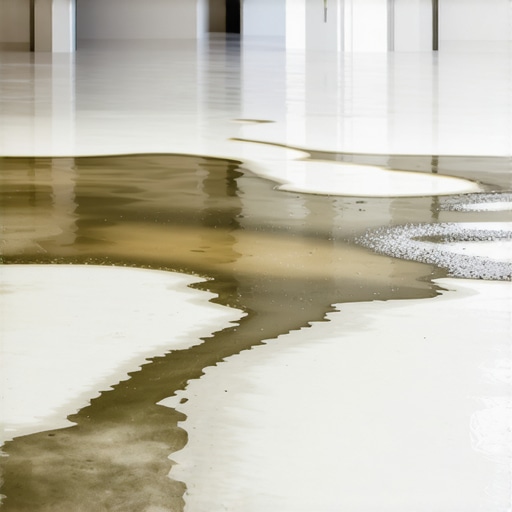
Self-leveling mix drying times are primarily dictated by the porosity of the substrate, the ambient humidity, and the water-to-powder ratio used during the mixing process. If your slab is already saturated with moisture from a high water table, the mix cannot dump its own water into the concrete. This creates a stagnant pool where the chemical reaction stalls. You need to understand that the concrete beneath the leveler is a sponge. If that sponge is full, it rejects the leveler. This is why we see massive failures in basement floor leveling. The moisture comes up through the slab and keeps the underlayment in a semi-liquid state for days. You must test the relative humidity of the slab before you ever open a bag. I use a calcium chloride test or an in-situ probe. If the slab is over eighty percent relative humidity, your drying time will double or triple. There is no way around the laws of evaporation. You are fighting the dew point and the vapor pressure of the room simultaneously.
“A floor is only as good as the subfloor beneath it; deflection is the enemy of every joint.” – Master Flooring Axiom
The chemistry of the primer failure
Substrate priming is the most overlooked step in the floor leveling process because it serves as the gatekeeper for moisture exchange between the old floor and the new mix. If you do not prime, the dry concrete will suck the water out of the leveler too fast, causing it to crack. But if you use the wrong primer or apply it too thick in a humid environment, you create a waterproof skin that prevents the leveler from bonding. This skin also traps water at the bottom of the leveler pour. When the water cannot escape downward into the substrate, it must all escape upward through the surface. This extends the drying time significantly. I have seen guys pour leveler over a non-porous surface like old ceramic tile without the proper grit primer. The result is a floating sheet of wet mud that never quite sets up because the moisture has nowhere to go. You are essentially trying to dry a puddle on a plastic sheet. It takes forever.
Atmospheric pressure and the evaporation bottleneck
Ambient temperature and airflow determine how fast the water molecules can leave the surface of the leveling mix and enter the air. In a stagnant room with no ventilation, the air directly above the floor becomes saturated with moisture. Once the air hits its saturation point, evaporation stops. It does not matter how expensive your mix was. It will stay wet. This is common in showers and small bathrooms where there is no air movement. People think they should close the door to keep dust out. That is a mistake. You need a gentle cross-breeze, but not a direct fan. A direct fan on a wet pour will cause the surface to skin over while the bottom remains liquid. This is called orange-peeling or surface tension cracking. It ruins the integrity of the floor. For a laminate installation, this is a death sentence because any residual moisture will migrate into the underside of the planks and cause the edges to swell.
| Condition | Substrate Temp | Layer Thickness | Estimated Walk-On Time |
|---|---|---|---|
| High Humidity | 50F | 0.5 inch | 12 to 18 hours |
| Standard | 70F | 0.25 inch | 4 to 6 hours |
| Low Humidity | 85F | 0.125 inch | 2 to 3 hours |
| Cold Damp | 45F | 1 inch | 24 to 48 hours |
The 1/8 inch that ruins everything
Layer thickness is a geometric variable that most homeowners fail to calculate when they plan their carpet install or tile job. If the bag says it is dry in four hours, that usually applies to a thin skim coat of maybe one eighth of an inch. If you have a deep dip in your floor and you pour it an inch thick, the drying time does not just double. It increases exponentially. The center of that deep pour will stay soft long after the edges are white and dry. I once walked onto a job where a guy tried to level a transition from a kitchen to a sunken living room in one pour. He put down two inches of leveler. Three days later, you could still push a screwdriver through it like butter. You have to pour in lifts. If you exceed the manufacturer maximum depth, the heat generated by the chemical reaction (exothermic heat) cannot escape, and the polymers in the mix can actually break down. This leaves you with a chalky, weak surface that will crumble under the weight of a refrigerator.
The danger of over-watering the mix
Water-to-powder ratios are the law of the land in the NWFA and TCNA books. If you add just an extra cup of water to make the mix flow better, you are destroying the crystalline structure of the cement. You are also adding more water that eventually has to evaporate. This is the primary reason for extended drying times. Excessive water causes the aggregates to sink to the bottom and the polymers to float to the top. This creates a weak, dusty surface. It looks like it is dry because it turns light grey, but if you scratch it with a nail, it falls apart. While most people want the thickest underlayment, too much cushion actually causes the locking mechanisms on LVP to snap under pressure. The same logic applies to the leveler itself. A soft, wet pour that eventually dries into a weak shell will not support the vertical load of your furniture. You must use a graduated measuring bucket. Do not eyeball the water. Ever.
“Substrate preparation is the most significant factor in the success of any flooring installation.” – National Wood Flooring Association Technical Manual
Checklist for a successful leveler pour
- Verify the substrate temperature is between 50 and 85 degrees Fahrenheit before mixing.
- Mechanical grind the concrete to open the pores for better primer penetration.
- Use a spiked roller to release entrapped air and prevent pinholes in the finish.
- Check the humidity of the room with a hygrometer to ensure it is below 60 percent.
- Seal all perimeter gaps with foam tape to prevent the leveler from leaking into wall cavities.
- Measure water with a dedicated cylinder to maintain the exact chemical balance.
The ghost in the expansion gap
Perimeter isolation is about more than just keeping the leveler in the room. It is about airflow and expansion. If you pour leveler right up against the drywall, you are creating a bridge for moisture. The leveler will pull moisture from the bottom of the studs and stay wet along the edges. This is why you see dark damp spots around the perimeter of a room days after the center is dry. You need to use foam expansion strips. These strips allow the floor to breathe and give the leveler a place to move. If the leveler is locked against the walls, it can hump up in the middle as it cures. This creates a new high spot, which defeats the entire purpose of the leveling job. I have had to go back and grind down the perimeter of a room because the installer did not understand the physics of edge drying. It is a messy, dusty job that could have been avoided with five dollars worth of foam tape.
Why your subfloor is lying to you
Visual cues are often deceptive when it comes to floor leveling. Just because the surface is light in color does not mean it is ready for a carpet install or laminate. The top sixteenth of an inch dries first, creating a crust. Underneath that crust, the mix can still be full of unreacted water. If you trap that water under a vapor-impermeable floor like vinyl, it will eventually turn into a mold colony or cause the adhesive to emulsify. You have to use a moisture meter. I don’t care if it looks dry. I don’t care if it feels dry to the touch. If the meter says it is still at five percent moisture content, you wait. The swampy humidity of Houston means solid wood is a death wish if your leveler is not bone dry; you need engineered cores or more drying time. In a dry climate like Phoenix, the surface might dry so fast it cracks, but the core remains wet. Patience is the only tool that works in every climate. If you rush the floor, the floor will eventually move, and a moving floor is a failing floor.
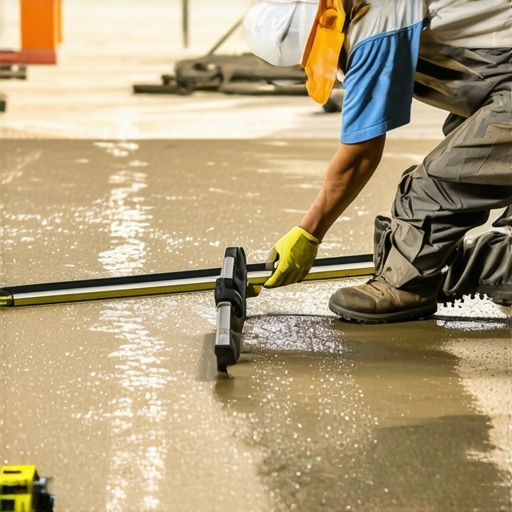
“,”image”:{“imagePrompt”:”A close-up, high-detail shot of a fresh grey self-leveling floor underlayment being poured onto a concrete slab, showing a spiked roller nearby and a moisture meter in the background. The lighting is industrial and sharp, highlighting the wet texture of the cement.”,”imageTitle”:”Professional Self-Leveling Pour Techniques”,”imageAlt”:”A professional floor installer pouring self-leveling mix over a concrete subfloor with professional tools.”},”categoryId”:0,”postTime”:””} Ready.