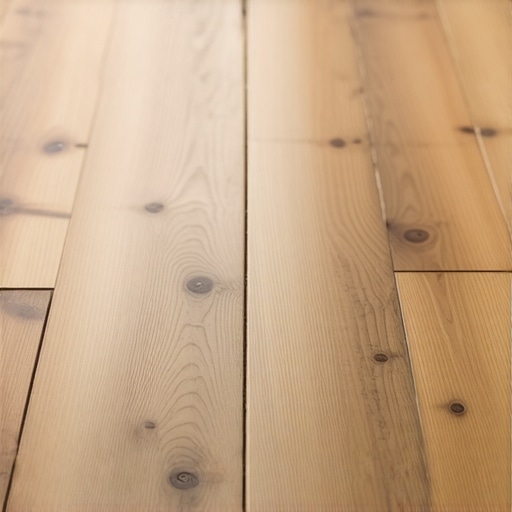
How to fix a laminate plank that has a chipped corner
Most guys skip the leveling compound. They think the underlayment will hide the dip. It won’t. I spent three days grinding concrete on a job last month just so the floor wouldn’t click like a castanet. That experience taught me that every failure on the surface, including that annoying chipped corner you are looking at right now, usually starts with a failure of physics beneath the boards. When a subfloor has a dip, the locking mechanism of your laminate flexes every time someone walks over it. That repeated stress eventually causes the melamine wear layer to fatigue and snap at its weakest point, which is almost always the corner of the plank.
The structural anatomy of a laminate chip
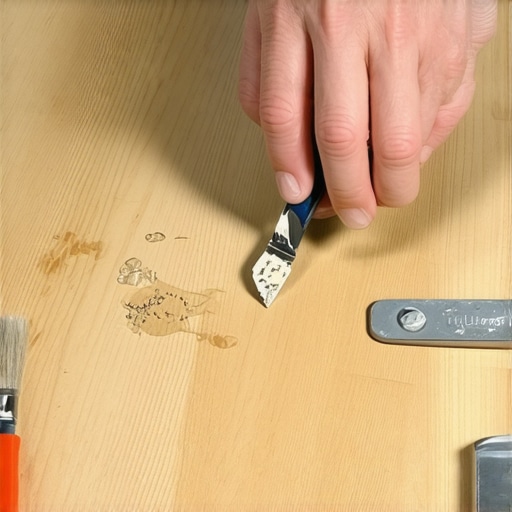
Fixing a chipped laminate plank corner requires identifying the depth of the damage and using color-matched hard wax or acrylic resin fillers to restore the protective wear layer. For minor surface chips, burn-in wax sticks provide the most durable bond, while plank replacement is necessary if the locking joint itself has failed structurally.
Laminate is not a solid piece of wood. It is a high-density fiberboard core, or HDF, sandwiched between a melamine wear layer and a balancing backing paper. The core is essentially wood flour and resin compressed under immense pressure. When you chip a corner, you are exposing that thirsty HDF core to the environment. If you do not seal it quickly, humidity from the air or moisture from your mop will get inside those fibers. Once the fibers swell, the chip will grow from a cosmetic nuisance into a structural delamination that ruins the entire row. The AC rating of your floor, whether it is AC3 for residential or AC5 for heavy commercial, tells you how tough that top layer is, but even the strongest melamine cannot withstand the impact of a dropped heavy object or the grinding pressure of a shifting subfloor.
Selecting the right filler for high density fiberboard
Choose a repair material that matches the hardness of your flooring surface, such as hard wax melts for high-traffic areas or plank-specific putty for smaller, low-stress repairs. Ensure the pigment match accounts for the grain variation in the wood grain print to make the repair invisible to the naked eye. Most retail wood fillers are too soft for the rigid surface of a laminate floor and will eventually crumble out.
The chemistry of the filler matters. Traditional wood putties stay somewhat flexible, which is great for solid oak but terrible for laminate. You want something that cures to a shore hardness similar to the melamine itself. This is why I always recommend hard wax kits. You use a small battery-operated heating tool to melt the wax into the chip. The wax bonds at a molecular level to the exposed HDF fibers and creates a waterproof seal. You can even mix different colors of wax while they are molten to mimic the natural oak or hickory grain. It is a bit like being an artist, but with a lot more sawdust under your nails.
“A floor is only as good as the subfloor beneath it; deflection is the enemy of every joint.” – Master Flooring Axiom
The surgical method for plank replacement
Replace a single laminate plank by cutting it out with a circular saw set to the exact depth of the board, removing the center, and collapsing the remaining edges inward. This technique, often called the surgical cut, allows you to install a new board without dismantling the entire floor by removing the locking tongues and using high-strength adhesive on the grooves.
This is where things get technical. If the chip is too large for wax, you have to go in. You start by marking a rectangle about an inch inside the perimeter of the damaged board. You set your track saw or circular saw to the precise thickness of the laminate, usually around 8mm to 12mm. You do not want to nick the underlayment or the subfloor. After making your relief cuts, you carefully pry out the center. Then, you make diagonal cuts to the corners. This lets you pull the tongues out of the surrounding boards without damaging their grooves. On the new board, you have to shave off the locking lip. You apply a bead of PVA wood glue or a specialized flooring adhesive to the remaining groove, drop the board in, and weight it down with something heavy, like a stack of extra flooring boxes or a few buckets of joint compound, for at least twenty-four hours.
Comparing laminate repair methods
| Repair Method | Durability Level | Best Use Case | Cure Time |
|---|---|---|---|
| Hard Wax Melt | High | Corner chips and deep gouges | Immediate |
| Acrylic Putty | Medium | Fine scratches and micro-chips | 4 to 6 hours |
| Plank Replacement | Maximum | Structural joint failure | 24 hours |
| Stain Marker | Low | Surface scuffs only | Instant |
Why subfloor leveling prevents corner fractures
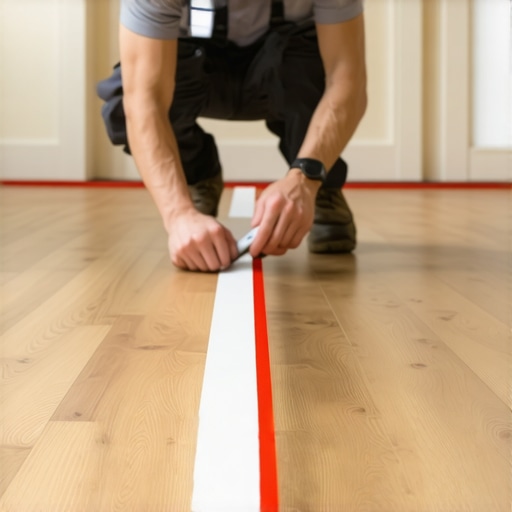
Prevent corner chipping by ensuring the subfloor meets the 1/8 inch over 10 feet flatness standard required by most manufacturers. A level subfloor eliminates vertical deflection, which is the primary cause of joint stress that leads to the melamine layer snapping at the plank interfaces. If your floor feels like a trampoline, no amount of wax will keep those corners from breaking.
I have seen it a thousand times. A homeowner buys the most expensive waterproof laminate they can find, but they hire a cut-rate installer who skips the floor leveling step. In a place like the humid South, that concrete slab is going to breathe. If there is a high spot in the concrete, the laminate will pivot over it like a seesaw. Every time you walk over that spot, the tongue and groove are grinding against each other. Eventually, the pressure becomes too much for the brittle melamine, and it pops. That is how you get a chip. You need to use a self-leveling underlayment or a high-compression strength floor patch to fill those voids before the first plank ever hits the ground. If you are working over a crawlspace, you also need to check the joist spacing to make sure there is no bounce in the plywood. Deflection is the silent killer of laminate floors.
“Moisture ingress at the joint interface is the primary catalyst for delamination in high-density fiberboard cores.” – Flooring Science Journal
Tools for a professional repair
- Battery-powered wax heating tool
- Hard wax sticks in multiple wood tones
- Plastic scraper or leveling tool
- Denatured alcohol for surface cleaning
- Fine-grit sandpaper (1200 grit or higher)
- Non-silicone floor polish for buffing
- Microfiber cloths
The science of the melamine wear layer
The melamine wear layer is a thermo-set plastic resin that is saturated into a decorative paper and pressed onto the HDF core. This layer provides scratch resistance and impact protection, but its brittle nature means it cannot bend, leading to chips when the underlying core moves or is struck by a hard object. Understanding this chemistry helps you realize why flexible fillers fail.
When we talk about AC ratings, we are talking about the Taber Abrasion Test. This involves a machine spinning a sandpaper disc over the surface until the pattern is worn through. An AC3 floor is rated for about 2,500 revolutions. An AC5 floor can take over 6,000. But here is the catch. The harder the wear layer is, the more brittle it becomes. It is like glass. It is very hard to scratch, but if you hit the edge of it just right, it will shatter. This is why the corners are the most vulnerable. They are the transition points where the protection is interrupted. When you are fixing a chip, you are essentially trying to create a new, localized wear layer that can stand up to the same foot traffic as the rest of the room. This is also why I tell people to avoid using steam mops. The heat and moisture from a steam mop can soften the resins in the wear layer over time, making it much easier for those corners to chip when you move a chair or drop a kitchen utensil.
Final structural considerations
Repairing a floor is about more than just aesthetics. It is about maintaining the integrity of the moisture barrier that the manufacturer worked so hard to create. If you have a chip in a bathroom or near a kitchen sink, that repair is a race against time. One spilled glass of water could be the end of that entire section of flooring if the water reaches the fiberboard core. Take the time to do it right. Clean the area thoroughly with denatured alcohol to remove any factory wax or oils. Melt the wax in layers. Use a sharp plastic scraper to level it off without scratching the surrounding boards. If you do it correctly, the only person who will know there was ever a chip is you and the guy who fixed it. Just remember that if you don’t fix the subfloor issues causing the movement, you will be back on your knees with that wax kit again in six months. Structural stability is the foundation of a long lasting floor installation.