The Painter’s Tape Hack for Perfect Laminate Transition Gaps
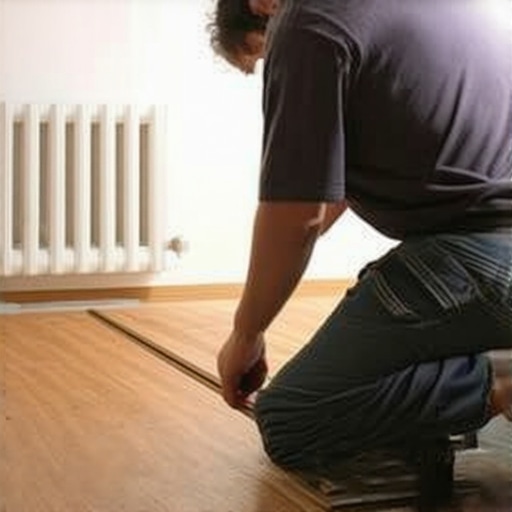
Most guys skip the leveling compound. They think the underlayment will hide the dip. It won’t. I spent three days grinding concrete on a job last month just so the floor wouldn’t click like a castanet. That job was a wake-up call for the homeowner. They bought a cheap laminate from a big-box store and expected it to perform like a structural slab. I had to explain that the floor is only as good as the prep. If you ignore the subfloor, the transition gaps will haunt you forever. I have seen thousand-dollar installs ruined by a two-dollar oversight. It is about the physics of the planks. Every piece of laminate is a living, breathing entity that reacts to the humidity in your crawlspace. If you do not respect the expansion gap, the floor will buckle. If you do not use the painter tape hack, your transitions will look like a DIY disaster. I have been on my knees for twenty-five years with a moisture meter and a level, and I can tell you that the difference between a pro and an amateur is found in the last eighth of an inch.
The hidden geometry of your subfloor
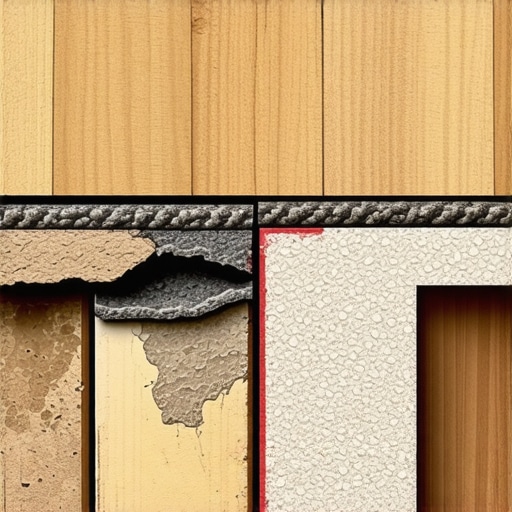
Floor leveling and subfloor preparation are the primary factors in determining whether your laminate transitions will remain stable or fail within the first year. A flat surface ensures that the transition molding sits flush against the flooring material, preventing the vertical movement that leads to snapped locking mechanisms and unsightly gaps. Most installers ignore the concrete slab. They assume the foam underlayment will act as a cushion for imperfections. It will not. In fact, a subfloor that is out of level by more than 3/16 of an inch over a 10-foot span will cause the transition strip to bounce. Every time someone walks over that threshold, the molding works loose. I use a 10-foot straightedge on every single job. If I find a dip, I fill it with a high-strength Portland cement-based leveler. If I find a hump, I grind it down. This is not optional. It is the structural foundation of the entire installation. When you are dealing with moisture-prone areas like showers or laundry rooms, the subfloor integrity becomes even more vital. A damp slab will rot the underside of your laminate before you even finish the baseboards. I always check the calcium chloride levels in the concrete. If the vapor emission is too high, you are essentially laying your floor on a sponge. You need a 6-mil poly film at minimum, but a dedicated moisture barrier is better for long-term stability.
“A floor is only as good as the subfloor beneath it; deflection is the enemy of every joint.” – Master Flooring Axiom
The physics of the transition gap ghost
Laminate flooring requires a specific expansion gap at every vertical obstruction to account for the core material expanding and contracting with changes in atmospheric humidity. The core of most laminate is High-Density Fiberboard, which is essentially compressed wood fibers and resin. When the humidity in a place like Houston hits 90 percent, those fibers soak up moisture and the floor grows. If you have pushed your planks tight against the transition track, the floor has nowhere to go but up. This creates a peak in the middle of the room. Conversely, in the dry heat of Phoenix, the floor will shrink. If your gap was too large to begin with, the plank will pull out from under the molding, leaving a visible hole. The painter tape hack solves the problem of keeping the molding perfectly centered during the curing process. You are fighting against the natural movement of the house. I always aim for a 1/4 inch gap at the transition, but the molding itself often wants to shift as the adhesive sets. By using high-quality blue tape, you can anchor the molding to the flooring planks on either side, ensuring it stays exactly where you put it while the glue bonds to the subfloor. It is a simple mechanical solution to a complex physical problem.
| Material Type | Recommended Gap | Acclimation Time | Wear Layer Mil |
|---|---|---|---|
| Standard Laminate | 1/4 Inch | 48 Hours | 12-20 Mil |
| Waterproof LVP | 3/8 Inch | 24 Hours | 20-22 Mil |
| Engineered Wood | 1/2 Inch | 72 Hours | N/A |
| Thick Core WPC | 1/4 Inch | 24 Hours | 28 Mil |
The painter tape hack for precision molding
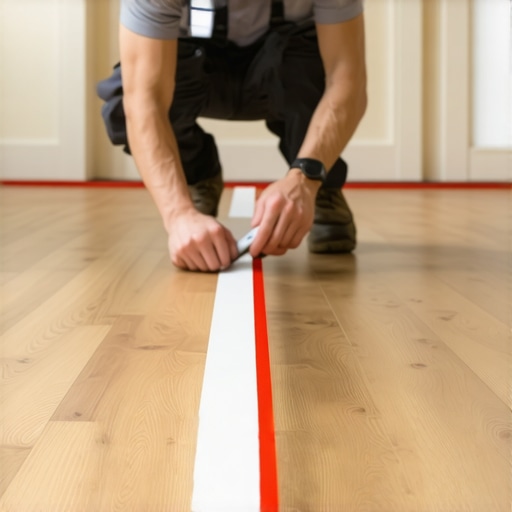
Applying painter tape across the transition molding and onto the adjacent planks creates a temporary bridge that holds the trim piece in a fixed position while the adhesive cures. This technique prevents the molding from tilting or sliding when you move to the next section of the house. I start by cleaning the surface of the laminate with denatured alcohol. Any sawdust or skin oils will prevent the tape from sticking. Once the track is down and the molding is cut to length, I apply a bead of construction adhesive to the bottom of the T-molding. I press it into place and then immediately run three-inch strips of tape every six inches across the joint. The tape acts as a set of extra hands. It maintains the downward pressure needed for a solid bond. I also use the tape to mark my expansion limits. By placing a piece of tape on the floor exactly 1/4 inch from the track, I have a visual guide that tells me if a plank has shifted during the install. It is about removing the guesswork. If you are doing a carpet install that meets laminate, the tape is even more important. It keeps the transition from shifting when the carpet kicker puts tension on the tack strip. Without the tape, that T-molding is going to move, and your gap will be ruined.
- Clean the flooring surface with a microfiber cloth and alcohol.
- Measure the expansion gap twice before cutting the molding.
- Apply a high-quality construction adhesive to the track or molding base.
- Press the molding firmly into the gap.
- Span the molding with three-inch strips of blue painter tape every six inches.
- Leave the tape in place for at least 24 hours to allow for full cure.
- Remove the tape slowly at a 45-degree angle to avoid adhesive residue.
Why too much cushion ruins the locking system
Using an underlayment that is too thick or too soft will cause the laminate locking mechanisms to fail because the floor deflects too much under foot traffic. While many homeowners want the softest feel possible, a spongy floor is a dying floor. When the floor sinks more than a millimeter or two, the tongue and groove joints are put under immense shear stress. Over time, the HDF core will crack. This leads to the clicking sound that every homeowner hates. I prefer a high-density rubber or felt underlayment that provides sound dampening without the vertical play. You want a firm base. If you can squeeze the underlayment between your thumb and forefinger and it flattens completely, it is trash. I tell my clients to look at the IIC and STC ratings. You want a high sound rating but a low compression set. This is especially true near transitions. If the floor on one side of a T-molding is softer than the other, the molding will eventually snap. The painter tape hack helps hide minor height differences, but it cannot fix a subfloor that is too bouncy. I have seen guys try to double up on underlayment to fix a low spot. That is a recipe for a callback. You are better off using a bag of leveling compound than a second layer of foam.
“Deflection in the subfloor is the primary cause of laminate joint failure; a firm base is not optional for floating floors.” – TCNA Installation Manual
The 1/8 inch that ruins everything
Precision cutting and gap management at the 1/8 inch level determine the professional quality of a laminate installation. If your cuts are jagged or your gaps are inconsistent, the transition molding will not sit flat. This creates a trip hazard and a collection point for dirt. I use a fine-tooth blade on my miter saw to ensure the edges of the laminate are clean. If the factory edge is damaged, I trim it. When you are working around showers or high-moisture areas, that 1/8 inch gap must be filled with a 100 percent silicone sealant before the transition goes down. This prevents water from getting under the floor and swelling the core. Most people think laminate is waterproof because the top layer is plastic. It is not. The edges are the weak point. If water sits in the transition gap, the floor will expand until it hits the wall. I always leave a bit of extra room in the track for the molding to breathe. If you hammer the T-molding in too tight, you are essentially locking the floor in place. It needs to float. The painter tape hack ensures that you maintain that delicate balance between a tight look and a functional gap. I have spent decades perfecting this, and it still comes down to the same thing every time. It is the attention to the smallest details that makes the floor last thirty years instead of three. Do not rush the transitions. They are the most visible part of the job and the most likely to fail if you cut corners.