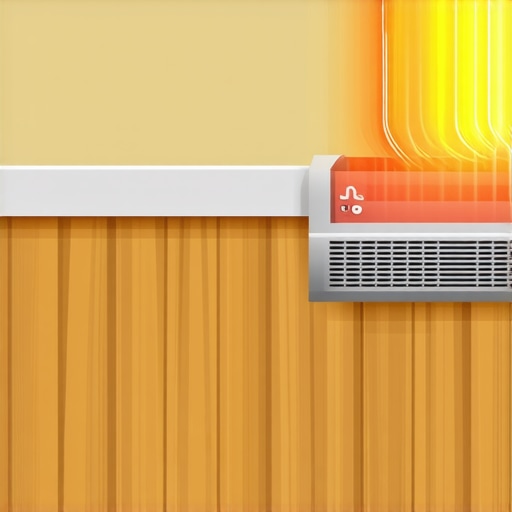
Why Your Laminate Planks Are Gapping Near the Radiant Heat Vent
I have spent twenty-five years on my knees with a tapping block and a moisture meter. I have seen every way a floor can fail. I once walked into a luxury home where the homeowner had spent twelve thousand dollars on a premium laminate install. Near every single radiant heat vent, the planks had separated. It looked like the floor was trying to run away from the registers. The owner was convinced the product was defective. It was not. The installer had treated the laminate like he was doing a standard carpet install, stretching it tight and ignoring the physics of thermal expansion. He did not level the subfloor. He did not account for the localized micro-climate created by the HVAC system. Now the tongues were snapped and the grooves were flared. This is what happens when you treat a performance surface like a piece of decorative plastic.
The thermodynamics of localized drying
Laminate planks gap near radiant heat vents because the concentrated dry air strips moisture from the high-density fiberboard core faster than the rest of the room can reach equilibrium. This localized drying causes the wood fibers in the HDF core to contract. Because the rest of the floor remains at a higher moisture content, the shrinking plank pulls away from its neighbor, putting immense stress on the click-lock mechanism. The heat from the vent reduces the relative humidity in that specific square foot to near zero during winter months. This is not just a cosmetic issue. It is a structural failure of the locking joint. When the material shrinks, the friction holding the tongue in the groove is overcome by the tension of the contraction. If the floor is pinned elsewhere by heavy furniture or a lack of expansion gaps, the vent area becomes the weakest link where the separation occurs.
“A floor is only as good as the subfloor beneath it; deflection is the enemy of every joint.” – Master Flooring Axiom
Why floor leveling determines your success
Floor leveling is the most overlooked step in preventing laminate gaps near heat sources because any dip in the subfloor creates vertical movement that weakens the locking joints before the heat even hits them. If your subfloor has a deviation of more than 3/16 of an inch over a ten-foot radius, you are asking for trouble. When a plank sits over a low spot near a vent, the air coming out of the register dries the joint. As people walk over that dried, brittle joint, the vertical deflection causes the tongue to snap. I spent three days grinding concrete on a job last month just so the floor would not click like a castanet. Most guys skip the leveling compound. They think the underlayment will hide the dip. It will not. The underlayment is there for sound and moisture, not for structural support. You must use a self-leveling underlayment or a high-quality patch to ensure the floor is dead flat before the first plank is laid.
The mechanical failure of the tongue and groove
The locking system of a laminate floor is a marvel of engineering, but it is fragile. Most modern floors use a variation of the Valinge or Uniclic system. These rely on a precise geometry of milled wood fibers. When heat vents blast hot air directly onto these joints, the lignin in the wood fibers can become brittle. The mechanical bond depends on the material maintaining a consistent density. If you look at a plank under a magnifying glass, you see a complex series of hooks and ridges. When the plank shrinks due to the heat, those ridges lose their grip. In many cases, the gap is not just the plank sliding; it is the physical failure of the hook. This is why you cannot just kick them back together. Once the joint is compromised, it will keep opening up every time the furnace kicks on.
| Material Type | Expansion Rate | Heat Sensitivity | Recommended Gap |
|---|---|---|---|
| HDF Laminate | Medium | High | 3/8 inch |
| Solid Hardwood | High | Moderate | 3/4 inch |
| Stone Polymer Composite | Low | Low | 1/4 inch |
| Engineered Wood | Medium-Low | Medium | 1/2 inch |
The difference between carpet install logic and floating floors
A floating laminate floor requires a completely different mindset than a carpet install because it is a living, moving entity that must be allowed to breathe across the entire subfloor. In a carpet install, you are tacking the material down, stretching it, and pinning it. If you try to pin a laminate floor by putting heavy cabinetry on it or by running it too tight to the wall, you are creating a disaster. The floor needs to move as one monolithic slab. Near a heat vent, the movement is most aggressive. If the floor is pinned on the opposite wall, the shrinkage at the vent has nowhere to pull from except the adjacent plank. This results in the gap you see. You must maintain at least a quarter-inch of space around every vertical obstruction, including the vent boots themselves. Never use silicone or caulk to fill the space between the floor and the vent cover. It will lock the floor in place and cause the joints to fail elsewhere.
Moisture migration from the showers
Moisture from nearby showers can migrate through the air and settle into the subfloor, creating a moisture imbalance that causes laminate planks to warp and gap when the heat vent dries the surface. In many homes, the master bathroom is right next to the bedroom where the laminate is installed. If you do not have adequate ventilation in the showers, that steam penetrates the drywall and the subfloor. The bottom of the laminate plank absorbs this moisture and expands. Meanwhile, the top of the plank is being hit by dry air from the heat vent. This creates a differential in the material. The bottom grows, the top shrinks, and the plank cups. A cupped plank will never stay locked. This is the structural reality of wood-based products. You must manage the ambient humidity of the entire floor, not just the temperature of the air.
“Wood is hygroscopic; it will always seek a state of equilibrium with its environment, regardless of the installer’s intent.” – NWFA Technical Guidelines
The chemical reality of the laminate core
Not all laminate is created equal. The density of the core is measured in kilograms per cubic meter. A cheap, big-box store floor might have a core density of 800. A professional-grade floor will be 900 or higher. The higher the density, the more stable the material is when exposed to the heat of a radiant vent. Cheap cores use more air and less resin. When the heat hits them, the air pockets expand and contract rapidly, leading to the failure of the urea-formaldehyde resins that hold the fibers together. While most people want the thickest underlayment, too much cushion actually causes the locking mechanisms on laminate to snap under pressure. You want a high-density, thin underlayment that provides support rather than bounce. Bounce is the enemy of the click-lock joint.
The 1/8 inch rule for expansion
Precision is not a suggestion in flooring; it is a requirement. If you leave a gap of 1/8 inch when the manufacturer calls for 3/8 inch, your floor will fail. It will buckle. Near heat vents, this rule is even more critical. I always double the expansion gap around HVAC registers. The metal of the ductwork itself expands when the heat is on, which can push against the flooring. If the flooring is already expanding due to seasonal humidity, the two materials will collide. This pressure is then transferred back into the first few rows of planks, causing them to disengage. It is a chain reaction of mechanical stress that could have been avoided with a simple spacer and a bit of patience during the layout phase.
Checklist for installing near heat vents
- Verify subfloor flatness with a 10-foot straightedge
- Acclimate planks in the room for at least 48 hours
- Install a moisture barrier over concrete slabs
- Maintain a 3/8 inch expansion gap around the vent boot
- Apply a drop of PVA wood glue to joints within 2 feet of the vent
- Ensure the vent cover is not screwed through the laminate
How to bridge the gap with suction and glue
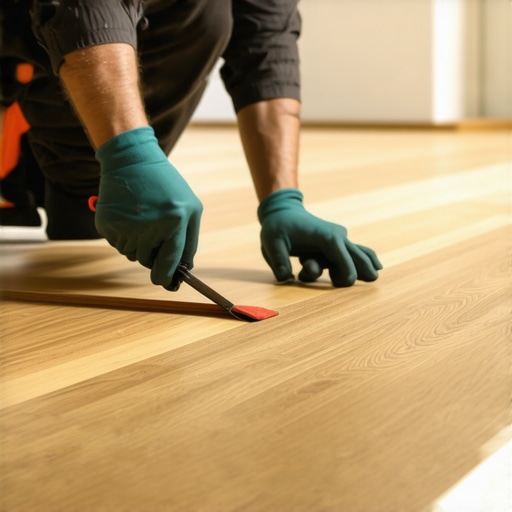
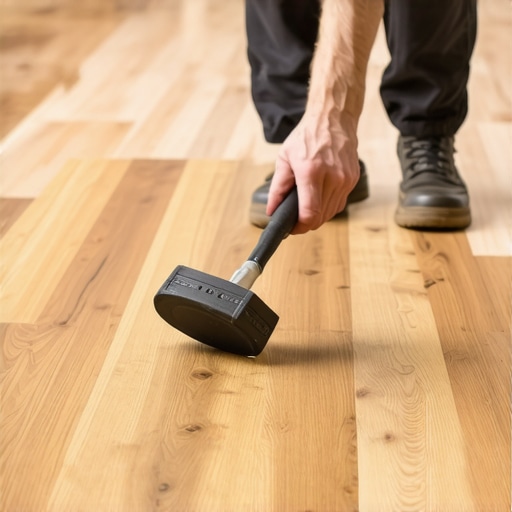
If you already have gaps, you do not necessarily have to rip up the whole floor. You can use a floor gap fixer, which is a tool with a high-strength suction cup and a striking surface. First, you must clean the debris out of the open joint using a vacuum and a thin pick. If there is dust in the groove, the planks will never close. Once clean, you apply a small amount of tongue and groove glue into the joint. Use the suction cup tool to tap the planks back together from the wall side. You must be careful not to damage the baseboards. This is a surgical repair, not a sledgehammer job. The goal is to re-establish the mechanical and chemical bond. This fix only works if the tongue has not been completely snapped off by previous foot traffic. If the wood fibers are gone, the only solution is a plank replacement, which involves a circular saw and a lot of nerves.