How to Fix a Chip in a Brand New Laminate Plank Without Replacing It
Dropping a heavy tool or a sharp kitchen knife on a freshly installed laminate floor is a specialized kind of heartbreak that only a professional installer truly understands. Most homeowners assume the only way to restore the perfection of their new surface is to dismantle the entire floor starting from the nearest wall, but that is a dangerous path that often leads to damaged locking mechanisms and compromised structural integrity. My name is a veteran of the floor trade, and I have spent over twenty five years mastering the physics of subfloors and the chemistry of surface repairs. I have seen it all. I once spent three days grinding concrete on a job last month just so the floor wouldn’t click like a castanet because the previous guy thought the underlayment would hide a half inch dip. It won’t. A floor is only as reliable as the foundation it sits upon, and a repair is only as good as the technician’s patience.
The microscopic anatomy of a laminate chip repair
Laminate floor chips represent a breach in the protective aluminum oxide wear layer that exposes the vulnerable high density fiberboard core to moisture and physical degradation. Fixing these spots requires specialized hard wax fillers, acrylic resins, or professional burn-in sticks that bond at a molecular level with the synthetic resins used in modern flooring manufacturing. To understand the repair, we must first look at the laminate plank as a multi-layered engineering marvel. The top layer is a transparent wear layer made of cellulose paper impregnated with melamine resin and aluminum oxide. This layer is what gives the floor its AC rating, or Abrasion Class. Beneath that is the decorative layer, which is essentially a high-resolution photograph of wood grain or stone. Underneath the photo sits the core, usually High-Density Fiberboard (HDF). When you chip the floor, you are usually seeing the tan or brown HDF core peeking through the white or gray wear layer. This core is basically compressed sawdust and phenolic resin. It is incredibly thirsty. If you leave a chip unsealed, any moisture from cleaning or humidity will cause the HDF to swell, leading to peaked edges that no amount of wax can fix. This is why immediate intervention is mandatory.
Why your subfloor is lying to you
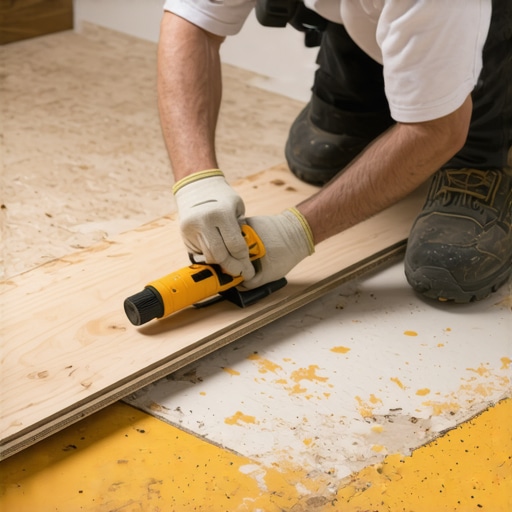
Floor leveling is the most ignored aspect of laminate installation and is often the primary cause of surface chipping due to plank deflection. When a subfloor has a dip, the laminate plank bends into the void every time someone walks over it, creating tensile stress on the wear layer that makes it brittle and prone to shattering upon impact. Most installers are lazy. They see a subfloor that looks flat to the naked eye and start clicking planks together. I never trust my eyes. I trust a ten foot straight edge and a set of feeler gauges. If there is more than 3/16 of an inch of deviation over a ten foot radius, that floor is going to fail. We call this deflection. When you drop a glass on a floor with a solid subfloor, the energy has nowhere to go but back into the glass. When you drop a glass on a floor with a hollow spot underneath, the plank flexes downward, the locking joint screams, and the wear layer often snaps at the point of impact. If you are fixing a chip in a brand new floor, check for movement. If the plank moves when you step near the chip, you have a subfloor issue that a bit of putty will never solve. You might need to inject a low-expansion foam through a small hole or, in the worst cases, pull it up and use a self-leveling compound.
“A floor is only as good as the subfloor beneath it; deflection is the enemy of every joint.” – Master Flooring Axiom
The chemical bond of polymer fillers and resins
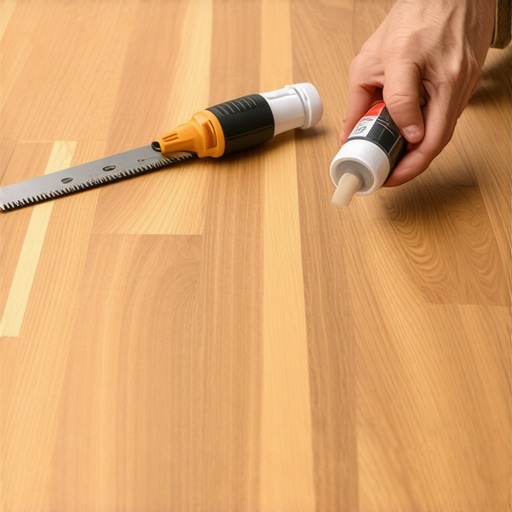
Professional repair kits utilize hard waxes and acrylic polymers that must match the expansion and contraction rates of the laminate core to ensure a permanent bond. These materials are chosen because they resist household chemicals and provide a non-porous seal that prevents hydrostatic pressure from damaging the HDF core from within. When selecting a repair method, you have three main choices. The first is a soft putty. This is garbage for anything other than a tiny scratch in a low-traffic area. It never truly hardens and will eventually attract dirt, turning your repair into a black smudge. The second is an acrylic filler. These are better because they dry hard and can be leveled with a damp cloth. The third, and the only one I use on a premium job, is a hard wax burn-in stick. These require a battery-operated heating tool to melt the wax into the gouge. The wax is a blend of hard resins that, once cooled, are harder than the floor itself. They don’t shrink, and they can be mixed to create the variegated colors found in natural wood grain. You don’t just want one color. You want a base color, a highlight color, and a dark grain color to truly hide the damage from the light reflecting off the surface.
Surgical restoration steps for damaged planks
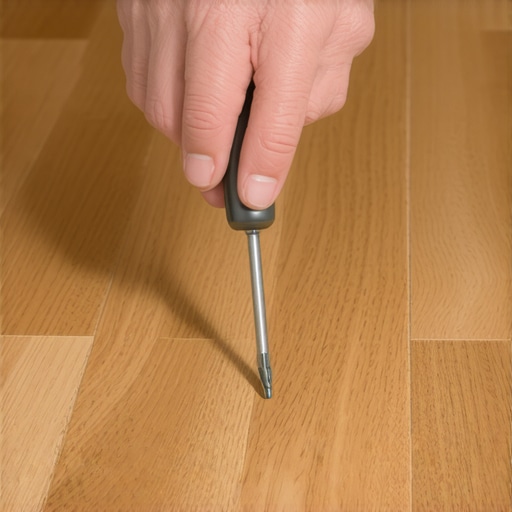
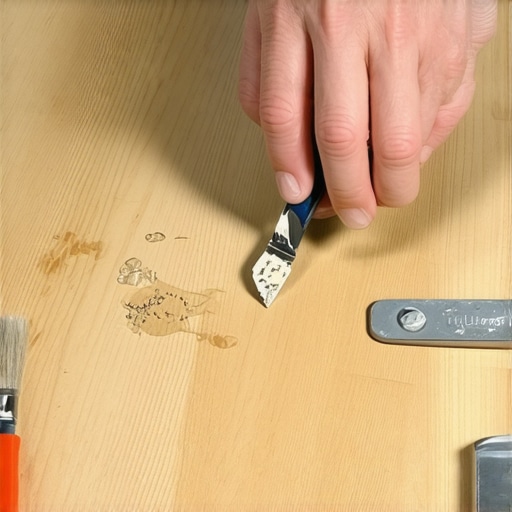
Repairing a chip requires a steady hand and a surgical approach to cleaning, filling, and leveling the damaged area without scuffing the surrounding wear layer. The process begins with cleaning the site with isopropyl alcohol to remove any manufacturing oils or floor wax, followed by the precision application of a heated resin that is then planed flush with a plastic tool. 1. Clean the chip. Use a toothpick to get any loose debris out of the HDF core. 2. Prep the area. If the edges of the chip are raised, gently tap them down with a smooth hammer or the back of a chisel. 3. Select your colors. Pick a color that matches the lightest part of the plank and one that matches the darkest grain. 4. Melt the wax. Using your heating tool, drop the light color into the hole first. Fill it about 90 percent of the way. 5. Add the grain. Use the darker wax to draw thin lines through the light wax while it is still warm. 6. Level the repair. Use the serrated edge of your leveling tool to scrape away the excess. Do not use a metal putty knife or you will scratch the surrounding planks. 7. Buff it. Use a fine abrasive pad to match the sheen of the repair to the sheen of the floor. If the floor is matte, don’t buff it too much or you will create a shiny spot.
Comparison of Professional Repair Methods
| Method | Durability Rating | Skill Level Required | Best Application Case |
|---|---|---|---|
| Hard Wax Sticks | Extreme | High | Deep gouges in high-traffic zones |
| Acrylic Resin Fillers | Moderate | Medium | Small chips and narrow scratches |
| Edge-to-Edge Replacement | Maximum | Professional | Structural damage or split joints |
| Soft Putty Compounds | Low | Low | Hidden corners or temporary fixes |
Moisture management near showers and wet zones
Laminate floors installed near showers or high humidity environments require 100 percent silicone sealant in the expansion gaps to prevent the core from wicking moisture. If a chip occurs in these areas, the repair must be waterproof to prevent capillary action from pulling water into the fiberboard core and causing irreversible swelling. I see this all the time. People put laminate in a bathroom because the box says waterproof. The surface is waterproof, sure, but the joints are not. If you have a chip near a shower, you are on a ticking clock. Every time someone steps out of that shower with wet feet, a tiny bit of water finds that chip. The HDF acts like a sponge. It will swell, and once HDF swells, it never goes back down. You will get a bump that looks like a mole under the floor. When repairing a chip in a wet zone, I always use a resin-based filler rather than wax, as the resin provides a more airtight seal against the vapor pressure common in bathrooms. You also need to ensure your perimeter expansion gaps are filled with a high-quality backer rod and silicone, not just covered with a baseboard. If the air is trapped and humid, the floor will rot from the bottom up.
“Moisture is the silent killer of the laminate core; once the seal is broken, the clock starts ticking.” – TCNA Technical Bulletin (Adapted)
Transition strategies for carpet install projects
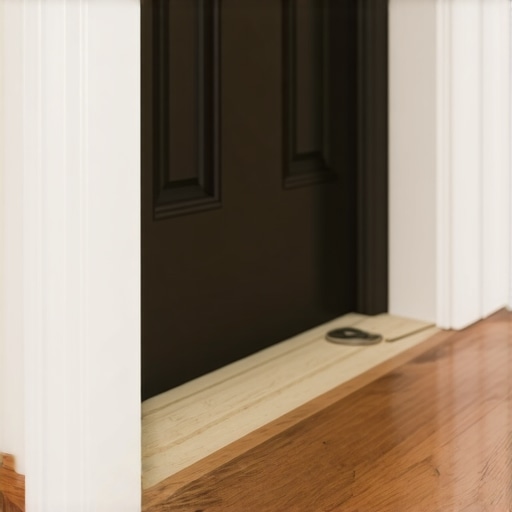
Successful transitions from a laminate floor to a carpet install require a rigid T-molding or a Z-bar that allows the laminate to float while securing the carpet edge. A chip often occurs during the carpet install phase when a power stretcher or a tack strip hammer clips the edge of the laminate plank. If you are doing a carpet install next to your new laminate, you need to be careful. The carpet guy is used to banging things around. If he hits the edge of your laminate, he might shear off the locking tongue. If the chip is on the very edge of the plank where it meets the transition, you can’t just fill it. You have to ensure the transition molding covers the damage. This is why I always recommend a zero-threshold transition when possible, but it requires the floor leveling to be absolutely perfect. If the heights don’t match exactly, you are stuck with a bulky T-molding. A common mistake is nailing the transition strip through the laminate and into the subfloor. This locks the floor in place. A laminate floor needs to move. It is a living, breathing thing that expands and contracts with the seasons. If you pin it down at the carpet transition, it will buckle somewhere else, or the joints will pull apart, leaving you with gaps that look worse than any chip.
Master Installer Checklist for Invisible Repairs
- Moisture meter reading of the subfloor prior to repair
- Matching repair kit with at least three distinct pigment sticks
- Battery operated heating iron with a clean tip
- Isopropyl alcohol for surface de-contamination
- Non-marring plastic leveling blade
- Fine-grit polishing cloth to adjust sheen levels
- Steady light source to check for shadows and depth
Professional maintenance for a lifetime of performance
The longevity of a laminate floor repair depends entirely on the cleaning agents used and the environmental control of the home. Harsh chemicals like ammonia or bleach will break down the chemical bond of the repair wax, while excessive steam mopping will force micro-droplets into the repair site. Stop using steam mops. I tell every client this, and half of them don’t listen. Steam mops are the enemy of laminate. They force heat and moisture into the seams under pressure. It is the fastest way to ruin a brand new floor. For a repaired chip, use a damp microfiber cloth and a pH-neutral cleaner. If the repair starts to look dull, you can carefully apply a tiny bit of laminate-specific floor polish to that spot. But the real secret to a long-lasting floor is keeping the humidity in your house stable. If you let your house get like a swamp in the summer and a desert in the winter, the floor will move so much that the repair might just pop out. Aim for 35 to 55 percent humidity. Your floor, your furniture, and your lungs will thank you. Treat your floor like the piece of engineering it is, and it will serve you for decades. Treat it like a piece of plastic, and you will be calling me back in six months to tear it all out. “, “image”: {“imagePrompt”: “A close-up, high-angle photo of a professional flooring technician using a small, handheld battery-operated melting tool to apply a drop of colored hard wax into a small chip on a light oak laminate floor. The technician’s hands are steady, and a plastic leveling tool lies nearby on the clean, dust-free floor.”, “imageTitle”: “Professional Laminate Floor Chip Repair”, “imageAlt”: “Technician repairing a chip in laminate flooring using a wax melting tool.”}, “categoryId”: 0, “postTime”: “”}“`