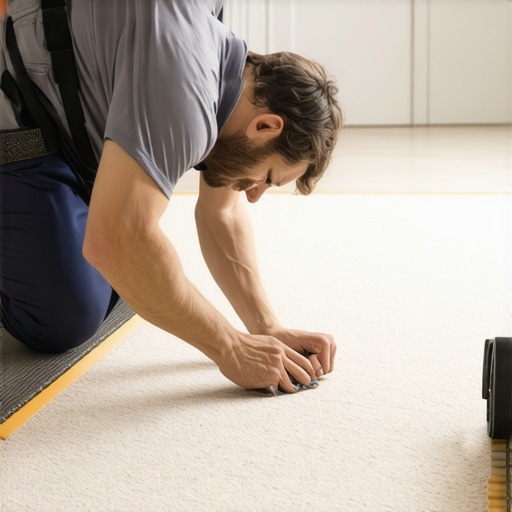
How to stretch a carpet that was pulled out by a vacuum
Most guys skip the leveling compound. They think the underlayment will hide the dip. It won’t. I spent three days grinding concrete on a job last month just so the floor wouldn’t click like a castanet. That same disregard for the foundation is why carpets fail when a Dyson hits them. You see a loose edge. I see a failure of the mechanical bond between the secondary backing and the tack strip. When a vacuum with a high-torque brush roll snags a loose fiber, it creates a leverage point that pulls the entire stretch out of the room. This happens because the original installer likely used a knee kicker instead of a power stretcher, leaving the carpet at only sixty percent of its required tension.
The physical reality of a vacuum carpet failure
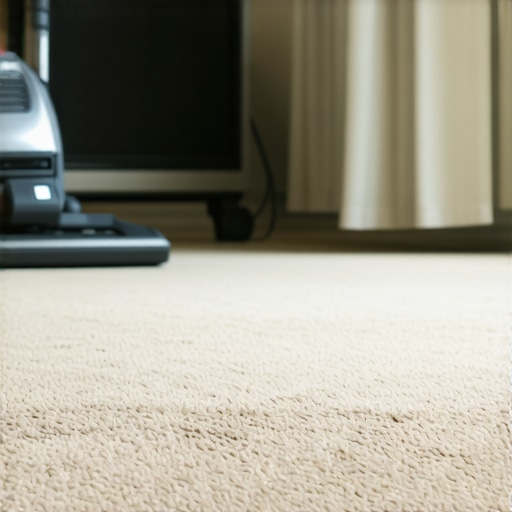
Carpet tension and tack strip engagement are the only things keeping your floor from becoming a tripping hazard. When a vacuum pulls a carpet edge, it displaces the primary backing from the pins of the grip edge. This usually occurs because the subfloor is not providing enough holding power for the tack strip nails, or the pins themselves have become oxidized and blunt over time. You must understand that carpet is a flexible textile under constant load. If the vacuum suction exceeds the frictional resistance of the pins, the weave will slip. It will buckle. This is not just a cosmetic issue. It is a structural failure of the installation system. The latex adhesive that binds the tufts to the backing can also be sheared if the vacuum is set too low for the pile height.
“A floor is only as good as the subfloor beneath it; deflection is the enemy of every joint.” – Master Flooring Axiom
The mechanics of the secondary backing
Secondary backing materials like ActionBac or polypropylene provide the dimensional stability required to hold a stretch across a large span. When you are looking at a carpet pulled away from the baseboard, you are looking at the memory of the plastic. These fibers want to return to their relaxed state. The vacuum cleaner simply gave them the kinetic energy needed to overcome the static friction of the tack strip. If the tuft bind is weak, the vacuum will not just pull the carpet; it will unravel the loops. This is common in Berber styles where one snag can lead to a zipper effect that ruins the entire room layout. The yarn density and twist level also play a role in how the carpet reacts to agitation. A high-twist Frieze is more resilient than a low-twist Saxony when subjected to mechanical stress.
Tools for a professional tensioning job
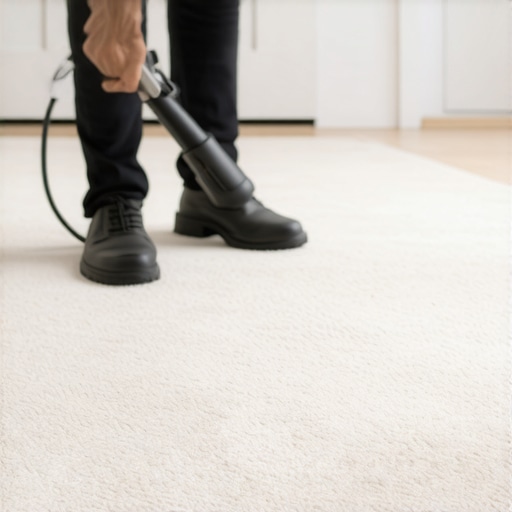
Power stretchers and stay nails are the only professional tools capable of fixing a carpet that a vacuum has de-tensioned. Do not reach for a knee kicker if you want the fix to last more than a week. The power stretcher uses mechanical leverage to apply thousands of pounds of pressure across the width of the room. You need a crank handle, extension tubes, and a spreader head with hardened steel teeth. These teeth must penetrate the primary backing without damaging the face fibers. You also need a carpet tucker or a stair tool to seat the edge back into the gully between the tack strip and the wall. A row separator might be necessary if you have to cut and seam a portion of the damaged weave.
The structural anatomy of tack strips
Tack strips, often called grip edges, consist of plywood laths with angled steel pins driven through at a sixty-degree angle. The geometry is vital. The pins must point toward the wall to create a self-locking mechanism. If the vacuum pulled the carpet out, the pins may be flattened. You cannot reuse a compromised strip. I have seen guys try to bend the pins back up with a screwdriver. It never works. The metal fatigue ensures they will just snap or fold under the next cleaning cycle. You need to inspect the subfloor. If you are dealing with particle board, the holding power is nearly zero. In those cases, you must use architectural strips, which are wider and have three rows of pins instead of two. This increases the surface area of the grip and prevents the vacuum from winning the tug-of-war.
Step by step restoration of carpet tension
Re-stretching carpet requires clearing the room and inspecting the perimeter for subfloor integrity. You start by releasing the carpet from the tack strips along the three sides adjacent to the damage. This is a total reset. You cannot just pull one corner. Use the power stretcher to brace against the opposite wall. Apply gradual pressure until the ripples disappear. You are aiming for a one percent stretch. This means for every ten feet of carpet, you want to elongate it by one inch. While the stretcher is holding the tension, use the stair tool to force the backing onto the pins. You should hear a crunching sound. That is the backing seating. Trim the excess with a wall trimmer, leaving exactly one-eighth of an inch to tuck into the gully. This tucked edge creates a pressure seal that prevents the vacuum from getting a grip on the raw edge.
Comparing carpet types and tension requirements
| Carpet Material | Backing Type | Stretch Required | Vacuum Risk Level |
|---|---|---|---|
| Nylon | ActionBac | 1.5% | Medium |
| Polypropylene | Unitary | 1.0% | High |
| Wool | Jute | 1.2% | Low |
| Polyester | SoftBac | 1.3% | Medium |
Professional checklist for carpet installation
- Verify subfloor moisture levels are below 12 percent for wood and 3 lbs for concrete.
- Ensure tack strips are spaced exactly one-quarter inch from the baseboard.
- Use a power stretcher for every installation over ten feet.
- Seal all seams with thermoplastic tape to prevent fraying.
- Check that underlayment is the correct density (8lb minimum for high traffic).
- Acclimate the carpet to the room temperature for at least 24 hours.
The humidity factor in carpet elasticity
Ambient humidity changes the molecular behavior of natural fibers and synthetic polymers alike. In a high-humidity environment, a jute-backed carpet will absorb moisture and expand. This leads to buckling. When the AC kicks on and the air dries out, the carpet shrinks. This cycling weakens the grip on the tack strip. If you live in a coastal area, you must over-stretch the carpet during installation to account for this inevitable movement. A loose carpet is a moving target for a vacuum brush. The physics of the stretch are compromised the moment the relative humidity fluctuates more than twenty percent. I always tell clients to maintain a constant climate if they want their flooring investment to stay taut and secure.
“The stretching of carpet must be performed using a power stretcher to achieve the 1 to 1.5 percent tension required for long-term stability.” – CRI Standard 104
Chemical bonds and latex degradation
Latex adhesive is the invisible glue that keeps your carpet from falling apart. Over time, or due to low-quality manufacturing, this latex can break down. This is called delamination. If the secondary backing separates from the primary backing, no amount of stretching will fix it. The vacuum pulls the top layer, but the bottom layer stays hooked. You will see a bubble that you cannot push out. This is a molecular failure. It often happens in showers or laundry rooms where moisture gets under the edge and emulsifies the glue. If you smell a chalky dust when you vacuum, your latex is disintegrating. In this scenario, the carpet is total loss. You cannot re-tension a de-laminated textile. You need to rip it out and start over with a higher-grade product.
The danger of over-padding
Underlayment thickness is a trap for many homeowners. They think a thicker pad feels luxurious. It does. But it also destroys the locking mechanisms of laminate and the stretch of carpet. A pad that is too thick or too soft allows the carpet to deflect too much when stepped on. This vertical movement pulls the backing off the tack strip pins. It is simple leverage. If the carpet can sink half an inch, the edge will pop off the strip. A high-density 7/16-inch pad is the industry standard for a reason. Anything thicker creates instability. When the vacuum passes over an unstable carpet, the suction lifts the entire assembly, making it easier for the edge to unhook. You need firmness under the weave to maintain the tension.
Final structural considerations for the perimeter
Floor leveling is often ignored in carpet installs, but it matters. If there is a dip near the wall, the tack strip sits lower than the rest of the floor. This creates a downward angle that the stretcher cannot properly reach. The carpet will bridge over the dip, leaving a hollow space. The vacuum will suck the carpet into that void and yank it off the pins. You must level the subfloor with a portland-based compound before nailing down your strips. This ensures a flat plane for the tension to distribute. Carpeting is a system. Every component, from the concrete slab to the vacuum brush, interacts with the physics of the stretch. Fix the foundation, and you fix the floor. [IMAGE_PLACEHOLDER]