How to fix a crunchy spot under your new floor leveler
The sound of a dying installation
Most guys skip the leveling compound. They think the underlayment will hide the dip. It won’t. I spent three days grinding concrete on a job last month just so the floor wouldn’t click like a castanet. That clicking or crunching is the sound of a structural failure. It is the sound of a homeowner realizing they just wasted five thousand dollars on a floor that feels like walking on potato chips. I have seen guys try to ignore it, but the sound never goes away. It only gets louder as the leveler continues to pulverize into dust under the weight of foot traffic. You cannot ignore a crunch. It is the heartbeat of a failed bond. If you hear it, the leveler has detached from the substrate. This usually happens because of poor preparation, lack of primer, or a moisture issue that was never addressed before the pour. Fix it now, or you will be ripping the whole thing out in six months.
The physics of the crunch
Fixing a crunchy spot under your floor leveler requires identifying the bond failure between the cementitious underlayment and the subfloor. A crunch occurs when the leveler has delaminated, creating a void where loose aggregate rubs against the substrate. You must either inject a low-viscosity resin or remove the failed section entirely. This phenomenon is often the result of localized stress. When a floor leveler is poured too thin, it lacks the internal structural integrity to resist the tension created during the curing process. As the water evaporates, the leveler shrinks. If the bond to the substrate is weaker than the internal tension of the shrinking leveler, the edge curls. This is known as curling or cupping in the world of cementitious underlayments. Once that edge lifts even a fraction of a millimeter, the floor is no longer supported. Every step causes the leveler to deflect. This deflection leads to micro-fractures in the material. Those fractures create the gritty, crunchy noise that drives homeowners insane. The microscopic reality is that you have thousands of tiny shards of cement grinding against each other and the concrete slab below.
“A floor is only as good as the subfloor beneath it; deflection is the enemy of every joint.” – Master Flooring Axiom
Why your subfloor is lying to you
The subfloor often hides hidden contaminants like wax, oil, or old adhesive residue that prevent the floor leveler from forming a permanent chemical bond. Even if a surface looks clean, microscopic dust in the pores of the concrete acts as a bond breaker, causing the leveler to float rather than adhere. I have walked onto jobs where the installer thought a quick sweep was enough. It never is. You need to achieve a Concrete Surface Profile of at least 2 or 3 for a leveler to bite. If you are pouring over wood, the plywood must be CDX grade and screwed down every six inches to prevent any movement. Movement is the primary cause of the crunch. If the wood subfloor flexes but the cement leveler is rigid, something has to give. Usually, the bond breaks. This is why we use lath or mesh in certain applications. It adds tensile strength to the brittle cement. Without it, you are just pouring a thin sheet of glass over a trampoline. The result is always the same. You get a floor that sounds like a gravel pit every time someone walks to the kitchen. You have to treat the subfloor like a surgical site. It must be sterile, porous, and dead-flat before the first drop of leveler hits the bucket.
Anatomy of the chemical bond failure
A chemical bond failure in floor levelers typically stems from an improper water-to-powder ratio or a failure to use the correct primer for the substrate porosity. Over-watering the mix causes the heavy aggregates to sink to the bottom while the lighter polymers and water float to the top. This creates a weak, chalky surface at the interface. When you zoom into the molecular level, you see that the polymer chains have not intertwined with the substrate. Instead, they have formed a brittle film. This film cannot handle the shear forces of walking or moving furniture. I once saw a guy try to save money by skipping the specialized acrylic primer. He used water instead. The concrete slab sucked the moisture out of the leveler so fast that the leveler didn’t have time to hydrate properly. The result was a layer of dust between the floor and the leveler. That dust is what you hear when the floor crunches. It is the sound of a failed hydration process. You need those polymers to penetrate the pores and lock in. If they don’t, you are just laying a giant, expensive cracker on your floor.
Surgery for a floating floor
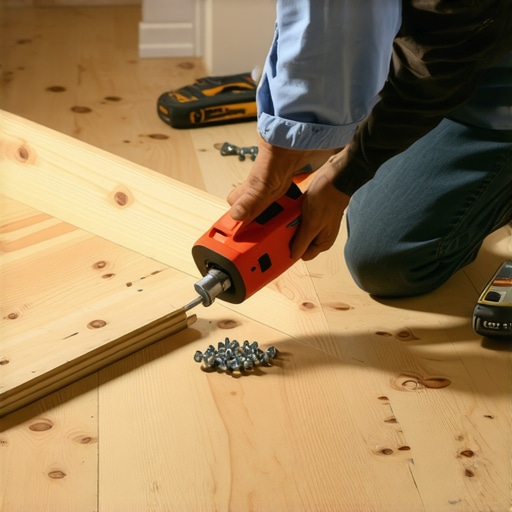
Fixing a crunchy spot without a full tear-out involves drilling small pilot holes through the leveler and injecting a high-strength, low-viscosity floor repair resin into the void. This resin fills the gap and rebonds the leveler to the subfloor, effectively eliminating the sound and stabilizing the surface for the finished flooring. This is precision work. You cannot just use any glue. You need something that flows like water but sets like steel. I prefer a two-part epoxy or a specialized polyurethane injection kit. You start by tapping the floor with a hammer or a heavy chain. You are listening for the hollow sound. Once you map out the hollow spot, you drill your holes in a grid pattern. Usually, every four inches is sufficient. You then use a syringe or a pressurized gun to force the resin into the holes. You have to watch for the resin to start coming out of the adjacent holes. That is how you know the void is full. Once it cures, that section of the floor will be the strongest part of the house. It is a messy, slow process, but it is better than the alternative of ripping out three hundred square feet of leveler and starting over.
The 1/8 inch that ruins everything
Precision in floor leveling is measured in tiny increments because a variation of just 1/8 inch over ten feet can cause modern click-lock flooring systems to fail. When the leveler is uneven, it creates bridges and valleys that the finished floor must span, leading to vertical movement. This movement is what eventually snaps the locking mechanisms on your laminate or LVP. People think these new floors are invincible because they are waterproof. They aren’t. They are sensitive to subfloor flatness. If you have a crunchy spot, it means the leveler is already breaking down. If you put a heavy kitchen island on top of a floor with a crunchy spot, you are pinning the floor down and forcing all the movement into that one weak area. It is a recipe for a catastrophic failure. I have seen locking joints literally explode because the subfloor was out of spec by a quarter of an inch. You need to use a straightedge. You need to be obsessed with the numbers. If the NWFA says 1/8 inch in 10 feet, they aren’t suggesting it. They are demanding it for the warranty to hold water.
“Deflection in the substrate is the primary cause of grout failure and tile delamination in modern construction.” – TCNA Technical Manual
Comparison of Subfloor Repair Materials
| Material Type | Viscosity | Cure Time | Best Use Case |
|---|---|---|---|
| Epoxy Resin | Very Low | 4-6 Hours | Hairline cracks and deep voids |
| Polyurethane | Low | 1-2 Hours | Rapid repairs and active crunching |
| Acrylic Primer | Water-like | 30 Minutes | Surface prep and pore sealing |
| Cementitious Patch | Thick Paste | 2 Hours | Filling large gaps after removal |
Rescuing the surface without a total teardown
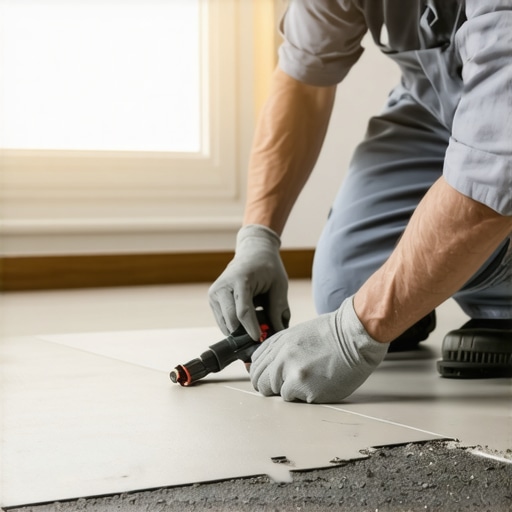
Rescuing a failing leveler pour requires a strategic approach that balances cost with structural integrity. If the crunching is localized to a small area, you can cut out the offending section using a diamond blade on a circular saw, ensuring you do not damage the underlying structure. Once the section is removed, you have to vacuum every speck of dust. If you leave even a grain of sand, the new patch will fail. You then re-prime the area with a high-solids primer. Let it get tacky. Then, you pour a high-quality patch or more leveler. The key here is the edge. You want the new leveler to melt into the old leveler. This creates a monolithic slab. If you just dump some patch in a hole, you will have a cold joint. Cold joints are prone to cracking. I always feather the edges out to ensure a smooth transition. It is about finesse. You are a surgeon now, not a laborer. If you do it right, the floor will be silent. If you do it wrong, you just created two crunchy spots instead of one.
The checklist for a silent floor
- Check moisture levels in the concrete using a calcium chloride test before pouring.
- Mechanical grinding to remove all old adhesives and paint from the substrate.
- Apply the manufacturer-recommended primer and allow it to dry to a tacky film.
- Use a mixing paddle at the correct RPM to avoid entraining air into the leveler.
- Measure water with a dedicated graduated cylinder to ensure exact ratios.
- Use a spike roller to release air bubbles and help the leveler flow.
- Protect the drying leveler from drafts or direct sunlight to prevent rapid evaporation.
Why the primer was your first mistake
Skipping the primer is the most common reason for a crunchy floor leveler because the primer serves as the vital bridge between two different materials. Without it, the leveler cannot achieve the necessary mechanical bond, leading to a floor that sits on top of the substrate rather than becoming part of it. Primer does two things. First, it seals the pores of the concrete so air bubbles don’t rise up and create pinholes in your leveler. Second, it provides a sticky surface for the leveler to grab onto. I have seen guys try to use a cheap wall primer or no primer at all. It is a disaster every time. You need a primer that is specifically engineered for self-leveling underlayment. These primers are often high in polymer content. They soak into the concrete and create a lattice that the leveler can bond to. If you are pouring over a non-porous surface like ceramic tile, you need a specialty primer with grit in it. It feels like sandpaper once it dries. That grit is the only thing keeping your floor from sliding and crunching. If you skip this step, you are just waiting for a failure. I don’t care how good the leveler is. If the primer isn’t there, the job is junk. It is that simple.