Why your shower floor grout is turning into sand
Why your shower floor grout is turning into sand
I spent three days grinding concrete on a job last month just so the floor wouldn’t click like a castanet. That job reminded me that most installers think they can hide a bad subfloor with a little extra thin-set. They are wrong. I have seen countless showers where the homeowner is literally vacuuming up their floor every morning because the grout has reverted to its base elements. It is a gritty, depressing sight that usually points to a failure in the very beginning of the installation process. I once walked into a luxury bathroom where the marble was pristine but the grout lines were empty canyons. The installer had used a high-alkali water source and then over-washed the joints with a soaking wet sponge. He basically washed the glue right out of the sand. If you are seeing grains of sand on your shower floor, your grout is not just dirty, it is structurally dead.
The chemistry of the crumbly failure
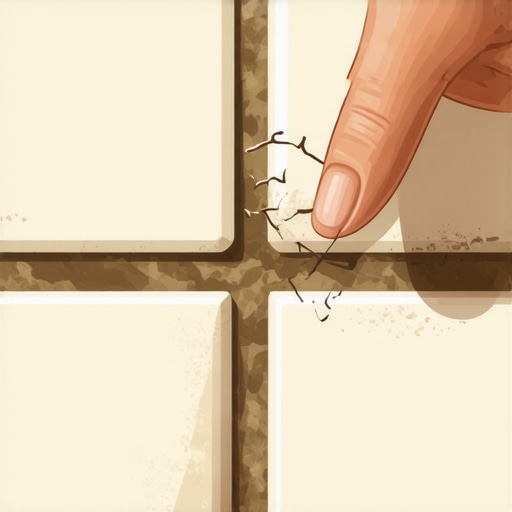
Grout turns to sand because the cementitious binder failed to undergo proper hydration or was physically removed during the cleaning process. When the ratio of water to grout powder is too high, the cement particles are spaced too far apart to form a dense crystalline lattice. As the excess water evaporates, it leaves behind a network of microscopic pinholes and voids. These voids make the grout brittle and porous. This is often exacerbated by installers who use a soaking wet sponge to clean the tile surface. This secondary injection of water into the fresh joint leaches the portland cement and polymers out of the grout, leaving only the sand aggregate behind. Without the binder, the sand has nothing to hold it in place against the friction of your feet or the force of the water spray.
The ghost in the shower pan
The primary reason grout disintegrates from the bottom up is persistent moisture trapped beneath the tile in a saturated mud bed. This is common in showers with poor pre-slopes or blocked weep holes. When the shower pan stays wet 24/7, the grout is subjected to constant hydrostatic pressure. This moisture facilitates a process called leaching, where the minerals in the cement are dissolved and carried to the surface. You might see this as a white crusty powder known as efflorescence before the grout finally gives up and turns back into loose sand. A floor is only as good as the subfloor beneath it; deflection is the enemy of every joint. This applies to the rigidity of your shower pan just as much as it applies to a subfloor under laminate or carpet install projects. If the shower floor flexes even a fraction of an inch when you step on it, the grout will crack and eventually pulverize into sand.
“A floor is only as good as the subfloor beneath it; deflection is the enemy of every joint.” – Master Flooring Axiom
The 1/8 inch that ruins everything
Structural movement in the subfloor or the wall studs causes the grout to crack and erode through a process called micro-fretting. If your shower was built on a subfloor that does not meet the TCNA L/360 deflection standard, the tiles will move independently of each other. This movement acts like a slow-motion rock crusher, grinding the grout into a fine powder. This is why floor leveling is a non-negotiable step in any installation. If the floor is not flat and rigid, the grout is the first thing to fail. I have seen guys try to install heavy porcelain over bouncy plywood and then wonder why the grout looks like beach sand within six months. You cannot expect a rigid cement product to act like a rubber band. If there is movement, there will be sand.
The improper mixing protocol
Mixing grout at high speeds with a power drill introduces air bubbles that weaken the final product and lead to early crumbling. Most rookies treat a bag of grout like a bucket of joint compound. They whip it up until it is fluffy. This is a fatal mistake. Those air bubbles remain in the cured grout, creating a honeycomb structure that has no compressive strength. You should always mix grout by hand or at very low RPMs. You also need to let it ‘slake’ for ten minutes. This allows the chemicals and polymers to fully activate and the moisture to permeate every grain of sand. If you skip the slake, the grout will be ‘short’ and won’t bond to the edges of the tile, leading to the eventual sandy fallout you are seeing now.
| Grout Type | Vulnerability to Water | Cure Time | Structural Density |
|---|---|---|---|
| Standard Sanded | High | 72 Hours | Medium |
| High-Performance Cement | Moderate | 48 Hours | High |
| Epoxy Grout | None | 24 Hours | Extreme |
| Pre-mixed Urethane | Low | 7 Days | High |
The hidden threat of hard water
Chemical erosion from acidic cleaners or high-mineral water can dissolve the calcium silicate hydrate bonds in the grout over time. If you live in an area with very hard water, the minerals can build up in the pores of the grout and cause internal pressure that pops the binder loose. Conversely, if you use harsh acidic cleaners every weekend to get rid of soap scum, you are effectively eating away at the cement. Every time you spray that acid, you are dissolving the ‘glue’ that holds the sand in place. Over a few years, you have nothing left but the aggregate. This is a common issue I see in high-end hotels where the cleaning staff uses industrial descalers that are far too aggressive for cementitious grout lines.
- Check for deflection in the subfloor before any tile work begins.
- Use a moisture meter to ensure the substrate is dry before applying thin-set.
- Mix grout by hand to avoid entraining air into the mixture.
- Ensure the shower pan has a proper 1/4 inch per foot slope to the drain.
- Never over-wash grout joints during the initial cleanup phase.
Why your subfloor is lying to you
A subfloor may look solid but can still harbor micro-deflection that is invisible to the naked eye until the grout starts to fail. In many homes, the joist spacing is too wide for the weight of a traditional mud bed and tile. When you step into the shower, the wood framing bows. This bowing is subtle, but to a brittle material like grout, it is an earthquake. This is why I always check the basement or crawlspace before I even bid a shower job. If I see 2×8 joists spanning 12 feet, I know that grout is going to turn to sand unless we reinforce the structure. You can put the most expensive epoxy grout in the world in those joints, but if the floor moves, the grout will fail. It is a matter of physics, not just aesthetics.
“Cementitious grout is a rigid mineral structure that requires a zero-deflection environment to maintain its crystalline integrity over the lifespan of the installation.” – TCNA Technical Bulletin
The solution to the sandy mess
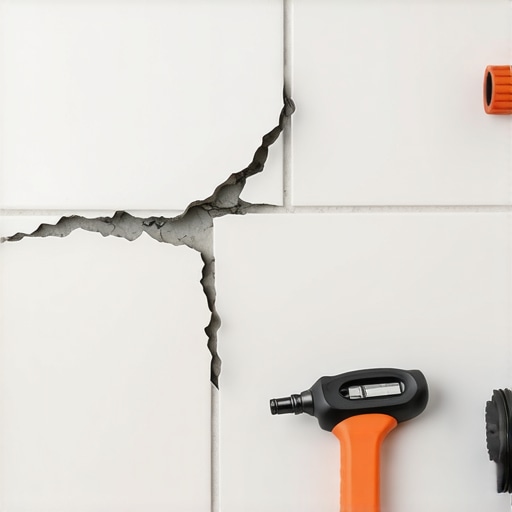
Fixing sandy grout requires a full removal of the failed material and a deep diagnostic of the moisture levels behind the tile. You cannot simply smear more grout over the top. It will not bond. You need to use a carbide-tipped grout saw or a multi-tool to remove at least two-thirds of the depth of the joint. If the material underneath is wet, you have a bigger problem. You likely have a leaking liner or a saturated mud bed. If it is dry, you can re-grout, but this time, use a high-performance polymer-modified grout or, better yet, an epoxy. Epoxy grout is a two-part resin system that does not rely on cement hydration. It is essentially plastic and sand. It is waterproof, stain-proof, and it will not turn to sand because there is no cement binder to fail. It is a pain to install, but it is the only way to ensure you never see sand on your shower floor again. “, “image”: {“imagePrompt”: “Macro photography of crumbling, sandy shower grout between gray porcelain tiles, showing moisture damage and structural failure, realistic texture.”, “imageTitle”: “Failing shower floor grout detail”, “imageAlt”: “Close up of sandy and disintegrated grout in a shower floor”}, “categoryId”: 5, “postTime”: “2023-10-27T10:00:00Z”}