The Mixing Drill Mistake That Ruins Your Floor Leveler
The Mixing Drill Mistake That Ruins Your Floor Leveler
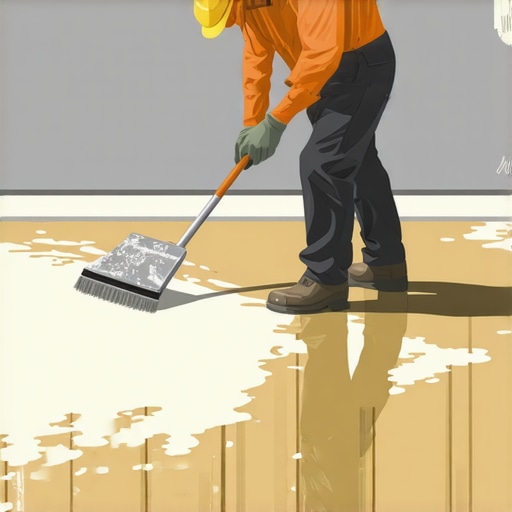
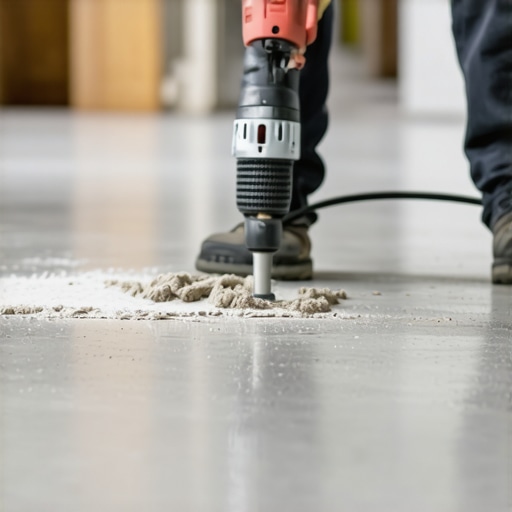
I spent three days grinding concrete on a job last month just so the floor wouldn’t click like a castanet. Most guys skip the leveling compound. They think the underlayment will hide the dip. It won’t. I have spent twenty-five years on my knees with a moisture meter and a level. My hands smell like WD-40 and oak dust. I have seen the same mistake repeated a thousand times. An installer grabs a standard high-speed power drill, tosses on a paddle, and whips the self leveling underlayment into a frothy meringue. It looks fine in the bucket. It looks fine when it hits the floor. But once that water evaporates and the chemistry takes over, you are left with a brittle, honeycombed mess that will crunch under a laminate plank like dry toast. This is the structural reality of floor prep that most big box retailers never mention to the DIY crowd. You are not just mixing mud. You are initiating a complex exothermic reaction that requires precise kinetic energy. If you over-torque the mix or introduce too much shear, you have already failed the client before the first bag is empty.
The bubble of doom in your bucket
Using a high-speed mixing drill for floor leveling creates thousands of micro-bubbles that destroy the compressive strength of the polymer-modified cement. These air pockets lead to surface pitting and substrate failure when the laminate or hardwood is installed over the top. When you pull a trigger on a 2,500 RPM drill, you are injecting oxygen into a slurry designed to be dense. This process, known as air entrainment, is the enemy of structural integrity. A floor leveler is a delicate balance of Portland cement, fine aggregates, and dry polymers. These polymers are designed to cross-link during the hydration phase. When air is trapped in that matrix, the cross-linking is interrupted. The result is a soft surface. You can scratch it with a fingernail. It will never support the weight of a refrigerator or a heavy kitchen island. You must use a low-RPM, high-torque mixer. Keep it under 650 RPM. If you see a vortex forming in the center of the bucket, you are going too fast. Stop the drill. Let the air escape. Better yet, don’t create it in the first place.
Why your subfloor is lying to you
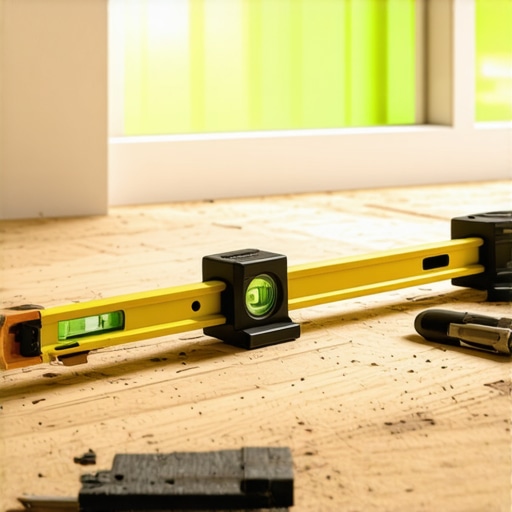
A subfloor might look flat to the naked eye but contains deflection and dips that exceed NWFA standards. Using a ten-foot straightedge reveals the truth about slab flatness which is the foundation of every successful carpet install or hardwood project. Most installers confuse level with flat. I do not care if your floor is level relative to the horizon. I care that it is flat. If there is a 1/4 inch dip in the middle of the room, your floating floor will flex every time someone walks over it. That flex stresses the tongue and groove. Eventually, the locking mechanism snaps. Now you have a squeak. Now you have a gap. This is why floor leveling is a structural engineering challenge. You are building a bridge over the imperfections of the slab. You have to treat the concrete like a living organism. It breathes. It moves. It has a specific moisture vapor emission rate that can blow your leveler right off the surface if you do not prime it correctly. I see guys pour leveler over dusty, unprimed concrete every week. It is a waste of money. The dry concrete sucks the water out of the leveler before it can hydrate. It turns to dust. It delaminates.
“A floor is only as good as the subfloor beneath it; deflection is the enemy of every joint.” – Master Flooring Axiom
The ghost in the expansion gap
The expansion gap is a critical perimeter requirement that prevents buckling and cupping in laminate and hardwood flooring. Without this space, the floor has nowhere to go when humidity levels rise and the wood fibers expand. This is basic physics. Wood is hygroscopic. It takes on moisture from the air. In a humid summer, a 20-foot span of oak can grow by an eighth of an inch or more. If that wood is tight against a wall or a door jam, it will move upward. It has no other choice. This creates the dreaded bounce. Homeowners think the floor is floating. It is not floating. It is dying. I have seen 3,000 square foot installs ruined because a guy didn’t want to remove the baseboards. He ran the floor tight and covered it with a tiny piece of quarter-round. Do not be that guy. Give the floor room to breathe. Use spacers. Check your work. If you find a spot where the plank is touching the drywall, get your oscillating saw and cut it back. It is the difference between a floor that lasts fifty years and a floor that fails in five.
Precision measurement is not a suggestion
Successful floor leveling requires a strict water-to-powder ratio measured to the exact milliliter to ensure the chemical bond reaches its maximum PSI rating. If you eyeball the water, you are gambling with the structural integrity of the home. Too much water causes the aggregate to sink to the bottom and the polymers to float to the top. You get a chalky surface. Too little water and the mix won’t flow. It will stay in a clump. You will spend the next day with a floor grinder, breathing in silica dust because you were too lazy to use a measuring bucket. I keep a dedicated graduated cylinder in my truck for this reason. I don’t use a five-gallon bucket with a sharpie mark. I want precision. The chemistry of these products is tuned by engineers in a lab. They know more than you. Follow the bag instructions. If the bag says 5.2 quarts, do not put in 5.5. That extra 0.3 quarts is enough to weaken the compressive strength by twenty percent. It sounds like overkill until you see a $20,000 floor fail.
| Variable | High RPM Mix | Low RPM Mix |
|---|---|---|
| Air Content | High (Weak Matrix) | Low (Dense Matrix) |
| Structural Integrity | Brittle and Pitted | Compacts and Strong |
| Surface Finish | Pinhole Craters | Glass-like Flatness |
| Bond Strength | Inconsistent | Maximum Adhesion |
Shower floor leveling physics
Properly leveling showers involves more than just a flat surface; it requires a pre-slope and a waterproof membrane that meets TCNA guidelines for moisture management. You cannot just pour self-leveler into a shower pan and call it a day. Gravity is your boss in a wet area. The water has to move toward the drain. If you have a flat spot, you have standing water. Standing water leads to mold. Mold leads to a phone call you do not want to take. I always use a dry-pack mortar bed for showers. I want to be able to pack it and slope it by hand. If I am using a leveler in a bathroom, it is only for the area outside the curb. And even then, I am checking for flatness to ensure the large-format tile doesn’t have lippage. Lippage in a bathroom is a trip hazard. It is a lawsuit waiting to happen. Use a leveling system for your tile. Use a low-RPM mixer for your thin-set. Treat every shower like it is going to be submerged in a lake. Because eventually, it will be.
- Vacuum every square inch of the slab to remove dust.
- Apply the manufacturer-specific primer with a soft-bristled brush.
- Measure the water volume to the exact milliliter using a graduated bucket.
- Set the mixing drill to a maximum of 650 RPM for three minutes.
- Use a spiked roller immediately after pouring to break any remaining surface tension.
- Allow the full cure time before attempting a carpet install or laminate layout.
The carpet install trap
A carpet install might seem forgiving but a poorly leveled subfloor will cause uneven wear patterns and tack strip failure over time. People think carpet hides everything. It does not. It telegraphs the imperfections. If you have a humped seam in the concrete, the carpet will wear down to the backing in that one spot in two years. You will see a dark line where the fibers are crushed. This is why I treat carpet jobs with the same respect as hardwood. I grind the peaks. I fill the valleys. I want that pad to sit on a surface as flat as a billiard table. If you skip the prep, you are just masking a problem. The homeowner will notice the first time they move a piece of heavy furniture and it wobbles. Professionalism starts at the slab. It ends at the trim. Everything in between is just details. If the slab is right, the rest is easy. If the slab is wrong, you are fighting the house the entire time. Don’t fight the house. Fix the floor.
“Deflection in the subfloor is the primary cause of ceramic tile grout failure and stone fracture.” – TCNA Handbook
While most people want the thickest underlayment, too much cushion actually causes the locking mechanisms on LVP to snap under pressure. You want a high-density, low-compression underlayment. Anything more than 3mm of squish is a disaster. It feels good on the feet for a week. Then you start to hear the clicking. Then you see the joints opening up. You need a solid base. If you want comfort, buy a rug. If you want a floor that lasts, keep the subfloor flat and the underlayment firm. That is the secret to a professional result. It is not about the color of the wood or the pattern of the carpet. It is about the chemistry in the bucket and the physics of the span. Get the mix right. Keep the RPMs low. Respect the expansion gap. Do these things, and you will never have to go back to a job site to fix a floor that is falling apart. My knees hurt just thinking about it. Do it right the first time.