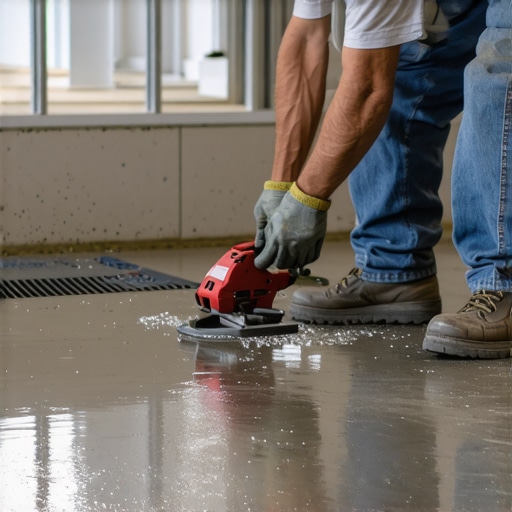
The secret to leveling a floor for a walk-in shower
The 1/8 inch that ruins everything
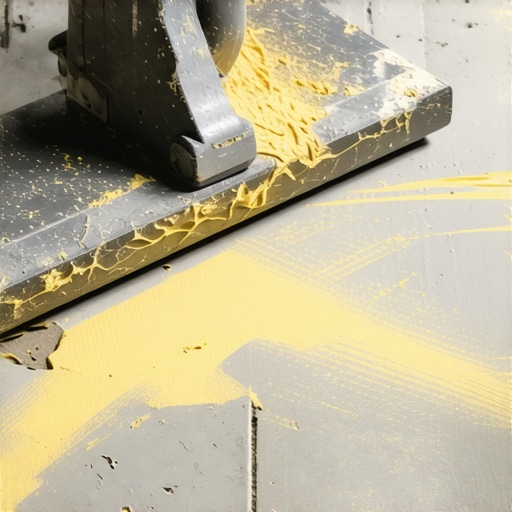
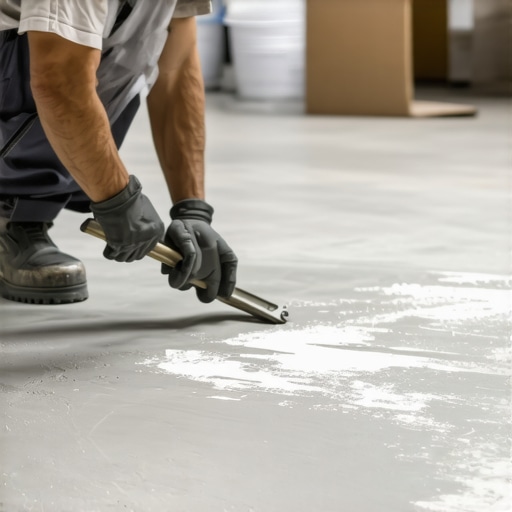
Floor leveling for a walk-in shower requires a tolerance of less than 1/8 inch over ten feet to ensure that the waterproofing membrane and tile bond do not fail under hydrostatic pressure. Most guys skip the leveling compound. They think the underlayment will hide the dip. It won’t. I spent three days grinding concrete on a job last month just so the floor wouldn’t click like a castanet. That is the reality of high-end shower work. If the substrate is not dead level before you start building your slope, your drain flange will sit proud and you will have a puddle that never leaves. I smell like WD-40 and oak dust most days, and I have seen $20,000 bathrooms ripped out because someone thought they could eye-ball a subfloor. You cannot. You need a laser level, a six-foot straight edge, and the patience of a saint. A floor is a performance surface, not a decoration. When you move from a carpet install in the bedroom to a walk-in shower in the ensuite, the transition must be perfect or the laminate in the hallway will eventually peak from moisture migration.
Why your subfloor is lying to you
Subfloor deflection and moisture content are the two silent killers of any shower installation or laminate flooring project. You walk across a plywood floor and it feels solid. It is not. It is a series of spans that move under load. If that movement exceeds the L/360 standard, your grout will crack and your waterproof seal will snap. I have seen wide-plank walnut floors look like potato chips because the installer ignored the crawlspace. The same happens in showers. If you do not stiffen the joists before applying self-leveling underlayment, the weight of the mortar bed will cause the floor to sag. This creates a birdbath where water collects.
“A floor is only as good as the subfloor beneath it; deflection is the enemy of every joint.” – Master Flooring Axiom
Moisture meters are not optional. You need to know if that concrete slab is still off-gassing vapor. If the relative humidity in the slab is over 75 percent, your thin-set won’t cure properly. It will remain a soft paste that eventually turns into a slurry of failure.
The chemistry of the bond coat
Modified thin-set mortar uses polymer additives to create a mechanical and chemical bond that resists the constant expansion and contraction of a wet environment. This is not just mud. It is an engineered adhesive. When you are leveling a floor, you must understand the aggregate size of your patch. If the patch is too sandy, it will crumble under the weight of the tiles. If it is too rich in polymers, it might skin over before you get your tiles set. I prefer a high-flow, fiber-reinforced self-leveling compound. The fibers act like rebar on a microscopic scale. They hold the matrix together when the house settles in the winter. People ask me about laminate or carpet install techniques in these zones. The truth is those materials have no business near a shower curb. You need a unbonded mortar bed or a high-performance liquid membrane. The bond must be absolute. If there is a void the size of a nickel under your tile, that tile will eventually crack when a 180-pound person steps on it. The physics are simple. Support the entire surface or expect a call-back.
The geometry of a bone dry pan
Shower pan sloping requires a precise 1/4 inch per foot drop toward the drain assembly to ensure gravity-fed drainage and prevent mold growth. This is where the amateurs fail. They get the floor level, then they mess up the pitch. You need to use a pitch stick or a laser to mark your perimeter. If the slope is too steep, the tile will lippage and you will stub your toe every morning. If it is too shallow, the water will just sit there, soaking into the grout and eventually smelling like a swamp.
“The minimum slope for a shower floor is 1/4 inch per foot, and the maximum is 1/2 inch per foot to ensure safety and drainage.” – TCNA Handbook Standards
I have spent decades on my knees with a level and I still check my work three times. You cannot rush the curing process. Most guys want to tile the next day. I wait. I want to see the thin-set reach its full compressive strength. If you tile too early, the shrinking of the mortar will pull the tiles out of alignment. It is about patience.
| Material Type | Deflection Limit | Acclimation Time | Moisture Tolerance |
|---|---|---|---|
| Solid Hardwood | L/480 | 7-14 Days | Low |
| Porcelain Tile | L/360 | None | High |
| Laminate Flooring | L/240 | 48 Hours | Moderate |
| Luxury Vinyl Plank | L/240 | 24 Hours | High |
The transition from dry to wet zones
Threshold transitions must be water-tight and flush-mount to prevent capillary action from pulling shower water into the carpet pad or laminate underlayment of adjacent rooms. This is the biggest mistake in modern builds. They use a bulky T-molding that collects dirt and lets water seep under the edge. I hate those. A true master floor installer wants a zero-threshold look. This requires lowering the subfloor in the shower area so the finished tile sits perfectly flush with the hardwood or carpet outside. It is a structural engineering challenge. You have to cut the joists, sister them with new lumber, and drop the plywood. It is hard work. It is dusty. It makes your back ache. But when you walk from the bedroom into that shower and there is no bump, you know it was done right. The carpet install guys usually just tuck the edge and leave, but I make sure there is a silicone bead at the transition that will last twenty years. No shortcuts.
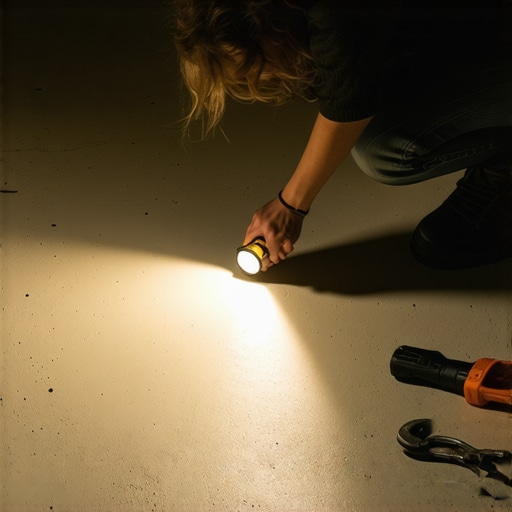
- Check subfloor for flatness using a 10-foot straight edge.
- Identify all high spots and grind them down with a diamond cup wheel.
- Fill low spots using a fiber-reinforced leveling compound.
- Verify moisture levels with a calcium chloride test.
- Install a perimeter expansion gap of at least 1/4 inch.
- Apply a waterproof transition strip at the doorway.
The ghost in the expansion gap
Expansion gaps are the most misunderstood part of floor leveling and tile installation because they look like mistakes to the untrained eye. If you butt your tile or laminate tight against the wall, the floor will eventually buckle. I have seen floors rise three inches off the ground because they had nowhere to go when the humidity hit 90 percent. In a shower, that expansion gap is filled with 100 percent silicone sealant. Do not use caulk. Caulk is for baseboards. Silicone is for performance. It has the elongation properties to stretch when the house moves. If you use grout at the wall-to-floor joint, it will crack within six months. I guarantee it. I have fixed more cracked grout joints than I can count. It is always because someone forgot that houses are living things. They breathe. They move. They shift. Your floor needs to be able to shift with it without breaking the waterproof envelope. While most people want the thickest underlayment, too much cushion actually causes the locking mechanisms on LVP to snap under pressure. You want a firm, level base. Cushion is the enemy of stability.