The Flashlight Trick for Checking Grout Consistency in Large Rooms
Most guys skip the leveling compound. They think the underlayment will hide the dip. It won’t. I spent three days grinding concrete on a job last month just so the floor wouldn’t click like a castanet. I have spent twenty five years on my knees with a level and a moisture meter. I have seen every shortcut in the book and I have seen every one of those shortcuts fail. A floor is not just something you walk on. It is a structural engineering assembly that must withstand thousands of pounds of pressure and the constant movement of a building. When you are installing a large format tile or a wide plank laminate, you are fighting physics. The biggest enemy is the subfloor that looks flat but is actually a series of rolling hills. This is where the flashlight trick comes in. It is the most honest tool in your bag because it uses grazing light to reveal the microscopic shadows that your eyes miss when looking straight down.
The low angle beam that exposes every mistake
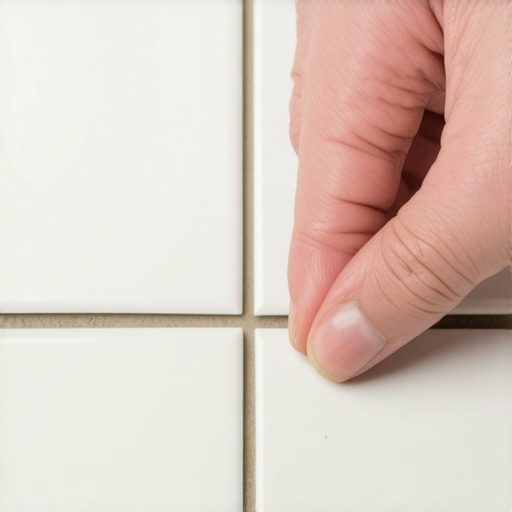
The flashlight trick involves placing a high lumen light source directly on the floor surface to project a horizontal beam across the tile or grout lines. This grazing light highlights height variations known as lippage and inconsistencies in grout depth by casting long shadows. It is the gold standard for checking floor leveling. You cannot trust the overhead lights in a construction site. They are usually temporary and point straight down, which hides the 1/8 inch dip that will eventually crack your grout. When you lay a flashlight flat on the floor, you are using the physics of light refraction. A grout joint that is even half a millimeter lower than its neighbor will cast a shadow. This is vital when you are working on showers where the slope to the drain must be perfect. If the grout is inconsistent, water will pool in those tiny valleys and grow mold. I use a 1000 lumen LED light. I slide it across the floor in a dark room. It makes the floor look like a moonscape. If you see a shadow, you have a problem. You either have lippage where one tile edge is higher than the other, or you have a grout joint that was wiped too deep with a wet sponge.
“A floor is only as good as the subfloor beneath it; deflection is the enemy of every joint.” – Master Flooring Axiom
Molecular bonds and the hydration of Portland cement
Grout consistency is determined by the water to cement ratio during the mixing process and the rate of hydration during the curing phase. Inconsistent grout color or texture usually stems from improper mixing or using too much water during the cleanup stage which weakens the polymer bonds. When you mix a bag of grout, you are starting a chemical reaction. Portland cement needs a specific amount of water to create the crystalline structures that provide strength. If you add too much water to make it easier to spread, you are spacing those molecules too far apart. As the water evaporates, it leaves behind microscopic voids. These voids make the grout porous and weak. This is why you see grout that turns white or powdery. It is called efflorescence or simply a failed cure. The flashlight trick reveals the physical manifestation of this chemical failure. If the grout was wiped with a dripping wet sponge, the top layer of the cement was washed away, leaving the sand particles exposed. This creates a rough texture that looks dark under a grazing light. You want a dense, smooth surface that reflects light uniformly. In large rooms, the environment changes from one side to the other. One side might be near a window where the sun is beating down, speeding up the hydration. The other side might be in a dark hallway. This temperature delta affects how the grout sets. You have to monitor the moisture levels constantly.
Why your subfloor is lying to you
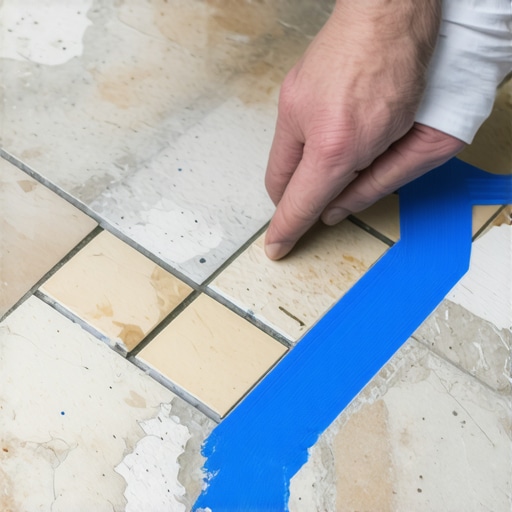
Subfloor flatness is measured by the change in elevation over a specific distance, typically requiring no more than 1/8 inch of deviation over 10 feet for tile or 3/16 inch for laminate floors. Identifying these deviations requires a long straightedge or a laser level before the installation begins. Every subfloor is a liar. Whether it is a concrete slab or a plywood deck, it is never as flat as it looks. Concrete shrinks as it cures, creating a curled edge at the joints. Plywood swells at the edges if it gets rained on during construction. If you ignore these humps and dips, your finish floor is doomed. For a carpet install, you can get away with a bit of a dip because the pad hides it. But for laminate or floor leveling projects, those dips are deal breakers. Laminate is a floating floor. If there is a void under the plank, it will flex every time someone steps on it. Eventually, that repeated bending will snap the thin tongue and groove locking mechanism. Then the floor starts to gap. Then the homeowner calls you to complain about a clicking sound. I spend more time with a floor grinder and self-leveling compound than I do with the actual flooring. I want that slab to be like a mirror. I use a 10 foot straightedge and I mark every low spot with a pencil. Then I fill them. I mark every high spot and I grind it down. This is the difference between a floor that lasts 30 years and a floor that lasts three.
| Material Type | Max Deviation (10 ft) | Moisture Tolerance | Acclimation Time |
|---|---|---|---|
| Solid Hardwood | 1/8 inch | 6-9% MC | 7-14 Days |
| Engineered Wood | 3/16 inch | 7-11% MC | 3-5 Days |
| Large Format Tile | 1/8 inch | N/A | None |
| Laminate Planks | 3/16 inch | < 12% MC | 48 Hours |
| Luxury Vinyl Plank | 3/16 inch | High (pH dependent) | 48 Hours |
The physics of deflection and grout failure
Deflection refers to the vertical movement of a floor system under a load, which must be limited to L/360 for ceramic tile and L/720 for natural stone to prevent grout cracking. Excessive bounce in the joists will shear the bond between the mortar and the substrate. You cannot put a rigid material like tile on a flexible surface. If your floor joists are spaced too far apart or if they are undersized, the floor will bounce. You might not feel it when you walk, but the tile feels it. Tile has zero tensile strength. It cannot bend. When the subfloor deflects, the tile stays rigid and the stress is transferred to the grout and the thin-set. The thin-set will eventually release its grip, or the grout will turn into dust. This is why I always check the joist span before I quote a tile job. If the floor is bouncy, I tell the client we need to add a layer of 1/2 inch exterior grade plywood or use a specialized uncoupling membrane. These membranes allow the subfloor to move independently from the tile. It is like a shock absorber for your floor. Without it, you are just waiting for a crack to appear. I have seen $20,000 marble floors ruined because the installer didn’t understand the L/720 rule. They thought more thin-set would fix a bouncy floor. It actually makes it worse because thick mortar shrinks more than thin mortar, pulling the tile down into the dip.
“Grout is not a structural adhesive; it is a sacrificial joint designed to manage the stresses of expansion and contraction.” – TCNA Handbook Insight
Leveling compounds and the pursuit of flatness
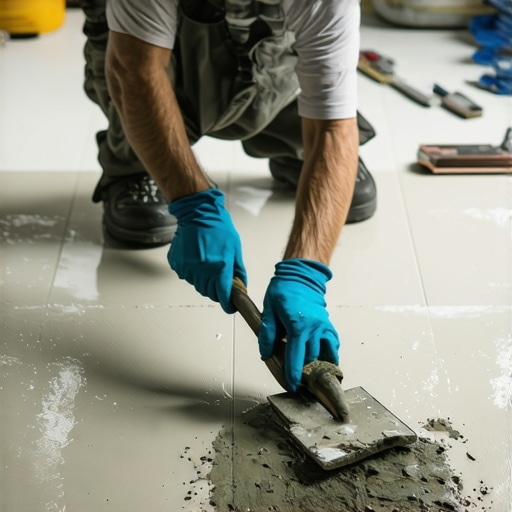
Self-leveling underlayments are high-flow hydraulic cement-based products that create a smooth, flat surface over uneven substrates. Proper application requires a primer to prevent the subfloor from absorbing the water needed for the chemical cure of the leveler. A lot of guys think they can just pour the leveler and walk away. That is a recipe for disaster. If you don’t prime the concrete first, the dry slab will suck the water out of the leveler before the chemicals can bond. The result is a brittle, dusty mess that will delaminate. You also have to consider the water ratio. If you add an extra quart of water to make it flow better, you are weakening the compressive strength. Most self-leveling compounds are rated at 4000 to 5000 PSI. If you over-water them, you drop that to 2000 PSI. That is not strong enough for a heavy tile floor. I use a spiked roller to get the air bubbles out. Those tiny pinholes might not look like much, but they are weak points. I want a monolithic, dense slab. When I am done, I hit it with the flashlight again. If I see a shadow, I haven’t finished the job. This level of detail is what separates a master from a handyman. It is about the chemistry of the bond and the physics of the surface.
- Check subfloor for moisture using a pin-type or pinless meter.
- Grind down high spots and fill low spots with a high-compressive strength patch.
- Apply a dedicated primer to ensure the leveling compound bonds to the substrate.
- Mix grout using a low-RPM drill to avoid introducing air bubbles into the mix.
- Use the flashlight trick at a 5-degree angle to inspect for lippage before the grout sets.
- Maintain a consistent sponge dampness during cleanup to avoid washing out the pigment.
The humidity factor in large format installations
Relative humidity and ambient temperature significantly impact the open time of adhesives and the evaporation rate of moisture in the grout. High humidity can stall the drying process while dry air can cause the grout to crack due to rapid water loss. I have worked in houses where the HVAC wasn’t running and the humidity was 90 percent. The grout took three days to harden. In that time, dust and debris from the job site settled into the damp joints, ruining the color. On the flip side, in the desert heat, the grout can dry so fast that it never fully hydrates. You have to mist it with water to keep it from cracking. This is particularly important for showers. A shower is a wet environment, obviously, but the installation must be bone dry before you apply the sealer. If you trap moisture under the sealer, it will turn cloudy. I always use a moisture meter on the grout before I seal. I want to see less than 12 percent moisture. If it is higher, I wait. Patience is the most important tool I have. Everyone wants the job done yesterday, but you cannot rush the chemistry of cement. If you do, you will be back in six months tearing it out.
Laminate versus tile subfloor tolerances
Laminate flooring requires a flat subfloor to prevent the clicking joints from failing under vertical load, whereas tile requires a rigid subfloor to prevent cracking. While laminate can tolerate minor surface roughness, it cannot tolerate deep dips or high humps. People think laminate is easy. They think it is a DIY project. But I have repaired more laminate floors than I have installed. Usually, the issue is that the installer thought the foam underlayment would act like a pillow for the floor. It doesn’t. If the subfloor has a 1/4 inch dip, the laminate will bridge that gap. When you walk on it, the plank sinks. This puts immense pressure on the plastic or wood fiber locking joint. Over time, that joint fatigues and snaps. Once it snaps, there is no way to fix it without pulling up the whole floor. For tile, the requirement is rigidity. For laminate, it is flatness. I tell people that the underlayment is for sound and thermal insulation, not for leveling. If your floor isn’t flat to within 3/16 of an inch over 10 feet, you are wasting your money on that expensive laminate. You might as well just throw the planks in the trash. The flashlight trick is just as important for laminate as it is for tile. I run the light across the subfloor before the planks go down. If I see a shadow, I know the floor is going to fail.
The final inspection protocol
A final inspection should be performed using both ambient and directional lighting to ensure the installation meets the aesthetic and structural requirements of the project. This involves checking for uniform grout color, lack of lippage, and proper expansion gaps at the perimeter. When I finish a job, I don’t just pack up and leave. I bring the homeowner into the room and I turn off the overhead lights. I take my flashlight and I show them the floor. I show them the joints. I show them the transitions. If I can’t find a shadow, I know they won’t find one later. You also have to check the expansion gaps. Every hard surface floor needs room to move. If you butt the tile or laminate tight against the wall, the floor will buckle when the seasons change and the humidity rises. I leave a 1/4 inch to 1/2 inch gap around the entire perimeter. This gap is hidden by the baseboard or a shoe molding. It is the lungs of the floor. It lets the floor breathe. If you don’t have that gap, the floor will eventually push against the wall and lift up in the middle. I have seen floors humped up six inches off the ground because there was no expansion gap. It looks like an earthquake hit the living room. It is a simple thing, but it is one that people forget. I never forget. I have the sawdust under my nails to prove I have been there and done that. I know what works and I know what fails. The flashlight doesn’t lie, and neither do I.