The Mud Bed Mistake That Causes Shower Floors to Crack
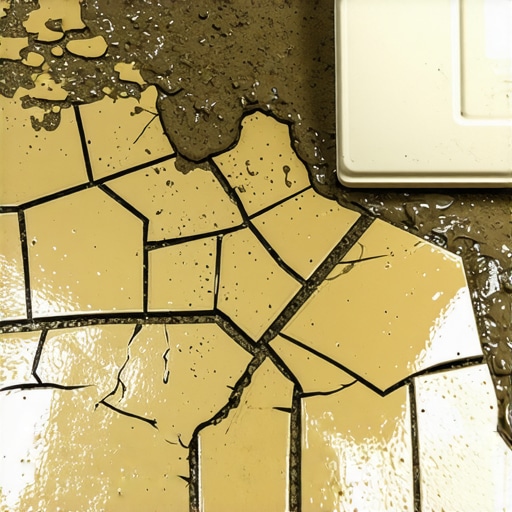
Most guys skip the leveling compound. They think the underlayment will hide the dip. It won’t. I spent three days grinding concrete on a job last month just so the floor wouldn’t click like a castanet. When it comes to showers, that level of laziness is what leads to water damage and structural failure. I have seen countless shower floors where the tile looks beautiful on day one, but by year two, the grout is crumbling and the homeowner smells something funky. The problem is almost always hidden under the surface in the mud bed. You cannot hide a bad foundation with expensive marble. It will fail. It will crack. It will cost you five figures to rip it out and start over.
The physics of the shower pre-slope
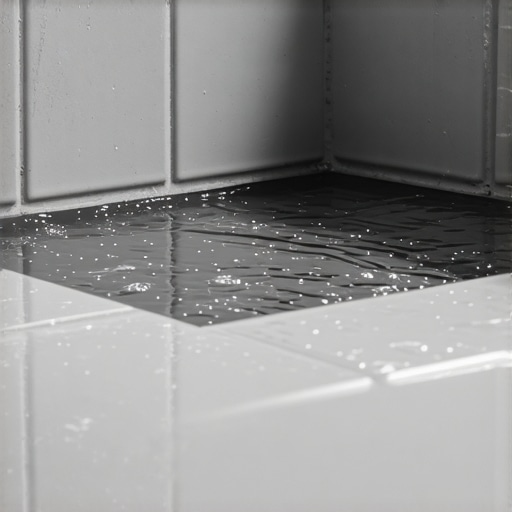
Shower floor installations fail because installers ignore the pre-slope below the liner. A proper mud bed requires a 1/4 inch per foot slope toward the drain to ensure secondary drainage. Without this, water sits on the liner, creates bacteria, and eventually causes the mortar bed to rot and crack. This is the fundamental law of the shower floor. Gravity must be the master of every drop of water that passes through the grout. When you pour a flat mud bed directly onto a subfloor and put the waterproof liner on top of it, you have created a permanent puddle. That water has nowhere to go. It saturates the mortar. It breeds mold. Eventually, the hydrostatic pressure and the constant expansion and contraction of the saturated material will snap the bond of your thin-set. I tell my apprentices that the pre-slope is the most important part of the job, even if the customer never sees it. You are building a machine to move water, not just a pretty floor.
The chemical failure of the mortar mix
A successful mud bed depends on a specific 4-to-1 ratio of masonry sand to Portland cement. If the mix is too rich in cement, it will shrink and crack during the hydration process. If it is too lean, the floor will lack the compressive strength needed to support the weight of a person. The chemistry of the bond is a delicate balance. You want a dry-pack consistency. It should feel like damp sand that holds its shape when you squeeze it in your hand, but it should not be wet or soupy. Many rookies make the mistake of adding too much water because it is easier to move around. That excess water occupies space in the matrix. As it evaporates, it leaves behind microscopic voids. These voids weaken the entire structure. When you step on that floor, the point-load pressure from your heel is enough to cause a micro-fracture in the brittle, air-filled mortar. Over time, those micro-fractures connect, and suddenly you have a hairline crack running across your expensive mosaic tile. It is a slow-motion disaster caused by a bucket of water.
“A floor is only as good as the subfloor beneath it; deflection is the enemy of every joint.” – Master Flooring Axiom
Why your subfloor is lying to you
Subfloor deflection is the primary cause of grout failure and cracked tiles in modern showers. TCNA standards require a deflection rating of L/360 for ceramic tile and L/720 for natural stone. If your plywood subfloor bounces even slightly, the rigid mud bed will snap under the tension. You can have the perfect sand-to-cement ratio, but if the wood joists underneath are spaced too far apart or have rotted from a previous leak, the floor is doomed. I always check the crawlspace before I even give a quote. If I see 2×8 joists spanning sixteen feet, I know I have to reinforce them before the mud bed goes down. You cannot expect a three-inch slab of mortar to act as a bridge. It is a heavy, rigid material. If the wood flexes, the mortar cracks. It is simple structural engineering. I prefer to add sister joists or a layer of 3/4-inch exterior grade plywood to ensure the base is as stiff as possible. A stiff floor is a quiet floor, and more importantly, it is a floor that stays in one piece.
| Material System | Compressive Strength | Drying Time | Moisture Resistance |
|---|---|---|---|
| Traditional Mud Bed | 3000 PSI | 24-72 Hours | High (if sloped) |
| Pre-Formed Foam | 60-100 PSI | Immediate | Total |
| Self-Leveling Underlayment | 4000+ PSI | 4-12 Hours | Moderate |
| Rapid Set Mortar | 2500 PSI | 3 Hours | High |
The weep hole disaster
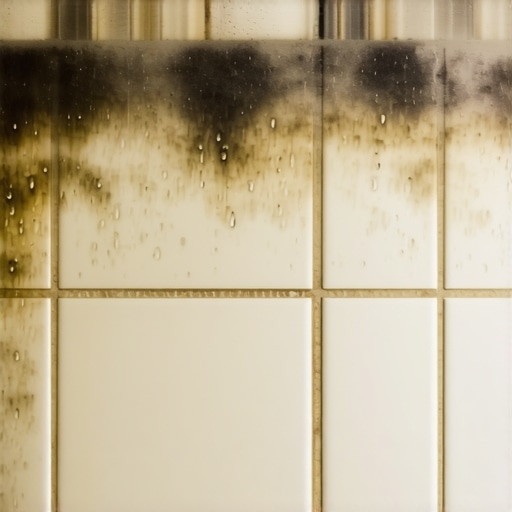
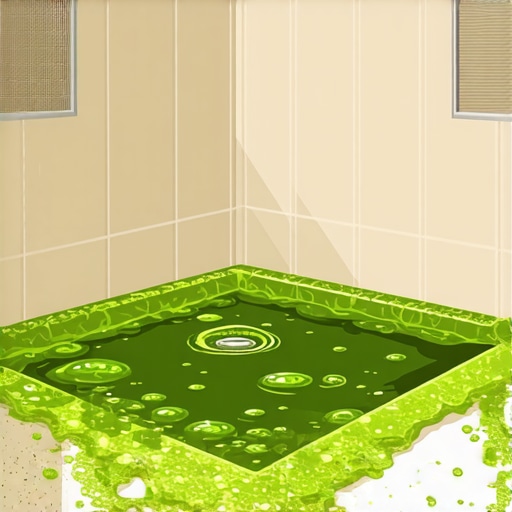
Drainage failure occurs when the weep holes in the drain assembly become clogged with mortar or thin-set. These small openings are designed to let water that reaches the liner escape into the drain pipe. When they are blocked, water builds up in the mud bed until it rots. Every three-piece drain has these little holes. If you are not careful when you are packing your mud, you will plug them up. I always use a handful of pea gravel or a dedicated weep hole protector around the base of the drain. This ensures a clear path for moisture. If you skip this, you are basically building a swamp under your shower. The water will sit there, getting more acidic and more disgusting by the week. It will eat away at the alkali-resistant mesh in your thin-set. It will cause the grout to discolor. Eventually, the constant saturation will cause the mud bed to lose its structural integrity. It will turn back into mush, and your tiles will start to pop off like bottle caps. It is a disgusting, preventable mess.
“The integrity of the assembly relies upon the management of moisture at the lowest point of the system.” – TCNA Handbook Principle
The 1/8 inch that ruins everything
Expansion gaps at the perimeter of a shower floor are a requirement, not a suggestion. As the house settles and temperatures shift, the mud bed and the tile will expand. If the floor is packed tight against the wall studs, it has nowhere to go but up. This creates tenting. The floor literally bows upward until the pressure becomes too much and it snaps. I always leave a 1/8-inch to 1/4-inch gap around the entire perimeter. This gap should be filled with 100 percent silicone caulk, never grout. Grout is rigid. Silicone is flexible. It acts as a shock absorber for your floor. In regions like Phoenix or Las Vegas, where the air is bone dry, the wood framing in a house can shrink significantly. In humid places like Houston or Miami, the wood swells. If you do not account for this movement, your shower floor will become a casualty of the seasons. I have seen entire rows of tile buckle because someone forgot to leave a tiny gap at the wall. It is a rookie mistake that professionals cannot afford to make.
- Always install a pre-slope beneath the waterproofing liner.
- Maintain a 4-to-1 sand-to-cement ratio for the dry pack.
- Protect the drain weep holes with pea gravel or specialized spacers.
- Verify that subfloor deflection meets L/360 standards before pouring.
- Leave a movement joint at all perimeters and changes of plane.
- Allow the mud bed to cure fully before applying topical membranes.
The ghost in the expansion gap
Movement joints are often the most ignored aspect of shower design. According to TCNA EJ171, every change of plane, such as where the floor meets the wall, requires a flexible sealant instead of rigid grout. People hate the look of caulk. They want everything to match perfectly. But grout will crack at the corners every single time. The walls move differently than the floor. When that crack forms, it becomes an entry point for water. That water travels behind the tile, saturates the mud bed, and starts the cycle of destruction. I use color-matched silicone that looks exactly like the grout. It provides the necessary flexibility while maintaining the aesthetic the homeowner wants. It is about being smarter than the materials you are working with. You have to anticipate where the stress will occur and give it a place to vent. If you don’t, the stress will find its own way out, and it will be through the middle of your floor. The chemistry of the bond depends on this flexibility. Without it, the system is too brittle to survive the natural life of a building.