Why Your Self-Leveler Is Cracking in a Spiderweb Pattern
Why Your Self-Leveler Is Cracking in a Spiderweb Pattern
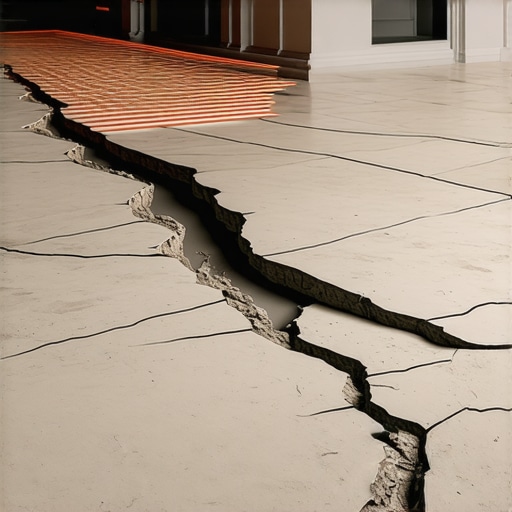
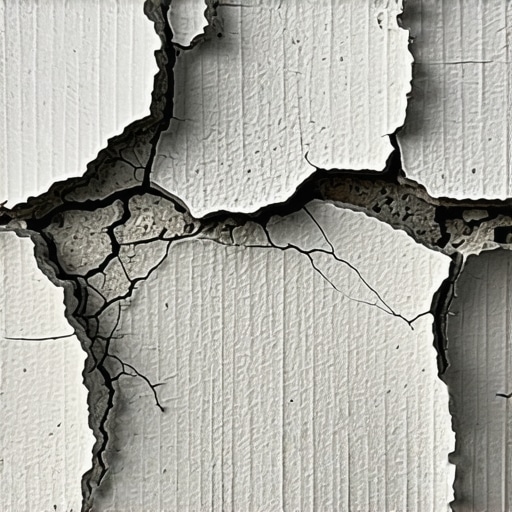
Most guys skip the leveling compound. They think the underlayment will hide the dip. It won’t. I spent three days grinding concrete on a job last month just so the floor wouldn’t click like a castanet. When you see those tiny, interconnected fractures spreading across a freshly poured floor like a frozen pond in a storm, you are looking at a failure of physics and chemistry. This is not a cosmetic blemish. It is a sign that your substrate and your topping are in a state of war. A floor is only as good as the subfloor beneath it, and when that foundation is compromised, every square inch of your luxury vinyl or hardwood is at risk of premature failure. You cannot hide a bad pour with a thick pad. The structural integrity of the entire room begins with how that leveler bonds to the slab or the plywood below.
The hidden chemistry of water to powder ratios
Self-leveling underlayment requires an exact chemical balance to maintain structural stability. If you add too much water to the bucket, you are effectively drowning the polymer chains. The excess moisture forces the aggregate to sink to the bottom while the lighter, weaker components rise to the surface. This creates a brittle top layer that cannot handle the tension of curing. When the water evaporates, the surface shrinks at a different rate than the core. This differential shrinkage is the primary cause of spiderweb cracking. It is the result of a weakened crystalline structure that lacks the tensile strength to hold itself together as the moisture exits the system. You are left with a powdery, unstable mess that will crunch under your feet as soon as you walk on it. I have seen installers try to eyeball the water. They think they know what it looks like. They are wrong every single time. A leveler is a precision instrument, not a bucket of mud.
The catastrophic failure of the mechanical bond
Substrate preparation is the only thing standing between a successful floor leveling and a total demolition project. If the concrete is dusty, oily, or too smooth, the leveler cannot grab onto the surface. Most people ignore the primer. They think it is just a suggestion. In reality, the primer is the bridge that links two disparate materials. Without it, the leveler loses its moisture into the dry concrete too fast. This rapid dehydration causes the material to snap and crack before it can develop its full strength. If you are pouring over old adhesive residue, you are asking for a nightmare. Chemicals in the old glue can react with the new leveler, leading to a chemical rejection that looks like a map of the moon. I always tell my crew that if the floor is not clean enough to eat off of, it is not clean enough to pour on. You need a mechanical profile. You need the concrete to be thirsty but controlled. If you don’t prime it properly, the leveler will just sit on top like a loose sheet of glass.
“A floor is only as good as the subfloor beneath it; deflection is the enemy of every joint.” – Master Flooring Axiom
The invisible weight of humidity and ambient temperature
Temperature and humidity play a massive role in how the self-leveler cures and stays flat. In high-humidity environments like a basement in Georgia or a summer day in Florida, the moisture in the air slows down the drying process. Conversely, in a dry, heated house during a Chicago winter, the air will suck the moisture out of the leveler so fast it will curl at the edges. This curling creates air gaps beneath the leveler. When you eventually install your carpet or laminate, those gaps will collapse under the weight of furniture. The spiderweb cracks you see are often the first sign that the material is drying from the top down rather than through a uniform chemical reaction. You have to control the climate. You cannot pour a floor in a room with a 90 degree breeze blowing through an open window and expect it to stay stable. The air movement will cause the surface to flash dry, leaving the bottom wet and unstable.
Why the vortex in your bucket matters
The speed at which you mix your leveling compound determines the amount of air trapped in the slurry. Using a high-speed drill creates a vortex that sucks air into the mixture. These tiny bubbles become weak points in the finished floor. As the leveler settles, those bubbles rise and pop, leaving behind pinholes. If the air is trapped deep within the pour, it creates a honeycomb structure that is incredibly brittle. When you see a spiderweb pattern, it often follows the paths where the air bubbles were most concentrated. I use a specialized paddle designed for low-drag mixing. It keeps the air out and the polymer chains intact. You need a smooth, creamy consistency that flows like pancake batter. If it looks like oatmeal, you have already lost the battle. If it looks like water, you have ruined the chemistry. There is a very narrow window of perfection that only comes from following the bag instructions to the letter.
| Leveler Property | Standard Mixture | High Flow Mixture | Rapid Set Mixture |
|---|---|---|---|
| Water Ratio | 5.0 Quarts | 5.5 Quarts | 4.5 Quarts |
| Cure Time | 24 Hours | 36 Hours | 4 Hours |
| Tensile Strength | 4000 PSI | 3500 PSI | 5000 PSI |
| Max Thickness | 1.5 Inches | 2.0 Inches | 1.0 Inches |
The myth of the thick underlayment fix
While most people want the thickest underlayment to hide flaws, too much cushion actually causes the locking mechanisms on LVP to snap under pressure. I have seen people try to use a thick foam pad to bridge the gaps in a cracked self-leveler. This is a recipe for disaster. The leveler pieces will shift under the pad. This movement creates a grinding sound every time someone walks across the room. Eventually, the movement will fatigue the plastic tongue and groove of your luxury vinyl planks. You will end up with gaps in your floor that no amount of tapping will fix. The leveler must be a solid, monolithic slab. It should not be a collection of loose islands floating on your concrete. If your leveler has spiderwebbed, the only real solution is to scrape it up, re-prime, and pour it again. It is a painful lesson, but the physics of a floor do not care about your timeline or your budget.
The structural skeleton of the room and deflection
Wooden subfloors present a unique challenge because they move and breathe in ways concrete does not. If you are pouring leveler over plywood, you must ensure the joists are stiff enough to support the weight. Standard self-leveler is heavy. It adds significant dead load to the structure. If the floor deflects when you walk on it, the leveler will shatter. It has zero flexibility once it is cured. This is why you must use a fiber-reinforced leveler or a metal lath when working on wood. The spiderweb cracks on a plywood subfloor are almost always a sign of deflection. You are trying to put a rigid shell on a flexible surface. It is like putting an eggshell on a trampoline. The moment you step on it, the shell breaks. You have to stiffen the subfloor with more screws or blocking from below before you even think about opening a bag of leveler.
“Substrate preparation is 90 percent of the job; the remaining 10 percent is just showing up with the right tools.” – TCNA Installation Handbook
The path to structural redemption
Fixing a failed pour requires a methodical approach to identifying the root cause of the cracking. First, you must determine if the leveler is still bonded to the floor. Tap on it with a hammer. If it sounds hollow, it is detached and must be removed. If the cracks are tight and the material is still stuck fast, you might be able to save it with a high-strength epoxy injection or a thin coat of a different patching compound. However, if the spiderwebbing is widespread and the surface is chalky, you are looking at a chemical failure. In that case, you have to get the floor scraper out. It is a back-breaking job that involves a lot of dust and regret. But it is better to fix it now than to watch your $10,000 hardwood floor fall apart in two years because you were too lazy to address the foundation.
- Check the moisture content of the slab with a calcium chloride test before pouring.
- Vacuum every speck of dust from the floor and the baseboards.
- Apply the primer with a soft-bristle brush to ensure it gets into the pores of the concrete.
- Measure the water in a graduated cylinder rather than a marked bucket.
- Use a spiked roller to release air bubbles and help the material flow together.
- Keep the room sealed from drafts for at least 12 hours after the pour.
The ghost in the expansion gap
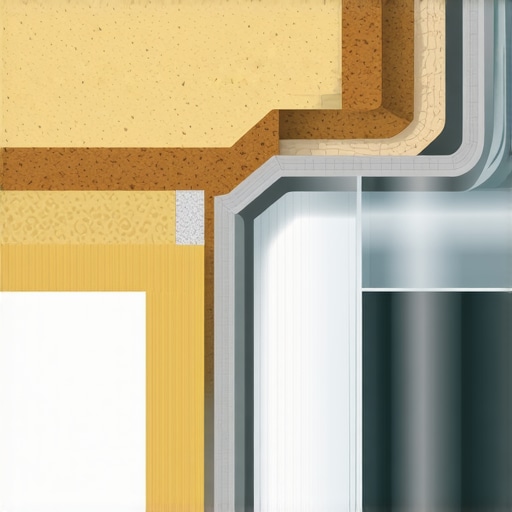
Leaving a gap at the perimeter of the room is not just for the finished floor; the leveler needs space to breathe too. Many people pour the leveler right up against the drywall or the sill plate. This is a mistake. As the leveler cures, it generates heat and undergoes a minor amount of expansion before it settles. If it is locked against the walls, the internal pressure has nowhere to go. This pressure manifests as cracks in the center of the room. I use foam expansion strips around the entire perimeter. This creates a soft buffer that allows the leveler to find its natural home. It also prevents the leveler from leaking into the wall cavities or down into the basement. Small details like this separate the professionals from the guys who just watched a five-minute video online. You have to respect the material. If you don’t, it will find a way to humiliate you.
The 1/8 inch that ruins everything
Precision in floor leveling is measured in fractions that the naked eye often misses until the light hits the floor at an angle. A dip of an eighth of an inch over a ten foot span might not seem like much, but it is enough to make a floating floor feel like it is bouncing. When your leveler cracks in a spiderweb pattern, those cracks often raise the edges of the material just enough to create high spots. You might think you have a level floor, but you actually have a series of tiny ridges. When you lay your laminate over those ridges, the planks will not sit flat. You will hear a clicking sound. That is the sound of the locking mechanism rubbing against the leveler. It is a death knell for the floor. You must use a long straightedge to check the floor after the leveler is dry. Any ridge caused by a crack must be ground down until the surface is perfectly flat. There are no shortcuts in this business. The floor will always tell the truth about the work you did underneath it.