The ‘Tap Test’ for Finding Hollow Spots in Your New Floor Leveler
The Tap Test for Finding Hollow Spots in Your New Floor Leveler
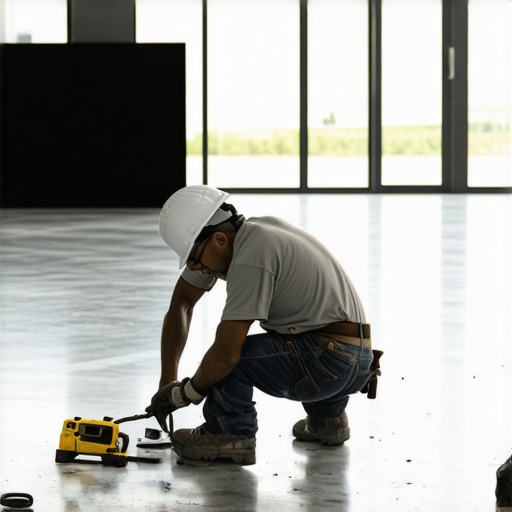
Most guys skip the leveling compound. They think the underlayment will hide the dip. It won’t. I spent three days grinding concrete on a job last month just so the floor wouldn’t click like a castanet. I remember the smell of the gray dust hitting my nostrils, mixed with the faint scent of WD-40 from my grinder gears. The homeowner thought I was crazy, charging for an extra three days of prep. Then I took a heavy steel ball and dropped it. The sound changed from a solid thud to a high pitched, hollow ring. That ring is the sound of a floor that is about to fail. If you ignore that sound, your fifteen thousand dollar investment becomes a pile of expensive firewood or cracked plastic in less than two years. I have seen it happen in high end custom homes and quick flip apartments alike. The subfloor does not care about your budget. It only cares about physics and the chemical bond between the substrate and the topping.
The physical sound of a failed bond
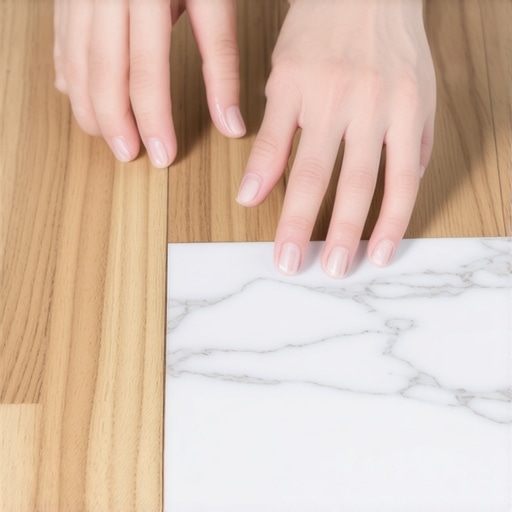
A hollow spot in floor leveler is identified by a distinct change in acoustic resonance when the surface is struck with a dense object. This sound indicates delamination where the self-leveling underlayment has detached from the substrate, creating an air pocket that will eventually cause structural cracking. You need to understand that a floor leveler is a brittle thin shell. When it is bonded to the concrete or plywood underneath, it shares the strength of that structure. The moment it detaches, it becomes a floating sheet of glass. If you walk on it, it flexes. If it flexes, it breaks. I use a simple golf ball or a heavy heavy duty screwdriver handle to find these spots. You drag the tool across the surface. You are looking for a sound that shifts from a deep, bass heavy vibration to a sharp, hollow chirp. It is the same principle as tapping on a wall to find a stud, but the stakes are much higher. If you find a hollow spot, the leveler must be removed. There is no middle ground here. You cannot just pour more on top and hope for the best.
“A floor is only as good as the subfloor beneath it; deflection is the enemy of every joint.” – Master Flooring Axiom
Why your subfloor is lying to you
Subfloors often appear flat to the naked eye while hiding significant structural voids or chemical contaminants that prevent proper bonding. Moisture vapor transmission and surface laitance are the primary culprits that cause a floor leveler to lift and create the hollow sounds detected during a tap test. You look at a concrete slab and you see a gray, solid surface. I look at it and see a porous sponge that is constantly breathing. If that concrete was finished too smooth at the factory, it has what we call laitance. This is a weak, milky layer of cement dust that sits on top. If you pour leveler on that, it bonds to the dust, not the slab. Eventually, the tension of the leveler drying pulls that dust layer right off the concrete. Now you have a hollow spot. This is why mechanical preparation is not optional. You have to grind that surface to open the pores. I tell my apprentices that if the concrete doesn’t feel like eighty grit sandpaper, it is not ready. If you are prepping for a laminate install or a tile job in showers, the bond is everything. In a shower, a hollow spot under the leveler means your waterproofing membrane will eventually stretch and tear. It is a slow motion disaster.
The chemistry behind the delamination disaster
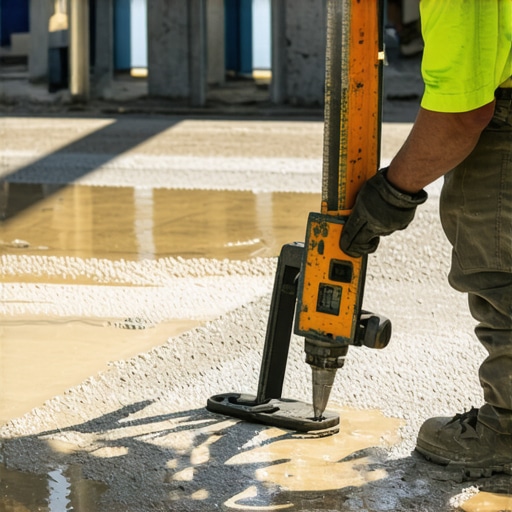
Delamination occurs when the hydration process of the leveling compound is interrupted or when the substrate’s surface energy is too low to facilitate a chemical bond. Using the wrong primer or failing to address high moisture levels leads to a complete separation of materials. Most self leveling underlayments are based on calcium aluminate cement. This stuff cures fast and it shrinks very little. But it is incredibly sensitive to water ratios. If you add too much water to the mix to make it flow easier, you are effectively killing the product. The heavy aggregates sink to the bottom and the polymers float to the top. This creates a weak interface. When the leveler dries, it exerts a massive amount of pulling force. If the bond to the substrate is weaker than the internal tension of the leveler, it will pop. You will hear it in the middle of the night. A loud crack like a pistol shot. That is the sound of your floor leveler giving up the ghost. I always check the moisture vapor emission rate before I even open a bag of leveler. If the slab is pushing out more than five pounds of moisture per thousand square feet, you are asking for trouble. No amount of tapping will save you if the chemistry is wrong.
Tools for the forensic flooring investigation
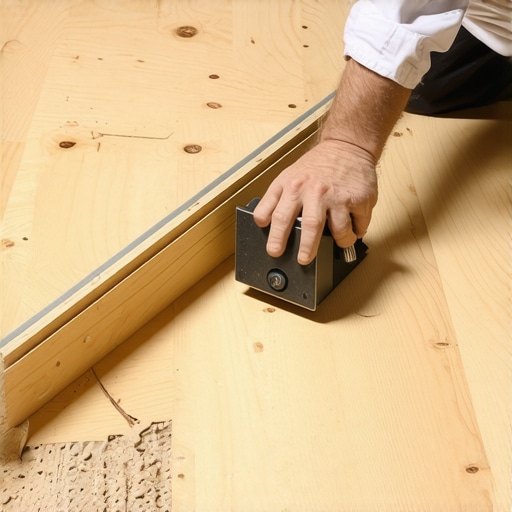
The primary tools for detecting subfloor voids include sounding chains, heavy steel balls, and specialized acoustic hammers designed to resonate through multiple layers of material. These tools allow an installer to map out areas of delamination without destructive testing or expensive imaging equipment. I have a chain assembly that I drag across the floor. It is just a series of heavy metal links on a T-handle. As I walk the room, the rattling sound stays consistent. When I hit a hollow spot, the rattle turns into a hollow drum beat. It is unmistakable. If you are a homeowner, you can use a simple broom handle. Bounce the heavy end on the floor. It should feel like you are hitting a rock. If it feels like you are hitting a hollow box, you have found a void. This is especially important before a carpet install or laminate. People think carpet hides everything. It doesn’t. You will feel that crunching sound of breaking leveler through the pad every time you walk across the room. It will drive you crazy. It sounds like someone is stepping on potato chips under your feet. Using a moisture meter is another part of this investigation. If the hollow spot is localized near an exterior wall, you likely have a water intrusion issue that is blowing the leveler off the slab.
| Compounding Method | Compressive Strength (PSI) | Typical Cure Time | Bonding Requirement |
|---|---|---|---|
| Self-Leveling Underlayment | 4000 to 6000 | 4 to 24 Hours | Mechanical Profile and Primer |
| Feather Edge Patch | 2500 to 3500 | 30 Minutes | Clean Substrate |
| Deep Fill Mortar | 3000 to 5000 | 24 to 48 Hours | Slurry Bond Coat |
The 1/8 inch that ruins everything
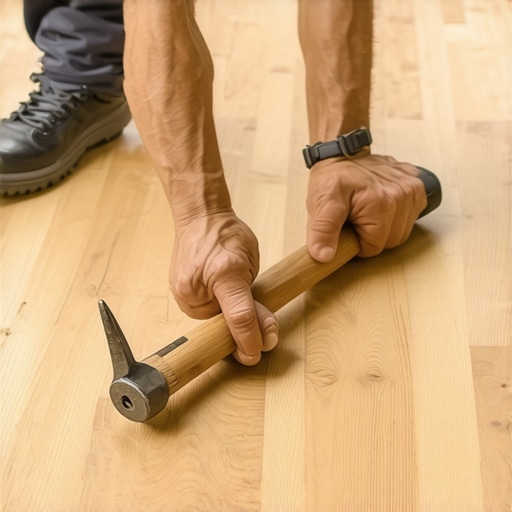
Industry standards from the NWFA and TCNA dictate that a floor must be flat within 1/8 inch over a 10 foot radius to prevent mechanical failure of the flooring joints. Any hollow spot represents a deviation from this standard as the material lacks the support required to remain flat under load. I carry a ten foot straightedge on every job. I don’t care how good the leveler looks. If I see light under that straightedge, the job isn’t done. If I find a hollow spot, even if it is flat, I know that once the weight of a refrigerator or a heavy kitchen island is placed on it, that spot will collapse. It might only move a sixteenth of an inch, but that is enough to snap the tongue and groove off a piece of engineered hardwood or LVP. You cannot fix a hollow spot by injecting epoxy or glue. That is a hack move. You have to cut it out. I use a diamond blade on a circular saw, set the depth to exactly the thickness of the leveler, and cut a square around the hollow area. Then I pop it out with a chisel. It should come up in clean chunks. If it comes up as dust, your leveler was a bad batch. If it comes up clean but the concrete underneath is shiny, you didn’t prep the slab correctly. Either way, the tap test told you the truth before the furniture went in.
“Surface preparation is not a suggestion; it is the fundamental requirement for all finished flooring systems.” – Tile Council of North America Handbook
Moisture is the silent killer of laminate
Laminate flooring requires a perfectly stable and level base because the click lock mechanisms are highly susceptible to breakage when subjected to vertical deflection caused by subfloor voids. A hollow spot under a laminate plank acts like a bellows, pumping moisture and air into the core of the board. When you walk on a laminate floor that has a hollow spot underneath, the plank flexes down. This creates a vacuum. When you lift your foot, the plank springs back and sucks in air from the perimeter of the room. If that air is humid, you are literally feeding moisture to the raw HDF core of the laminate. Within months, the edges of your floor will start to peak. This is why people think laminate is garbage. It isn’t the product. it is the installer who didn’t do the tap test. I’ve seen beautiful laminate jobs ruined because the guy thought the foam underlayment would bridge a two foot wide hollow spot. It won’t. The foam compresses, the leveler underneath cracks further, and the floor eventually separates. You have to be ruthless with your floor leveling. If it sounds hollow, it is a hole. Treat it like a hole. Fill it correctly or face the callbacks.
From showers to living rooms
Leveling requirements vary significantly between dry living areas and wet environments like showers where slope and drainage must be maintained alongside structural integrity. A hollow spot in a shower pan leveler is a guaranteed leak point because the waterproofing bond will fail under the stress of foot traffic. In a shower, the leveler isn’t just about being flat. It is about the pitch. We use high flow mortars to create the slope toward the drain. If you get a hollow spot in your pre-pitch, the rubber or topical membrane you apply on top will be bridging a gap. Every time someone steps in that shower, the membrane stretches. Eventually, it pinches or shears. Now you have water sitting in your subfloor. This is why I am so obsessed with the tap test in wet areas. I will spend an hour crawling on my knees in a five by five shower stall just tapping. If I hear one hollow ring, I pull it all out. It is cheaper to lose a bag of leveler than it is to remediate mold in a crawlspace. The same applies to transitions. If your floor leveler is hollow at the doorway where it meets another material, the transition strip will never stay tight. It will wiggle until the screws pull out or the adhesive fails.
Checklist for identifying structural voids
- Verify the substrate is free of oil, wax, and drywall compound before pouring.
- Mechanical abrasion of the concrete to a CSP 3 profile is mandatory.
- Use the specific primer recommended by the leveler manufacturer.
- Drag a heavy chain or bounce a golf ball across every square foot of the cured leveler.
- Mark any hollow sounding areas with a wax pencil for immediate removal.
- Check the perimeter expansion joints to ensure the leveler hasn’t locked against the wall.
- Inspect for spider webbing cracks which often indicate a poor bond or over-watering.
The structural reality of the click lock snap
Modern click lock flooring is engineered to a specific tolerance that does not allow for more than a few millimeters of vertical movement. When a hollow spot exists, the downward force of a person walking exceeds the shear strength of the plastic or wood locking mechanism. You have to think about the physics of the lever. The plank is the lever. The edge of the hollow spot is the fulcrum. When you step on the part of the plank over the void, you are applying hundreds of pounds of pressure to a tiny strip of material. It will snap. It might not happen today. It might not happen tomorrow. But eventually, that joint will fail. Once one joint fails, the planks around it start to move more. It is a cascading failure. I have seen entire living rooms have to be torn up because of one three foot section of hollow leveler that was ignored. Don’t be that guy. Do the work. Do the tap test. If you smell the oak dust and the concrete grit, and your knees are sore, you are probably doing it right. Flooring is a trade of precision, not a trade of speed. The chemistry of the bond and the physics of the sound are your best friends on the job site. Respect them and your floors will last a lifetime.