The ‘Coin Test’ for Checking Floor Leveler Flatness
The 1/8 inch that ruins everything
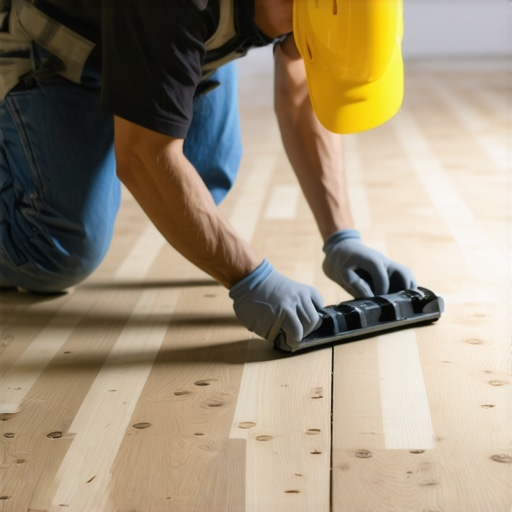
Checking floor flatness with a coin is the most reliable way to identify subfloor dips that will eventually snap your laminate locking systems or cause grout to crack in showers. By using a standard quarter as a thickness gauge under a six-foot straightedge, you can visualize the mechanical tolerances required by the NWFA and TCNA. This simple physical metric prevents the catastrophic failure of floating floors and prevents the bouncy feel of poorly installed carpet. Most guys skip the leveling compound. They think the underlayment will hide the dip. It won’t. I spent three days grinding concrete on a job last month just so the floor wouldn’t click like a castanet. That job was supposed to be a simple laminate install, but the slab looked like the rolling hills of Kentucky. If you do not fix the substrate, the finish material is just a very expensive band-aid over a broken bone. My knees have the scars from decades of crawling over poorly prepared plywood and concrete. I have seen fifteen thousand dollar walnut floors cup like potato chips because the installer was too lazy to check the moisture or the levelness of the joists. Flooring is not a cosmetic choice. It is a structural engineering challenge that starts from the dirt up.
Why your subfloor is lying to you
A subfloor might look smooth to the naked eye while hiding significant undulations that exceed the maximum allowable deflection for modern flooring materials. Visual inspection is a trap for the inexperienced. You need tools that do not rely on your eyes alone. When we talk about floor leveling, we are dealing with two distinct concepts. Levelness refers to the relationship with the horizon. Flatness refers to the consistency of the plane. You can have a floor that is perfectly flat but slightly tilted, and your laminate will be fine. However, a floor that is level but has a two-inch dip in the center will destroy an LVP floor in weeks. The friction created by the vertical movement of the planks as you walk over a void causes the tongue and groove to grind against each other. This friction generates heat and mechanical wear, eventually snapping the thin plastic or wood locking mechanism. Once that click is gone, the floor is dead. There is no fixing it without tearing the whole thing up. I have watched homeowners cry over ruined renovations because their contractor told them the padding would fill the holes. Padding is for cushion. It is not a structural filler.
“A floor is only as good as the subfloor beneath it; deflection is the enemy of every joint.” – Master Flooring Axiom
The physics of the quarter trick
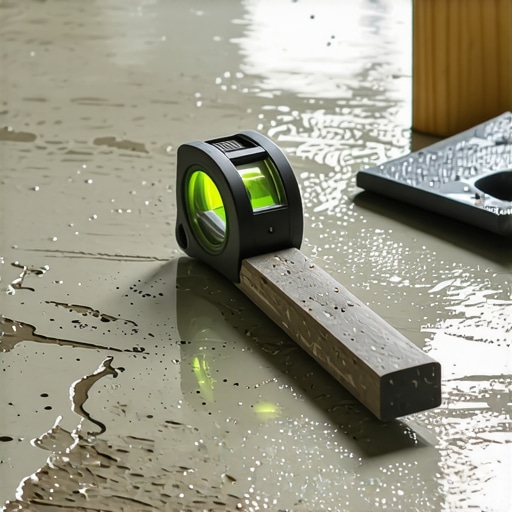
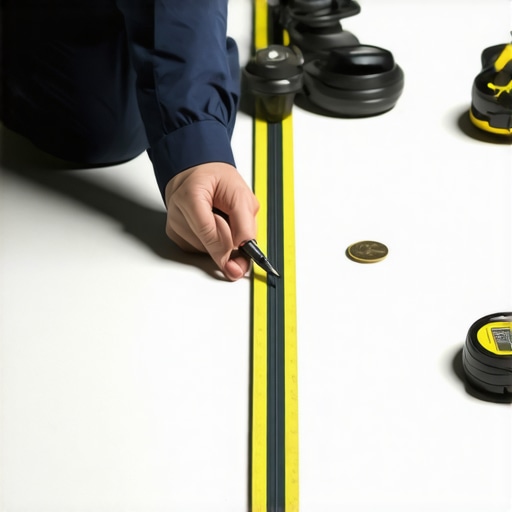
The coin test works because a US quarter is approximately 1.75 millimeters thick, which serves as a perfect physical limit for most floor flatness specifications. If you slide a quarter under a six-foot straightedge and it moves freely, you have a gap of roughly 1/16th of an inch. If you can stack two quarters, you have reached 1/8th of an inch. Most manufacturers of laminate and engineered hardwood specify that the floor must be flat to within 1/8th of an inch over a six-foot radius or 3/16ths of an inch over a ten-foot radius. Using the coin as a feeler gauge removes the guesswork. You are not squinting at a tape measure or a ruler. You are feeling the resistance of the metal against the subfloor and the straightedge. This is a tactile feedback loop. Professional installers use this method to map out the high and low spots. I mark the low spots with a pencil, drawing circles where the quarters pass through. These circles become my target zones for self leveling compound. You cannot just pour the liquid and hope for the best. You need to know exactly where the gravity will pull that material and how much you need to break the surface tension to get a feathered edge.
| Material Type | Flatness Tolerance (per 6ft) | Critical Measurement |
|---|---|---|
| Laminate Flooring | 1/8 Inch | 2 Stacked Quarters |
| Solid Hardwood | 3/16 Inch | 3 Stacked Quarters |
| Ceramic Tile | 1/4 Inch | 4 Stacked Quarters |
| LVP (Vinyl Plank) | 1/8 Inch | 2 Stacked Quarters |
Liquid stone and the chemistry of self leveling compounds
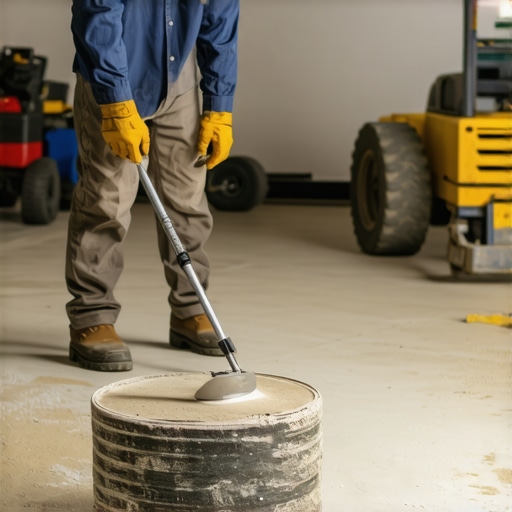
High performance self leveling compounds are not just thin cement but complex polymer modified liquids designed to seek equilibrium while maintaining structural integrity. When you mix a bag of high end leveler, you are initiating a chemical reaction. The calcium aluminate cement reacts with the water and the powdered polymers to create a slurry that has a very specific viscosity. If you add too much water, you ruin the cross linking of the polymers. The result is a brittle, dusty surface that will delaminate from the substrate. If you add too little, the material will not flow. It will leave ridges that are even harder to grind down than the original concrete. You also have to consider the Concrete Surface Profile or CSP. For a leveler to bond, the concrete needs to be porous. It should feel like 60 grit sandpaper. If it is smooth power troweled concrete, the leveler will just sit on top like a scab. You need a primer. The primer acts as the bridge between the old slab and the new material. It stops the dry concrete from sucking the moisture out of the leveler too fast. If that moisture is lost, the leveler cannot hydrate properly, and it will crack like a dried out lake bed.
The invisible enemy of moisture and vapor
Moisture vapor transmission is the primary cause of floor failure even when the floor is perfectly flat and level according to the coin test. Every concrete slab on grade is a sponge. It is pulling moisture from the soil through capillary action. If you trap that moisture under a vapor tight flooring like laminate or LVP, the pressure builds up. This is called hydrostatic pressure. It can reach levels that actually push the adhesive off the floor or cause the wood fibers in laminate to swell and blow out the seams. Before I ever pour a drop of leveler or lay a square foot of carpet, I use a calcium chloride test or an in situ probe to check the Relative Humidity. If the slab is over 75 percent RH, you need a moisture mitigator. This is usually a two part epoxy coating that seals the pores of the concrete. You apply it, let it cure, then prime it, then level it. It is a lot of work. It is expensive. But it is the only way to guarantee that your shower floor or your basement laminate will not fail. I have seen guys try to use plastic sheets as a shortcut. Plastic helps, but it does not stop the vapor pressure from attacking the edges of your installation.
Why laminate floors click like castanets
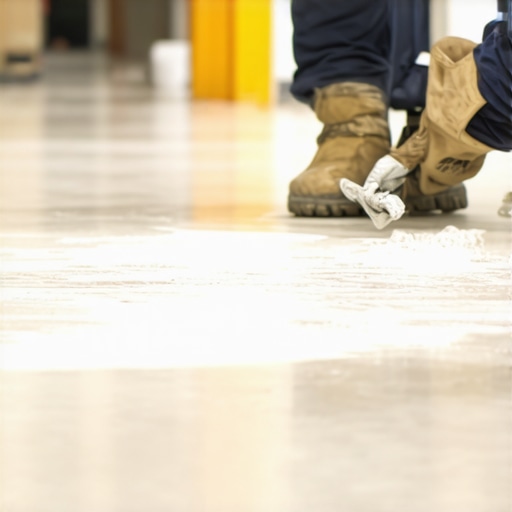
Laminate floors produce a hollow clicking sound when the subfloor is uneven because the planks are acting as a diaphragm over an air pocket. This is the hallmark of a bad install. When you walk over a dip that failed the coin test, the plank bends. The air trapped in the void is compressed and then released. The sound is the wood or plastic hitting the subfloor repeatedly. It sounds cheap because it is a result of cheap labor. To fix this, you must ensure the subfloor is flat within the width of a single quarter. In areas where you are installing showers or heavy tile, this flatness is even more vital. Tile has zero flexibility. If the subfloor moves, the tile breaks or the grout pops out. People think carpet is more forgiving. While you will not hear a click, the carpet will develop wear patterns in the low spots. The backing of the carpet rubs against the subfloor in those dips, leading to bald spots and premature aging. No matter the finish material, the prep is the same. You find the dip, you prime the surface, and you fill the void.
- Clear the room and remove all baseboards and debris.
- Use a ten foot straightedge to find the general topography of the room.
- Switch to a six foot straightedge for the detailed coin test.
- Mark all areas where a quarter can slide under the bar.
- Check for high spots and grind them down before filling low spots.
- Apply a high quality primer and let it become tacky.
- Mix self leveling compound according to the exact water ratio.
- Pour and use a spike roller to remove air bubbles.
Wet area slopes and the shower pan reality
In shower installations, the coin test is used not to find perfectly flat areas but to ensure a consistent and predictable slope toward the drain. The TCNA mandates a slope of one fourth inch per linear foot. If your slope has dips, water will pool. This leads to mold, mildew, and the eventual failure of the waterproofing membrane. I have torn out showers that smelled like a swamp because the installer did not level the subfloor before building the pre-slope. They tried to make up for a wavy subfloor with a thicker mortar bed. Mortar shrinks as it dries. If the thickness is inconsistent, the shrinkage is inconsistent. This creates birdbaths in the tile. The coin test helps you identify these variations before you set a single tile. If your straightedge is showing gaps when it should be a smooth transition to the drain, you are asking for trouble. I always tell my apprentices that water is the most patient architect. It will find the one mistake you made and live there until your floor rots out from under you.
“A floor is only as good as the subfloor beneath it; deflection is the enemy of every joint.” – Master Flooring Axiom
The grit of the job and the final standard
Professional flooring work is a grueling process of cleaning, measuring, and correcting the mistakes left behind by the framing crew or the concrete team. Most people want to talk about the color of the oak or the pattern of the tile. I want to talk about the bag of floor patch and the grinding disc. I smell like floor wax and bad news for anyone who thought they could skip the prep work. If you follow the coin test protocol, you are taking the first step toward a floor that will last fifty years instead of five. It requires you to be honest about the state of your home. It requires you to spend money on things you will never see once the floor is down. But that invisible work is the difference between a home and a construction site. When I walk across a floor I have leveled, it feels solid. There is no sound. There is no movement. It feels like walking on a mountain. That is the standard. Anything less is just a waste of time and timber. Stop looking at the finish and start looking at the substrate. The truth is always under your feet.”, “image”: {“imagePrompt”: “A close-up shot of a professional floor installer’s hand sliding a US quarter coin under a long aluminum straightedge on a gray concrete subfloor. The lighting is industrial and highlights the texture of the concrete and the precision of the measurement. Small pencil marks are visible on the floor surrounding a dip.”, “imageTitle”: “The Professional Coin Test for Floor Leveling”, “imageAlt”: “A hand performing the coin test for floor flatness using a quarter and a straightedge on concrete.”}, “categoryId”: 0, “postTime”: “”}