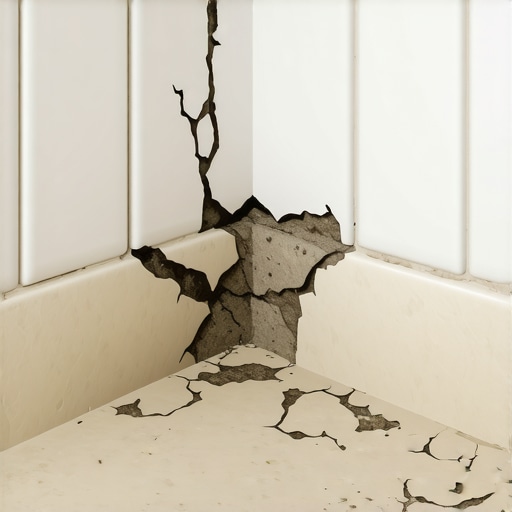
Why Your Shower Grout Is Cracking Exactly Where the Wall Meets the Floor
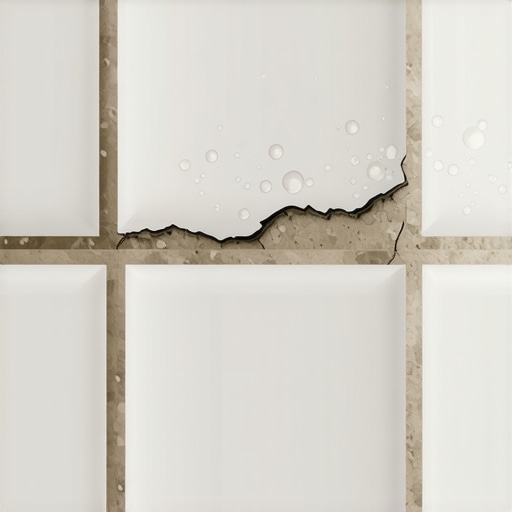
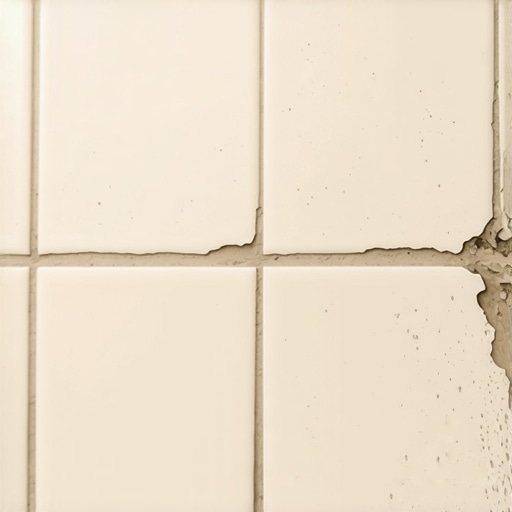
I spent three days grinding concrete on a job last month just so the floor wouldn’t click like a castanet. Most guys skip the leveling compound. They think the underlayment will hide the dip. It won’t. I have seen it a thousand times in showers where the homeowner is baffled that their expensive tile is falling apart. They see that ugly, jagged crack running right along the perimeter where the wall meets the floor and they think the house is falling down. It usually isn’t. It is just a case of an installer who didn’t understand the physics of a change of plane or the chemistry of the bond. I have spent twenty-five years on my knees with a moisture meter and a level, and I can tell you that a floor is a performance surface, not a decoration. If you treat it like a painting, it will fail you every single time. Most people worry about the color of the grout. They should be worried about the deflection of the joists.
The physics of the change of plane
The joint where a shower wall meets the floor cracks because of differential movement and the use of rigid grout instead of flexible sealant. Tile planes move independently. Rigid cement cannot absorb this stress. You must use 100% silicone or a color-matched sealant to maintain a waterproof, crack-free transition. This is the fundamental rule of the Tile Council of North America. Every single corner, whether it is a vertical corner where two walls meet or a horizontal one where the wall meets the floor, is a change of plane. These planes do not move together. When the house settles, or when the temperature changes, or even when you step into the shower, those planes shift. If you have filled that gap with hard, brittle Portland cement grout, it has nowhere to go. It is like putting a glass rod between two moving tectonic plates. Something has to give, and it will always be the grout. I have walked into bathrooms where a fifteen thousand dollar wide-plank walnut floor in the bedroom was cupping, and the shower next door was literally shedding its grout in the corners. It all comes back to moisture and movement.
The hidden movement of the subfloor
People think their subfloor is a static object. It is not. It is a living, breathing structural component. In my years of floor leveling, I have seen plywood expand and contract with the seasons until it snaps the bond of the highest quality thin-set. If your joists are undersized, you have deflection. Deflection is the amount of bend a floor has when weight is applied. The industry standard is L over 360, which means the span divided by 360. If your floor bends more than that, your tile is going to crack. In a shower, this is amplified. You have the weight of the mortar bed, the weight of the tile, and then the weight of the person and the water. If that subfloor dips even a fraction of an inch, the joint at the wall is under immense tension. This is why a proper carpet install or even a laminate floor feels different. They are floating or cushioned. Tile is rigid. It requires a substrate that is dead flat and rock solid. If you skipped the self-leveling underlayment because you were in a hurry, you basically guaranteed that the grout would fail at the weakest point, the change of plane.
“A floor is only as good as the subfloor beneath it; deflection is the enemy of every joint.” – Master Flooring Axiom
The chemistry of the grout bond
Grout is essentially a mixture of Portland cement, sand, and pigments. When you mix it with water, a chemical reaction called hydration occurs. This creates a crystalline structure that locks the sand particles together and bonds to the edge of the tile. However, this structure is incredibly strong in compression but very weak in tension. It cannot stretch. When the wall moves away from the floor by even half a millimeter, the bond breaks. This is where the molecular reality of the installation matters. If you used a cheap, non-polymer modified grout, the bond is even weaker. I always tell people that the 1/8 inch gap is the most important part of the shower. If that gap is filled with grout, water will eventually find its way into the crack. Through capillary action, that water gets pulled behind the tile and into the substrate. This is how you end up with mold and rotted studs. You need something that can stretch. 100% silicone is an elastomer. It can expand and contract by twenty-five percent or more without losing its bond. It is the only thing that belongs in a change of plane.
Why your subfloor is lying to you
You can put a level on a floor and it might look fine, but that is a static measurement. You need to know what happens when it is under load. This is the structural zooming that most DIY installers fail to do. They don’t look at the joist spacing. They don’t look at the thickness of the subfloor. If you have 24-inch on-center joists and a single layer of 5/8-inch plywood, no amount of grout is going to stay in those corners. You are trying to defy the laws of structural engineering. I have spent days reinforcing joists with sistering blocks just to make sure the shower floor wouldn’t move. It is a grueling, dusty job, but it is the difference between a floor that lasts fifty years and one that lasts five. In regions like the swampy humidity of Houston, this is even more vital. The wood absorbs moisture from the air and expands. If you are in the dry heat of Phoenix, the wood shrinks. Both scenarios put a massive amount of stress on the grout lines at the perimeter. You have to account for the regional climate logic when you are building the assembly.
| Material Property | Portland Cement Grout | 100% Silicone Sealant |
|---|---|---|
| Elasticity | None (Brittle) | High (Elastomeric) |
| Water Resistance | Porous | Waterproof |
| Application | Open Joints | Change of Planes |
| Shrinkage | Minimal | Negligible |
The ghost in the expansion gap
There is a reason we leave a gap at the edges of every floor we install. Whether it is a laminate floor or a solid oak plank, we leave space for the material to move. In a shower, people think the tile should be tight against the wall. That is a mistake. You need a consistent gap at the wall-to-floor junction. If the tile is touching the wall, any movement in the wall is transferred directly to the floor tile. This causes the tile to tent or the grout to pulverize. I call it the ghost in the gap because you cannot see the forces at work until the damage is done. You have to be a stickler for the NWFA and TCNA standards because they were written in blood, or at least in the sweat of installers who had to fix these mistakes. Too much cushion under an LVP floor snaps the locking mechanism. Too much grout in a shower corner snaps the waterproof seal. It is all about managing the energy of the structure. You cannot stop the house from moving. You can only give it a safe place to do so.
“Movement joints are not optional; they are a structural necessity for any rigid surface.” – TCNA Handbook Principle
The 1/8 inch that ruins everything
Precision is everything in this business. If your gap is too small, the silicone cannot get a good grip. If it is too large, it looks sloppy. I aim for a consistent 1/8 inch gap at all changes of plane. I use spacers even on the floor-to-wall transition. Once the tile is set and the grout is dry in the main areas, I clean that perimeter gap out completely. There should be no thin-set and no grout in there. It should be a clean, deep channel. Then I fill it with a high-quality silicone. This creates a gasket. It is the same principle used in high-rise buildings and bridges. They don’t just bolt the pieces together, they use expansion joints. Your shower is a miniature version of that. If you ignore this, the water will find the crack, it will sit in the mud bed, and eventually, it will rot the floor leveling compound you worked so hard to pour. It is a chain reaction of failure that starts with one rigid joint.
- Ensure the subfloor meets L/360 deflection standards before tiling.
- Leave a 1/8 inch expansion gap at all changes of plane.
- Remove all thin-set and debris from the perimeter joint.
- Apply a color-matched 100% silicone sealant instead of grout.
- Verify that the sealant is rated for constant water exposure.
- Allow the silicone to cure for at least 24 hours before using the shower.
The chemistry of adhesion and moisture
The bond between the tile and the substrate is a microscopic battle. Thin-set works by growing crystals into the pores of the tile and the subfloor. This is why you need to use a primer if you are going over certain types of floor leveling materials. If the substrate is too porous, it sucks the water out of the thin-set before the crystals can grow. This is called a dry bond. It might hold for a year, but the moment you get some movement, it pops. In a shower, the moisture levels are constantly fluctuating. This causes the materials to swell and shrink at different rates. The tile, being ceramic or stone, is very stable. The wood or concrete underneath it is not. This differential movement is the primary cause of grout failure. If you don’t use a waterproof membrane like Kerdi or a liquid-applied guard, you are relying on the grout to be the barrier. That is a fool’s errand. Grout is not waterproof. It is water-resistant at best. It is a sieve. The real waterproofing happens underneath, and the silicone at the change of plane is the first line of defense.