The Secret to Trimming Carpet Around Round Door Casings
The subfloor secret that precedes the cut
The foundation of a successful carpet installation around complex millwork like round door casings starts with a perfectly flat subfloor. A level surface ensures that the carpet backing sits at a consistent elevation, preventing the material from shifting or bunching during the intricate trimming process required for curved transitions.
Most guys skip the leveling compound. They think the underlayment will hide the dip. It won’t. I spent three days grinding concrete on a job last month just so the floor wouldn’t click like a castanet. That same philosophy applies here. If your subfloor has a 3/16 inch dip right at the base of a round casing, the carpet will never tuck correctly. You will be fighting the physics of the material. I smell like oak dust and floor wax today because I just finished a project where the previous installer tried to bridge a gap with sheer tension. The carpet eventually pulled out of the tuck, leaving a jagged edge of frayed polyester exposed to the world. It was a disgrace. We had to rip it all out, level the slab with a high-compressive strength cementitious underlayment, and start over. When you are dealing with round door casings, you are playing a game of millimeters. The carpet backing, typically a stiff polypropylene or jute, does not want to bend in two directions at once. It is a rigid grid. To make it behave around a curve, you need the floor beneath it to be a known variable, not a series of rolling hills and valleys.
The geometry of the relief cut
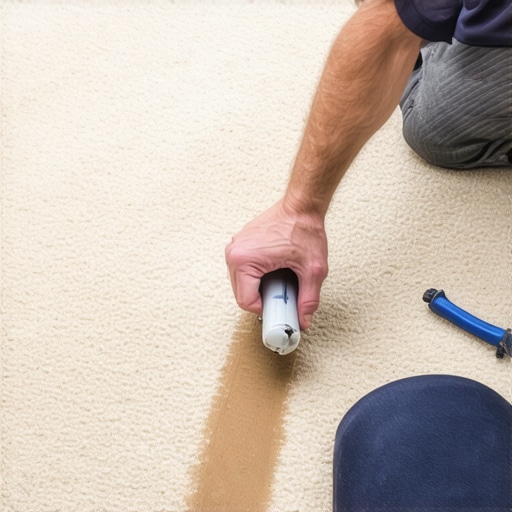
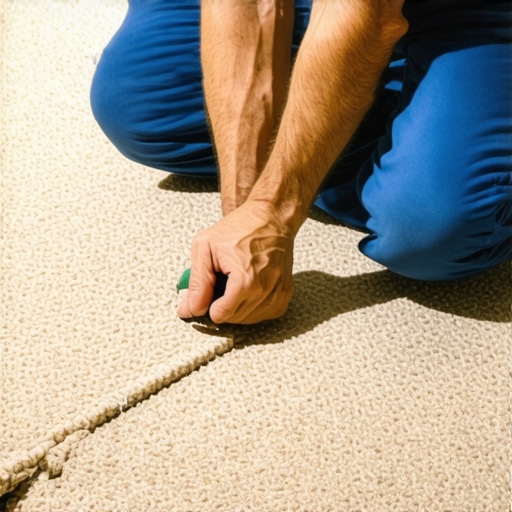
Trimming carpet around round door casings requires a series of micro-relief cuts made at a forty-five degree angle to the curve of the wood. These cuts release the tension in the primary backing, allowing the fabric to splay slightly and contour to the circular shape of the trim.
You cannot just hack away at it. You need a sharp blade. I change my blade every two door casings. A dull blade pulls the yarns out of the latex bond. When you approach the round casing, you have to visualize the carpet as a series of tension lines. As the carpet hits the curve, those lines tighten. By making small, vertical snips into the waste material, you let the carpet relax. This is where the chemistry of the floor comes into play. The secondary backing is held to the primary backing by a layer of SBR latex. If you stress this bond too much by pulling without relief cuts, the layers delaminate. This leads to the dreaded carpet bubble. You must treat the carpet like a structural element. Precision is the only way to avoid the need for unsightly transition strips or gobs of caulk that DIYers use to hide their sins. I once saw a guy try to use a heat gun to stretch a synthetic carpet around a pillar. He melted the face fibers. It smelled like a tire fire. Just use your knife. Use your brain.
“A floor is only as good as the subfloor beneath it; deflection is the enemy of every joint.” – Master Flooring Axiom
The 1/8 inch that ruins everything
Proper tack strip placement is the difference between a professional finish and a total failure when working with rounded architectural elements. The gap between the tack strip and the door casing must be exactly two-thirds the thickness of the carpet to allow for a clean, secure tuck.
If you put the tack strip too close to the round casing, you have no room to tuck the edge. The carpet will sit on top of the strip and look like a hump. If you put it too far away, there is no tension to hold the carpet in the gap. It will pull out the first time someone runs a vacuum over it. I prefer to use architectural strips with three rows of pins for these areas. The pins provide the mechanical grip needed to resist the lateral forces of the stretch. When the carpet is hooked onto these pins, the tension is distributed across the latex grid. This prevents the fibers from unravelling at the cut edge. You also need to consider the pile height. A plush carpet with a high face weight will hide a slightly imperfect cut, but a low-pile commercial loop will show every mistake. For round casings, I always recommend a higher density carpet because the yarn twist provides better coverage over the backing edge. It is basic engineering. More fibers per square inch means more camouflage for the structural transition.
The physical failure of poor tensioning
Excessive tension during the stretching phase can cause the carpet to lift away from the base of a round casing, creating a visible gap or causing the backing to tear. Balanced tension must be applied using a power stretcher rather than a knee kicker to ensure long-term stability.
I have a visceral hatred for installers who only use a knee kicker. Your knees will be shot by forty, and your floors will look like a corrugated roof in five years. A power stretcher allows you to control the exact amount of force applied to the carpet backing. When you are working around a round casing, you need to stretch the carpet past the casing first, then release the tension slightly to make your final trim. This ensures the carpet is not under extreme stress when you make that crucial relief cut. Think about the molecular structure of the nylon fibers. They have an elastic memory. If you overstretch them, they will eventually try to return to their original shape, pulling the edge out of the tuck. It is a slow-motion disaster. You want the carpet to be taut, like a drumhead, but not stressed to the point of structural failure. The subfloor must be clean of all dust before this. If there is sawdust under the carpet, the tack strip won’t bite as well, and the whole system fails.
Technical performance of carpet fibers around curves
| Fiber Type | Flexibility Rating | Fray Resistance | Best Application |
|---|---|---|---|
| Nylon 6,6 | High | Excellent | High-traffic residential |
| Polyester (PET) | Medium | Moderate | Low-traffic bedrooms |
| Triexta (PTT) | High | High | Homes with pets |
| Wool | Low | Low (Needs Binding) | Luxury offices |
As shown in the table, Nylon 6,6 remains the king of the job site. Its molecular structure allows for significant manipulation without the fibers snapping or the backing becoming brittle. Polyester is okay for a budget job, but it lacks the resilience needed for tight curves. I always tell my clients that if they want the best look around their custom millwork, they need to pay for the nylon. It is an investment in the architecture of the home. Do not let a salesperson at a big box store tell you that all carpet is the same. It is not. The way the yarn is heat-set determines how it will react when you cut into it. Cheap carpet will blossom like a dandelion the moment you touch it with a blade.
Checklist for the perfect round casing trim
- Verify subfloor levelness within 1/8 inch over a 10-foot radius.
- Install architectural tack strips 3/8 inch from the casing edge.
- Use a fresh high-carbon steel utility blade for every door opening.
- Execute forty-five degree relief cuts every half-inch around the curve.
- Tuck the carpet edge using a wide-head stair tool to avoid piercing the backing.
- Ensure the pile direction is consistent with the rest of the room to avoid shading.
The stair tool is your best friend here. Do not use a screwdriver. I have seen people try to tuck carpet with a flathead screwdriver and they always punch a hole right through the primary backing. A proper stair tool has a blunt, wide edge that pushes the carpet into the crevice without damaging the fibers or the wood. You want to hear that satisfying ‘thud’ as the carpet seats into the gap. That is the sound of a job done right. It is the sound of professional pride. If it sounds hollow, you have a gap in your subfloor or your tack strip is loose.
“A floor is a performance surface, not a decoration; treat the edges with the respect a structural joint deserves.” – Master Flooring Axiom
The ghost in the expansion gap
While carpet does not require the same expansion gaps as hardwood or laminate, the interaction between the carpet and the door casing must account for the natural expansion and contraction of the wooden millwork. A slight gap allows the wood to breathe without pinching the carpet fibers.
Wood is a living material. Even after it is cut and painted, it moves with the humidity. In a place like Houston, that round casing is going to swell in the summer. If you have the carpet tucked so tight that there is no room for movement, the wood will crush the fibers. This leads to a permanent line of matted carpet around your trim. I leave a tiny bit of breathing room. Not enough to see, but enough to accommodate the hygroscopic nature of the timber. This is the kind of detail that separates the masters from the apprentices. We aren’t just laying down fluff. We are managing the intersection of different materials with different physical properties. The carpet backing is synthetic and stable. The wood is organic and volatile. You are the mediator between these two worlds. It requires a steady hand and a deep understanding of the chemistry of the home environment. If the house is too dry, the wood shrinks and your tuck might look loose. Always check the ambient humidity before you start your final trim.
Why your subfloor is lying to you
Subfloors often hide structural deficiencies like localized rot or loose fasteners that only become apparent when tension is applied to the carpet. These issues must be addressed with mechanical fasteners or epoxy injections before the carpet is laid to prevent future noise and movement.
You walk across a floor and it feels solid. Then you hook a power stretcher to the wall and suddenly the subfloor starts to groan. That is the sound of a lie being exposed. I always spend the first few hours of a job walking the perimeter. If I hear a squeak near a door casing, I am pulling out the three-inch deck screws. You cannot have a stable carpet trim on a moving subfloor. The friction will eventually wear through the carpet backing from the underside. It is like sandpaper. Every time someone steps on that casing transition, the carpet rubs against the moving wood. Within a year, you have a hole. Fix the subfloor first. Use a moisture meter. If the subfloor is holding more than 12 percent moisture, do not install the carpet. You are just inviting mold to grow in the padding. The latex in the carpet backing will also begin to break down in high-moisture environments, leading to a sour smell that no vacuum can remove. Do it right or don’t do it at all. That is the only rule on my job site. We do not cut corners. We cut carpet. With precision. With authority.