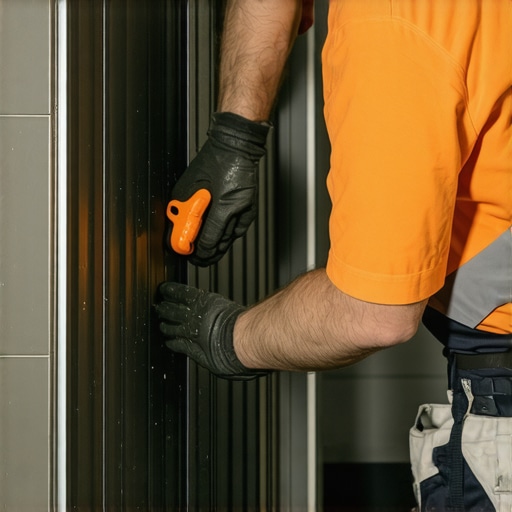
The ‘Dry Fit’ Step That Saves Your Shower Waterproofing Membrane
Most guys skip the leveling compound. They think the underlayment will hide the dip. It won’t. I spent three days grinding concrete on a job last month just so the floor wouldn’t click like a castanet. That’s the same amateur move I see in showers. People slap down a membrane and pray the tile hides the slope issues. It never does. I smell like WD-40 and oak dust most days because I actually fix the mess others leave behind. If you are building a shower and you do not understand the physics of a dry fit, you are just waiting for a leak to happen. A floor is a performance surface. It is not a decoration. When you ignore the structural reality of your subfloor, you are building on a foundation of sand. I have seen fifteen thousand dollar walnut floors turn into potato chips because of moisture. I have seen shower pans fail in six months because the installer did not check the plane of the wall. This is about engineering, not aesthetics.
The hidden trap of the subfloor dip
Floor leveling and shower waterproofing require a perfectly flat substrate to ensure the waterproofing membrane bonds correctly and the tile layout remains symmetrical. Without a dry fit, deflection or subfloor irregularities will cause thin-set failure and membrane puncture during the installation process. You have to understand that a subfloor is a living thing. It moves. It breathes. If you are coming from a background of carpet install, you might think a half inch of padding hides all sins. It does not work that way with showers or laminate. If the floor is not within one eighth of an inch over ten feet, your locking mechanisms will snap and your membrane will stretch until it tears. I spent years learning that the hard way. I once had to rip out a whole bathroom because the homeowner thought a self-leveling pour was a suggestion. It is a requirement. The structural integrity of the bond depends on the surface area contact. If your tile is bridging a gap, there is air under there. Air is where moisture lives. Moisture is where mold grows. You want a floor that lasts forty years, not forty days. That starts with the grind. It starts with the level. It starts with knowing that the concrete slab is never actually flat when the house is turned over by the builder.
“A floor is only as good as the subfloor beneath it; deflection is the enemy of every joint.” – Master Flooring Axiom
Why your subfloor is lying to you
Subfloor flatness is often misjudged by the naked eye, leading to improper drainage and pooling water in tiled showers. Utilizing a straight edge during the dry fit identifies low spots that require leveling compound before the waterproofing layer is applied to the cement board or mortar bed. I have seen guys try to use thin-set as a leveler. That is a crime. Thin-set is an adhesive, not a structural filler. When thin-set is applied too thick, it shrinks as the water evaporates. This creates a vacuum that pulls the tile down or, worse, snaps the bond between the membrane and the substrate. If you are installing laminate, that same dip causes the floor to bounce. Every time you walk on it, you are fatiguing the plastic tongue and groove. In a shower, that bounce is what breaks the seal at the drain. The drain is the most common point of failure because people do not reinforce the subfloor around the plumbing cutout. They leave it weak. Then they wonder why the grout starts cracking after three months of use. It is not the grout’s fault. It is the physics of the floor. You need to ensure the joist spacing meets the L over three hundred and sixty standard for ceramic tile, or L over seven hundred and twenty for natural stone. If you do not know what that means, you should not be holding a trowel. You are just guessing with someone else’s house. I do not guess. I measure. I check the moisture content of the plywood. I check the humidity in the room. I wait for the house to acclimate. That is the difference between a pro and a guy with a truck.
| Material Type | Acclimation Time | Max Deflection | Moisture Limit |
|---|---|---|---|
| Solid Hardwood | 7 to 14 Days | L/360 | 4 Percent |
| Engineered Wood | 3 to 5 Days | L/480 | 5 Percent |
| Laminate Flooring | 48 Hours | L/360 | 12 Percent |
| Porcelain Tile | 0 Hours | L/360 | N/A |
The chemistry of the bond
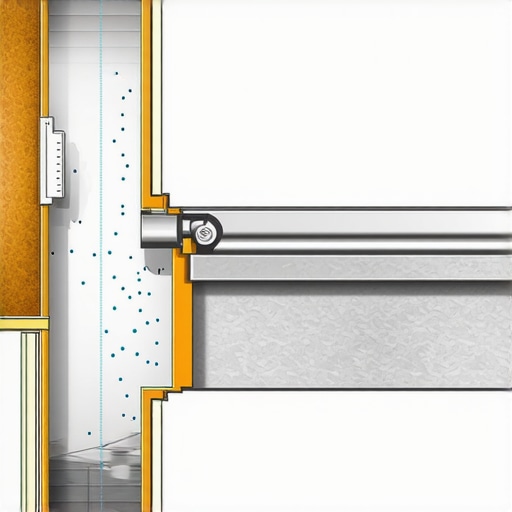
Modified thin-set contains polymers that allow for flexibility and increased adhesion to waterproofing membranes like Schluter Kerdi or Laticrete Hydro Ban. Choosing the correct ASTM C627 rated mortar ensures that the bond strength exceeds the shear stress exerted by thermal expansion and structural shifting in wet environments. Most people want the thickest underlayment they can find for their laminate or carpet install. This is a mistake. Too much cushion actually causes the locking mechanisms on LVP and laminate to snap under pressure because the floor has too much vertical travel. In a shower, you want the thinnest, strongest bond possible. You need to understand the difference between ANSI A118.4 and A118.11. One is for plywood, one is for concrete. If you use the wrong one, the chemical bond will never happen. You will just have a heavy piece of stone sitting on a layer of dried mud. I have seen entire walls of tile peel off like a sticker because the installer used a mastic in a wet area. Mastic is organic. It is food for mold. It re-emulsifies when it gets wet. You use thin-set. You use the right notch trowel. You collapse the ridges. If you do not see one hundred percent coverage when you pull a tile up during the dry fit, you are doing it wrong. This is not a suggestion. It is the law of the trade. I treat every shower like it is going on the second floor of a museum. It cannot leak. It will not leak. Because I respect the chemistry of the adhesive and the physics of the water.
The one eighth inch that ruins everything
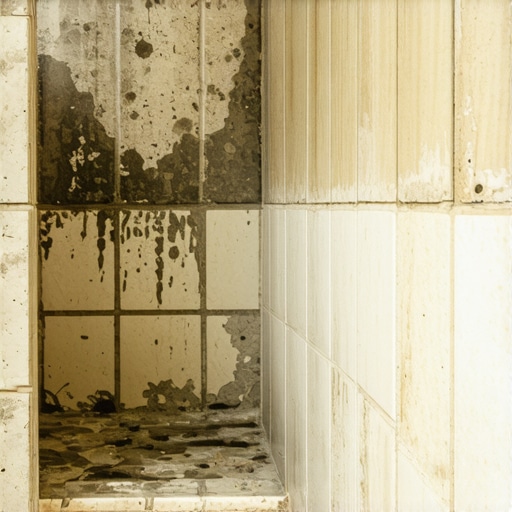
Precision cutting and layout planning during the dry fit phase prevent sliver cuts at the drain assembly and ensure the waterproofing flange is fully supported. A dry fit allows the installer to verify that the slope to drain is a consistent one quarter inch per foot as mandated by plumbing codes. If you are off by a tiny fraction, water will sit in the corner. It will never leave. It will saturate the grout and eventually find a pinhole in the silicone. Then you have rot. I have replaced more subfloors because of bad shower pans than for any other reason. It is preventable. You lay the tile out on the floor before you ever open a bag of mortar. You see where the cuts land. You adjust the center line so you do not have a tiny sliver of tile at the wall that looks like garbage. A master installer knows that the layout is a puzzle. You solve the puzzle while the floor is dry. If you try to solve it while the mortar is hardening, you will rush. You will make mistakes. You will skip the back-buttering. You will leave a void. And that void is where the floor fails. Even in a carpet install, if you do not stretch it right, it bunches. If you do not level for laminate, it clicks. In a shower, if you do not dry fit, it leaks. There are no shortcuts that do not lead to a disaster. I have been on my knees for twenty five years. My joints ache, but my floors do not. That is because I do the work that nobody sees. I do the work that is hidden under the tile. That is where the quality lives.
- Check the subfloor for flatness using a ten foot straight edge.
- Verify that the moisture content of the wooden subfloor is within four percent of the finished flooring.
- Ensure the shower pan has a minimum slope of one quarter inch per foot toward the drain.
- Vacuum every square inch of the surface to remove dust that prevents adhesive bonding.
- Dry lay the entire floor to check for aesthetic balance and proper expansion gaps.
- Inspect the waterproofing membrane for any nicks or tears before applying mortar.
“A shower is a machine for moving water; if the machine is out of alignment, the water wins.” – TCNA Handbook Commentary
The ghost in the expansion gap
Expansion gaps are the most neglected part of a professional floor installation, especially when transitioning between showers and laminate or hardwood. Leaving a quarter inch perimeter gap allows for the natural expansion of the subfloor and surface materials, preventing buckling or lippage when humidity levels fluctuate in the home. I see it all the time. Someone installs a beautiful floor and runs it tight against the baseboard. Then summer hits. The humidity goes up. The wood expands. It has nowhere to go. So it moves up. It tents. It ruins the locking joints. In a shower, you need that gap at the change of plane. You fill it with one hundred percent silicone, not grout. Grout is rigid. Silicone is flexible. If you grout the corners, the grout will crack. It is a certainty. It is not a possibility. It is a mathematical fact. People want the look of a continuous surface, but they do not want to pay for the engineering required to make it stay that way. If you want zero-threshold transitions, you have to sink the subfloor. You have to grind the joists. You cannot just wish it into existence. This is why I hate big box retailers and their discount installers. They are in and out in a day. They do not care about the expansion gap. They do not care about the acclimation. They just want the check. I care. I care because my name is on that floor. I care because I know that a floor that stays flat for thirty years is a work of art. It is the result of discipline. It is the result of the dry fit. Do not be the guy who has to explain to a homeowner why their new shower is dripping into the kitchen. Do the work. Do the dry fit. Protect the membrane.