Why Your Shower Walls Feel Cold and Damp Behind the Tile
I spent three days grinding concrete on a job last month just so the floor wouldn’t click like a castanet. Most guys skip the leveling compound. They think the underlayment will hide the dip. It won’t. I have spent twenty five years on my knees with a moisture meter and a level. I have seen the same shortcuts taken inside shower enclosures. When you touch your shower wall and it feels like a cold slab of meat, you are not just feeling the tile. You are feeling a failure of structural engineering. A floor or a wall is a performance surface. It is not a decoration. If your wall feels damp, the physics of your wet room have collapsed. I have walked into homes where a fifteen thousand dollar wide plank walnut floor was cupping because of moisture migration from a nearby poorly waterproofed shower. The moisture does not stay in the bathroom. It moves. It destroys. I despise builder grade thinking. I despise the idea that a waterproof surface is enough. It is never enough.
The physics of the thermal bridge
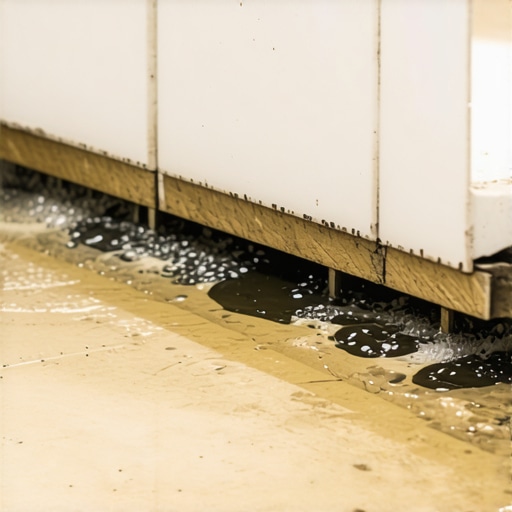
Shower walls feel cold and damp because of thermal bridging and moisture trapment within the wall cavity. When installers use traditional cement board without a topical waterproof membrane, the porous core absorbs moisture through the grout. This moisture sits against the studs, causing a drop in temperature and a persistent damp sensation. This is a structural failure. It is not a cosmetic issue. The thermal conductivity of ceramic and porcelain is high. These materials transfer heat away from your hand quickly. If there is water behind the tile, the thermal mass increases. It stays colder for longer. It feels damp because it literally is damp. The air in your bathroom is hitting a cold surface and condensing. You are living inside a refrigerator. It will buckle. It will rot. It will fail.
I have seen homeowners choose a beautiful marble for their shower but refuse to spend the money on a proper foam board system. They think the cement board is enough. Cement board is concrete. Concrete is a sponge. It does not rot, but it lets water pass through it like a sieve. The water hits the wooden studs. The studs grow mold. The mold eats the wood. This is the molecular reality of a cheap installation. You need to understand the chemistry of the bond. When you use a modified thin set, you are creating a chemical and mechanical lock. If that thin set is constantly saturated, the polymers break down. The bond fails. The tile sounds hollow when you tap it. That is the sound of your investment dying.
“A floor is only as good as the subfloor beneath it, deflection is the enemy of every joint.” – Master Flooring Axiom
The 1/8 inch that ruins everything
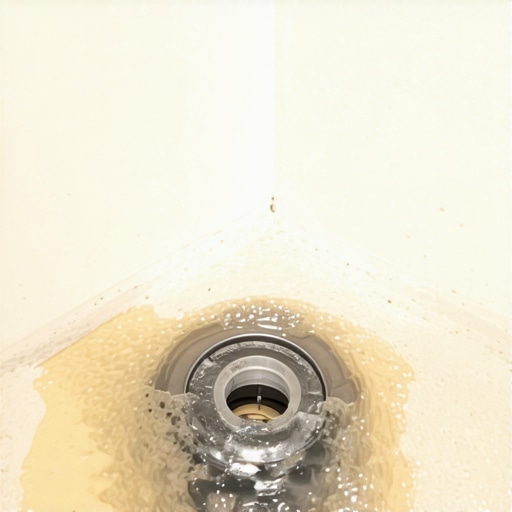
Precision is the only thing that matters in a wet environment. If your floor leveling is off by even an eighth of an inch, your shower pan will not drain perfectly. Standing water is the primary cause of secondary moisture issues in walls. When I do a carpet install, I am looking for a flat surface. When I do a showers installation, I am looking for a perfect slope. The floor leveling process for a bathroom requires more than just a bag of self leveler. It requires an understanding of how water moves. Laminate flooring in an adjacent hallway will swell if the shower wall is leaking vapor. Vapor is smaller than water droplets. It moves through grout like air through a screen door. You must stop the vapor at the surface. You cannot let it enter the wall cavity. Most installers do not understand the perm rating of their materials. A perm rating measures how much water vapor can pass through a material. You want a rating near zero. If you have a high perm rating, you have a damp wall.
| Material Type | Moisture Resistance | Thermal Retention | Installation Difficulty |
|---|---|---|---|
| Traditional Cement Board | Low | Very Low | High |
| Extruded Polystyrene Board | High | High | Medium |
| Liquid Membranes | Medium | Low | Low |
| Sheet Membranes | Very High | Medium | High |
Why your subfloor is lying to you
Your subfloor might look dry, but it is a reservoir. I always use a calcium chloride test on concrete slabs. You cannot guess. If you are installing laminate or tile, the moisture from the slab will rise. This is called capillary action. In a shower, the same principle applies. Water is pulled upward through the mortar bed. It climbs the wall. This is why the bottom two feet of a shower wall always feel the coldest. They are the most saturated. I have seen guys put plastic sheeting behind the cement board. This is a mistake. It creates a moisture sandwich. The water gets in but it cannot get out. It sits there and stews. It smells like an old basement. It is a breeding ground for black mold. You need a topical system. You need to stop the water before it ever touches the substrate. That is the only way to ensure a warm, dry wall.
- Verify the subfloor deflection meets L/360 standards for ceramic tile.
- Ensure the waterproofing membrane is continuous from the floor to the ceiling.
- Use a high quality modified thin set with a C2TE classification.
- Check the moisture content of the studs before hanging any board.
- Test the shower pan for twenty four hours before tiling.
- Verify that all penetrations for valves and shower heads are sealed with gaskets.
Regional humidity and the Houston problem
The swampy humidity of Houston means solid wood is a death wish, you need engineered cores. The same logic applies to your bathroom. In high humidity environments, your shower walls never have a chance to dry out from the back. In the dry heat of Phoenix, the wood studs might shrink so much that they crack your grout lines. You have to account for the local climate. A shower in a humid region needs a more robust vapor barrier than one in a desert. I have seen guys use the same method in every state. They are wrong. You have to adapt to the ambient moisture. If the air is already saturated, the water in your walls has nowhere to go. It stays there. It rots the framing. It makes the tile feel like ice. I once saw a bathroom in Seattle where the installer used a standard paper faced drywall behind the tile. It lasted six months. The paper turned into a mushy soup of spores and glue.
“Waterproofing membranes shall be continuous and must be integrated with the drain assembly to ensure a watertight seal.” – TCNA Handbook for Ceramic, Glass, and Stone Tile Installation
The contrarian truth about underlayments
While most people want the thickest underlayment, too much cushion actually causes the locking mechanisms on LVP or laminate to snap under pressure. The same is true for showers. People think a thick bed of mortar is better. It is not. A thick bed holds more water. It takes longer to dry. It stays colder. You want the thinnest, strongest bond possible. You want high density materials. A high density foam board provides better thermal insulation than a thick pile of concrete. It keeps the heat of the water inside the shower. It does not let it escape into the wall studs. This is why professional installers are moving away from old school mud sets. We want control. We want predictability. We want a wall that feels like a wall, not a damp cave. Stop listening to the big box store employees. They are selling you products, not solutions. They don’t have sawdust under their nails. They haven’t seen the heartbreak of a failed five figure bathroom. I have. I know what works. Use a topical membrane. Level your floors. Respect the physics of the wet room.