The ‘Tapping Block’ Mistake That Chips Your Laminate Tongues
I spent three days grinding concrete on a job last month just so the floor wouldn’t click like a castanet. Most guys skip the leveling compound because they think the underlayment will hide the dip. It won’t. I was in a suburban basement where the homeowner tried a DIY install. Every time you walked near the hallway, the floor groaned. I had to rip up four hundred square feet of premium laminate because the subfloor had a three quarter inch valley. That is the reality of this trade. It is not about the pretty wood on top. It is about the ugly gray slab underneath. If you do not respect the physics of the flat surface, the floor will punish you. This article breaks down why your tools and your subfloor are often working against you.
The hidden physics of the laminate tongue
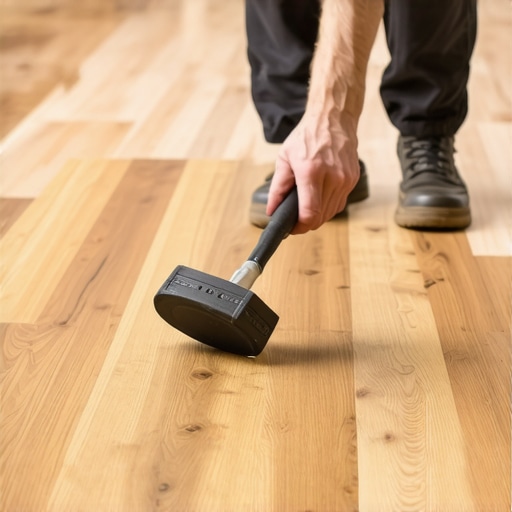
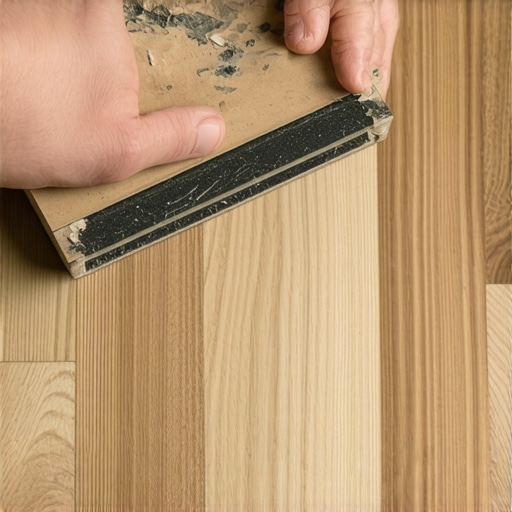
Laminate flooring tongues are composed of high-density fiberboard (HDF) which relies on internal bond strength to maintain structural integrity. When you hit a tapping block against the tongue, you are applying kinetic energy directly to a brittle resin-bonded edge that cannot absorb high-velocity impact without fracturing the molecular wood fibers. These micro-fractures often go unnoticed during the initial installation phase. You might think the joint is tight, but you have actually created a structural weakness. Over the next six months, the natural expansion and contraction of the home will stress that weakened point. Eventually, the tongue snaps off entirely inside the groove. Now you have a floating floor that is actually floating away from itself. You see a gap. You see a lip. You see a failure. The Janka hardness of the wear layer means nothing if the HDF core is compromised by a hammer strike. You need to understand the compressive strength of the material you are hitting. Laminate is essentially highly compressed sawdust and glue. It has great vertical strength but terrible lateral impact resistance. If your subfloor is not flat, these joints are under even more tension, making them even more likely to chip when you try to force them together with a block.
“A floor is only as good as the subfloor beneath it; deflection is the enemy of every joint.” – Master Flooring Axiom
Why your subfloor is lying to you
Floor leveling is the process of eliminating subfloor deflection and undulations that exceed the industry standard of 1/8 inch over a 10-foot radius. Most installers assume a subfloor is flat because it looks flat, but capillary action and concrete shrinkage during the curing process almost always create high spots and valleys. If you install laminate over a valley, the floor will bridge. This creates a hollow sound. Every step you take forces the tongue and groove to flex. This vertical movement is called deflection. Laminate is not designed to be a bridge. It is designed to be a skin. When you use a tapping block on a floor that is already bridging a gap, you are putting a shear load on the joint. This is why the tongue chips. You are trying to force a straight board into a curved hole. I have seen guys try to beat the boards into submission. All they do is ruin the click system. You must use a self-leveling underlayment (SLU) with high polymer content to ensure a bond to the substrate. This creates a stable, monolithic surface that supports the floor fully. Without this, the air pockets beneath the laminate will eventually lead to joint fatigue and finish peeling. Do not trust your eyes. Trust a 10-foot straight edge and a set of feeler gauges.
The danger of moisture in showers and wet areas
Laminate in showers or adjacent bathroom areas requires a topical moisture barrier and 100 percent silicone sealant in the expansion gaps to prevent hydrostatic pressure from swelling the HDF core. While many modern products are marketed as waterproof, the permeability rating of the core material is still a factor if the edges are not sealed. Water does not just sit on top. It travels via capillary action into the joints. Once the moisture hits the raw HDF in the tongue, the wood fibers swell. This is called peaking. The edges of the boards lift up. Now, every time you walk across the floor, your feet are hitting those raised edges. This accelerates wear and eventually chips the decorative layer. If you are installing near a shower, you must also consider the moisture vapor transmission rate (MVTR) of the slab. Even if the top is dry, moisture can rise from the ground through the concrete. If you did not lay down a 6-mil poly film, that moisture is trapped under your laminate. It will rot the floor from the bottom up. I have seen beautiful floors turned into mush in two years because the installer forgot a twenty dollar roll of plastic.
Transitions during a carpet install
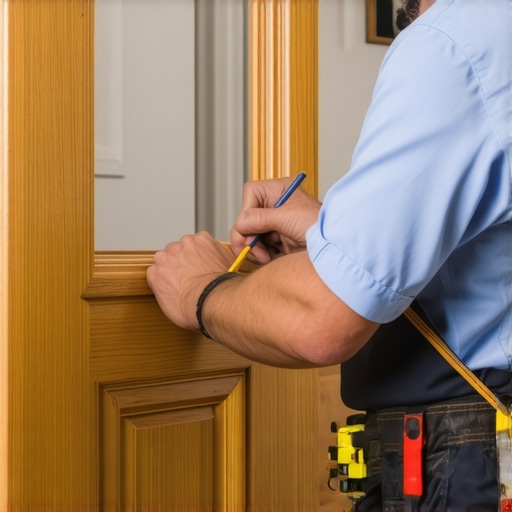
Carpet install transitions are the most common places for laminate edge failure because the tack strip and z-bar often interfere with the expansion gap required for floating floors. A floating floor must be able to move as a single unit. If you pin it down at a carpet transition, you are creating a fixed point. When the house settles or the humidity changes, the floor tries to expand but has nowhere to go. The pressure builds up until the weakest point gives way. Usually, this is the tongue and groove joint you weakened with that tapping block earlier. You need to use a slim-track transition that allows for at least 1/4 inch of lateral movement. Do not let the carpet guys nail their tack strip right against your laminate. They will hit your floor with their hammers and they will chip your edges. I always leave a gap and tell them to tuck the carpet into a reducer strip. It looks cleaner and it protects the integrity of the laminate. Zero-threshold transitions are popular in minimalist design, but they are difficult to execute with laminate. You are better off using a T-molding that matches the grain of the wood perfectly. It is a small price to pay for a floor that does not buckle in the summer.
| Material Type | Core Density (kg/m3) | Expansion Gap Requirement | Max Flatness Deviation |
|---|---|---|---|
| Standard Laminate | 800-900 | 1/4 to 3/8 inch | 1/8 inch per 10 ft |
| Water-Resistant Laminate | 900-1000 | 3/8 inch | 1/8 inch per 10 ft |
| Luxury Vinyl Plank (SPC) | 1900-2100 | 1/4 inch | 3/16 inch per 10 ft |
| Engineered Hardwood | 700-800 | 1/2 inch | 1/8 inch per 10 ft |
The 1/8 inch that ruins everything
Expansion gaps are the breathing room of your floor, and failing to maintain a consistent perimeter void will lead to thermal expansion failure and joint popping. Many installers think they can skip the spacers. They are wrong. A 20-foot run of laminate can expand by nearly an 1/8 of an inch depending on the relative humidity. If the floor hits a wall, it will start to arch. This is called crowning. When the floor is crowned, the tongue and groove are under extreme tension. If you used a tapping block and chipped the tongues during install, the floor will literally pull itself apart as it crowns. You will see the joints opening up in the middle of the room. You might think the floor is shrinking, but it is actually pushing against the walls and buckling. Always use plastic spacers that do not compress. Scrap pieces of laminate are not good spacers because they can slip or crush. You need something solid. Also, remember that heavy cabinetry like kitchen islands cannot be placed on top of a floating floor. It pins the floor down just like a bad carpet transition does. You must install the floor around the island or use special expansion sleeves for the mounting bolts.
“Moisture content in a concrete slab must not exceed 3 pounds per 1,000 square feet over 24 hours per ASTM F1869.” – Flooring Standard Protocol
Critical checklist for a successful laminate installation
- Check subfloor for levelness using a 10-foot straight edge before any material arrives.
- Acclimate the laminate planks in the room for at least 48 hours to reach equilibrium moisture content.
- Verify concrete moisture levels using a calcium chloride test or an in-situ RH probe.
- Use a dead-blow hammer with a professional-grade tapping block that distributes force across the entire plank edge.
- Maintain a minimum 3/8 inch expansion gap around all vertical obstructions including pipes and door frames.
- Underlayment must be rated for the specific subfloor type to prevent sound telegraphing and moisture intrusion.
- Never hit the tongue of the plank directly with a metal hammer or a block without a protective lip.
The ghost in the expansion gap
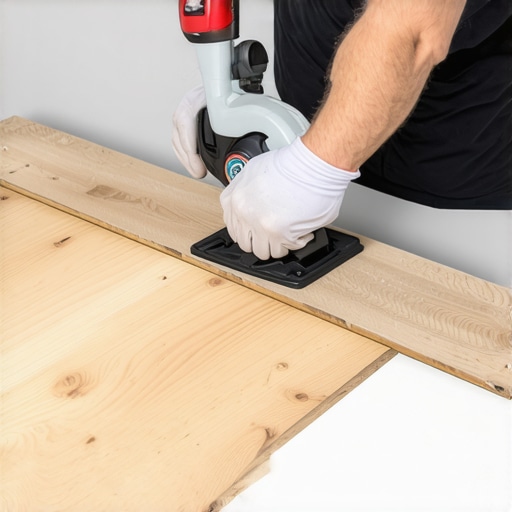
Undercutting door jambs is the professional way to handle perimeter expansions without using ugly quarter-round molding that collects dust and hair. Most amateurs try to cut the laminate around the door casing. This is a mistake. It leaves a gap that is impossible to fill and looks terrible. You should use a pro-grade oscillating saw to cut the bottom of the jamb. This allows the floor to slide underneath the wood. It provides a clean aesthetic and maintains the necessary expansion space. When you are sliding the plank under the jamb, you cannot use a standard tapping block. You need a pull bar. However, the pull bar is even more dangerous than the tapping block. If you yank on it too hard, you will bend the metal and chip the end-joint tongue. You have to use a gentle, rhythmic tapping motion. It is about finesse, not power. I have seen guys swing for the fences with a pull bar and literally peel the wear layer off a board. If the board is not sliding in easily, something is wrong. Usually, there is a piece of debris in the groove or the subfloor has a high spot you missed. Stop hitting it. Clean the groove. Level the floor. Only then should you lock the joint. A floor should click together like a well-made watch. If you have to fight it, you are doing it wrong.