Why Your New Laminate Floor Crunches When You Walk on It
Why Your New Laminate Floor Crunches When You Walk on It
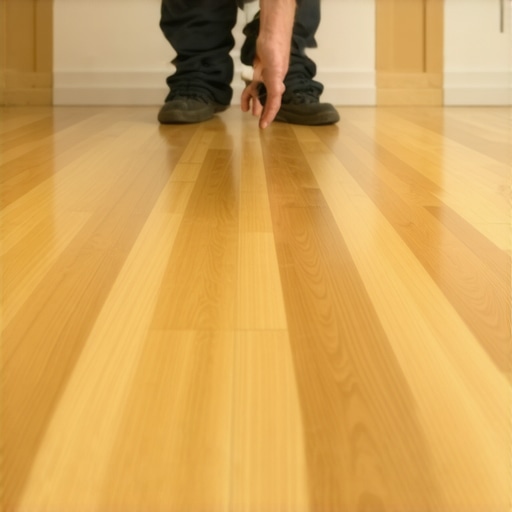
I spent three days grinding concrete on a job last month just so the floor wouldn’t click like a castanet. Most guys skip the leveling compound. They think the underlayment will hide the dip. It won’t. I had a client in the suburbs who spent four thousand dollars on premium laminate only to have it sound like a bowl of cereal every time they walked to the kitchen. They thought the product was defective. It was not. The installer just ignored a three-sixteenths inch birdbath in the center of the living room. You cannot hide physics behind a layer of cheap foam. When you step on a plank that is bridging a gap, the tongue and groove joint rubs together under the weight of your body. That friction creates the crunch. If you want a floor that stays silent, you have to respect the substrate. A floor is a structural system, not a rug. If the base is uneven, the finish will fail. Period.
The myth of the flat subfloor
Subfloor flatness and leveling requirements are the primary factors that determine if your laminate flooring will produce audible clicking sounds or structural crunching after the installation process is complete. Most residential subfloors are not actually flat. They have humps at the seams and valleys between the joists. In the world of professional flooring, we look for a tolerance of three-sixteenths of an inch over a ten-foot radius. If your floor deviates more than that, the locking mechanism is under constant stress. Imagine a bridge made of glass. If the supports are at different heights, the bridge will eventually snap. Laminate is the same. The HDF core is rigid. It does not want to bend. When you force it to bridge a low spot, you are asking the thin plastic and wood fiber tongue to hold up your entire body weight. It will groan. It will complain. And eventually, it will break.
“A floor is only as good as the subfloor beneath it; deflection is the enemy of every joint.” – Master Flooring Axiom
The ghost in the expansion gap
Expansion gaps and perimeter spacing must be maintained at a minimum of three-eighths of an inch to prevent plank buckling and joint friction caused by seasonal humidity shifts. I see this mistake on every single DIY job. A homeowner runs the laminate right up against the drywall or the baseboard. They think it looks cleaner. What they are actually doing is building a bomb. Wood and HDF are hygroscopic. They absorb moisture from the air and they grow. If the floor has nowhere to go when it expands, it will push against the wall. That pressure has to go somewhere. The floor will lift slightly off the subfloor. Now you have a pocket of air under the planks. Every time you step, you are pushing that air out and forcing the planks to rub against each other. It creates a hollow, crunchy sound that drives people crazy. You need that gap. The baseboard and shoe molding are there to hide it, not to pinch the floor into place.
Underlayment density and the bounce effect
Underlayment density and compression sets dictate the vertical deflection of a floating floor and directly impact the acoustic performance of the locking system. People always buy the thickest underlayment they can find because they think it will feel softer. That is a massive error. Too much cushion is a death sentence for laminate. If the underlayment is too soft, the floor will bounce. Every time you step, the tongue and groove joints are flexing up and down. This is called vertical deflection. The friction between the locking profiles creates heat and noise. Over time, the repeated flexing will fatigue the HDF core. The tongue will literally snap off inside the groove. You want a high-density underlayment with a high compression strength. You want the floor to feel solid. If it feels like a trampoline, you are going to hear it. Use a rubber-based or high-density cross-linked polyethylene. Stay away from the cheap white foam that looks like packing material.
| Underlayment Type | Density Rating | Compression Strength | Best Use Case |
|---|---|---|---|
| Standard Foam | Low | 2 PSI | Budget rentals only |
| High-Density Rubber | High | 25+ PSI | Long term residential |
| Natural Cork | Medium | 15 PSI | Thermal insulation |
| Felt Pad | High | 20 PSI | Sound dampening |
The chemistry of the moisture barrier
Vapor barriers and moisture retardation prevent hydrostatic pressure from causing HDF core swelling and locking mechanism failure in laminate installations over concrete slabs. Concrete is a sponge. Even if it looks dry, it is constantly pulling moisture up from the earth. This is called vapor emissions. If you do not put a six-mil poly film down, that moisture goes straight into the bottom of your laminate. The core will swell just a tiny bit. It might not be enough to see with your eyes, but it is enough to change the tolerances of the click system. When the joints swell, they get tight. When they get tight, they rub. When they rub, they crunch. I always use a moisture meter. If the slab is reading over four percent on a concrete scale or over seventy-five percent relative humidity with an in-situ probe, you are asking for trouble. Do not trust the guy who says you do not need a barrier. He is not the one who has to live with the noise.
“Failure to follow manufacturer acclimation guidelines is the primary cause of post-installation structural noise.” – NWFA Technical Manual
The 1/8 inch that ruins everything
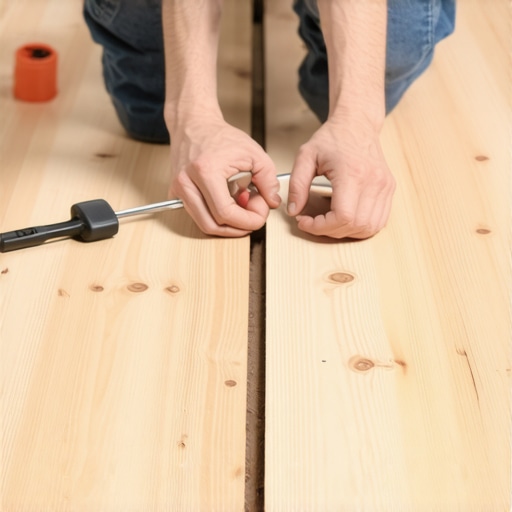
Subfloor prep and grinding concrete humps ensure that the vertical tolerances of the locking profile are not exceeded by structural irregularities in the foundation. If you have a high spot in your floor, the laminate will teeter on it. It is like a seesaw. One side goes down, the other side goes up. This movement creates a rhythmic clicking sound. It is a mechanical failure. You have to get the floor flat. I use a diamond cup wheel on a grinder for concrete or a heavy-duty sander for wood subfloors. It is messy work. It is loud. It covers everything in dust. But it is the only way to get a silent floor. If you think you can just fill the low spots with extra underlayment, you are wrong. Underlayment is not a structural filler. It will compress over time and you will be right back where you started. Use a high-quality self-leveling compound for the dips and a grinder for the humps. There are no shortcuts here.
- Check subfloor flatness with a 10-foot straightedge.
- Grind down all high spots at the plywood seams or concrete ridges.
- Fill valleys with a Portland-based leveling compound.
- Vacuum every single grain of sand off the subfloor.
- Verify the 3/8 inch expansion gap around the entire perimeter.
- Use a moisture meter to check the slab and the planks.
Molecular grit and the microscopic crunch
Debris entrapment and dust contamination within the locking grooves will cause localized crunching and premature wear of the melamine wear layer. Sometimes the crunch is not the subfloor. Sometimes it is just dirt. If the installer was messy and left sawdust or drywall dust on the floor before clicking the planks together, that grit is now trapped in the joint. Every time you walk, you are grinding that grit into the HDF. It sounds like sand in a gearbox. You have to be surgical with your cleanliness. I keep a shop vac running the entire time I am installing. Every plank gets wiped down. Every groove is checked. If you find a spot that crunches only in one specific area, chances are there is a piece of debris trapped in the tongue. Once it is in there, it is hard to get out without taking the whole floor apart. Precision matters. Cleanliness is not an option. It is a requirement for a professional result.