How to Fix a Leaking Shower Curb Without Tearing Out the Pan
The cold reality of a rotting shower threshold
Fixing a leaking shower curb without removing the entire pan involves removing the threshold tiles, identifying the puncture in the waterproofing membrane, and applying a topical liquid waterproof barrier bonded to the existing liner. This surgical repair requires precise height matching and a complete understanding of capillary water movement.
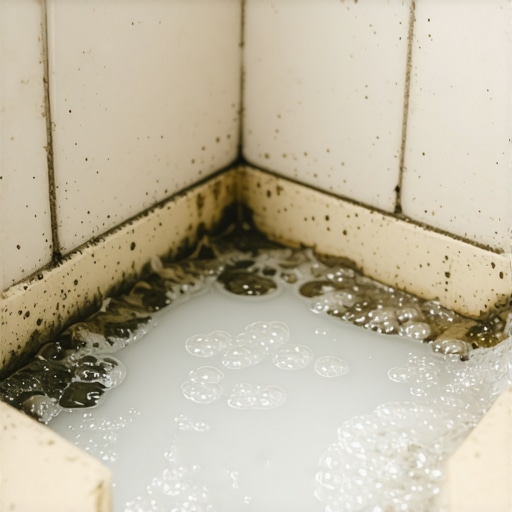
I once walked into a job where a five thousand dollar bathroom remodel was failing after only six months. The homeowner was frantic because water was wicking into the hallway where a fresh carpet install had just been completed. The installer had used a wood 2×4 for the curb and nailed the cement board right through the top of the rubber liner. It was a slow motion disaster. The wood acted like a sponge, swelling until the tile popped and water began its march toward the subfloor. Most guys would have told her to rip out the whole pan. I did not. I knew if I could isolate the curb from the pan liner, I could save her ten thousand dollars in demolition costs. This is the precision work that defines a master installer. You have to be part surgeon and part chemist. You are not just laying tile, you are managing hydrostatic pressure and material expansion cycles. If you ignore the physics of how water moves through grout and thin-set, you are just waiting for a mold colony to take over your bathroom floor leveling and eventually your subfloor. [image_placeholder_1]
The mechanics of moisture migration in shower thresholds
A leaking shower curb usually fails because of improper fastener placement or a lack of waterproofing continuity at the corners. Water penetrates the grout lines and saturates the mortar bed, eventually finding a path through nail holes or poorly folded membrane corners.
The science of this failure is rooted in capillary action. Grout is porous. Unless you are using a high grade epoxy, your grout is essentially a hard sponge. When you take a shower, water sits on the curb and pulls inward toward the core. If that core is made of wood, it will expand. Wood moves. Tile does not. This discrepancy in the coefficient of expansion causes the bond between the tile and the substrate to shear. Once that bond is broken, you have a direct highway for water to bypass the curb and enter your floor leveling compound. I have seen water travel fifteen feet under a laminate floor because a shower curb was not properly tanked. You must treat the curb as an independent structural element that is still part of the integrated waterproofing system. The National Wood Flooring Association and the Tile Council of North America have clear stances on this type of structural integrity.
“A floor is only as good as the subfloor beneath it; deflection is the enemy of every joint.” – Master Flooring Axiom
Identifying the breach without destructive demolition
To locate the leak, you must use a non-invasive moisture meter to map the saturation levels around the curb and the adjacent bathroom floor. High readings at the base of the curb indicate a failure of the liner wrap or a puncture at the height of the floor leveling.
I start by using a pinless moisture meter. I drag it across the tile surface to find the hot spots. If the meter screams when I hit the outside corner of the curb, I know the liner fold is the culprit. Most rookies do not know how to do a proper pig ear fold on a PVC liner. They cut the corner and then try to patch it with a piece of scrap and some glue. It never holds. The water finds the path of least resistance every single time. Before you touch a hammer, you need to verify that the leak is not coming from the shower door track. Sometimes a simple bead of silicone on the inside of the track solves the problem. But if the moisture is coming from underneath the tile, you are going to have to get dirty. You need to look at the transition to the next room. If you have a carpet install or laminate nearby, check the tack strips. If they are black, you have an active leak that is feeding the wood rot.
The surgical removal of threshold tiles
Removing the curb tiles without damaging the shower pan involves using a diamond blade oscillating tool to cut the grout lines first. This isolates the vibration and prevents the shock from cracking the tiles on the interior shower floor or the delicate waterproof pan.
You cannot just go in there with a pry bar. You have to be careful. I use a small grinder or an oscillating saw to remove all the grout around the curb tiles. Once the tiles are isolated, I use a flat masonry chisel to gently tap them loose. The goal is to expose the substrate. If you find wet wood underneath, it has to go. You cannot waterproof over rotting lumber. If the curb is a mortar bed, you need to see if the mortar is crumbling. A solid curb is a dry curb. If the mortar is saturated, it means the liner was never sloped correctly toward the drain. This is where the physics of the pre-pitch comes into play. If the subfloor is not level, the water sits in the curb instead of draining back into the pan. This ruins the floor leveling in the rest of the bathroom as the water wicks outward.
| Material | Water Resistance Rating | Best Use Case | Cure Time | ||||||||||||
|---|---|---|---|---|---|---|---|---|---|---|---|---|---|---|---|
| Liquid Membrane | High | Topical Waterproofing | 4-12 Hours | Sheet Membrane | Extreme | Structural Overlays | Immediate | Epoxy Grout | Total | High Traffic Joints | 24 Hours | Modified Thin-set | Medium | Tile Bonding | 24 Hours |
Rebuilding the curb with topical waterproofing
The secret to a permanent fix is switching from a sub-pan liner system to a topical waterproofing system for the curb area. By applying a liquid waterproof membrane directly under the tile, you stop water at the surface before it ever reaches the structural core.
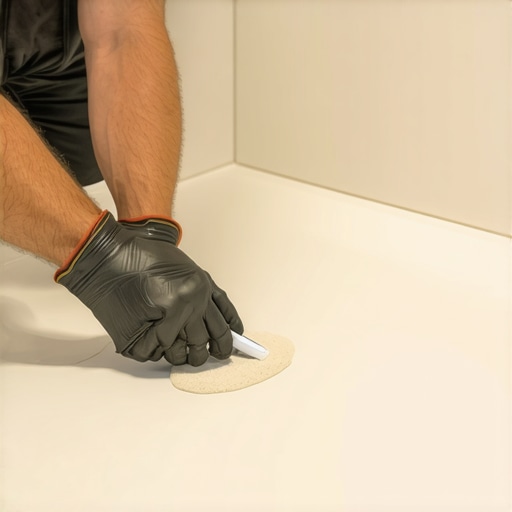
Once the old material is out, I build the curb back up using high density foam blocks or a new mortar bed. I prefer foam because it cannot rot. Then I use a fleece-backed waterproofing tape to bridge the gap between the new curb and the existing shower pan. This creates a bridge. I apply three coats of a liquid membrane like RedGard or Laticrete Hydro Ban. I make sure to overlap the pan by at least two inches. This creates a continuous, monolithic barrier. You want the curb to be slightly sloped toward the shower. Even an eighth of an inch makes a difference. If the water can run off the curb, it won’t sit there and penetrate the grout. This is the same logic we use when floor leveling for a large format tile. You are managing the plane of the surface to control the behavior of the liquids on top of it. Don’t forget the corners. The corners are the weak point of every shower ever built.
Protecting the adjacent flooring and subfloor
When a shower curb leaks, it often damages the transition to other rooms, requiring an assessment of the floor leveling and any nearby laminate or carpet. You must ensure the subfloor is dry and structural before reinstalling the bathroom threshold.
If the leak was bad enough, your bathroom floor leveling might be compromised. Gypsum based levelers will turn to mush when exposed to constant moisture. I have seen laminate floors three rooms away start to buckle because a shower curb was weeping. You have to pull back the transition strips. If the subfloor is plywood and it is delaminating, you have to cut out the bad sections. You cannot hide a structural failure under a new carpet install. It will eventually smell like a basement and the tack strips will fail. I always use a fan to dry the area for forty eight hours before I put any new material down. I want that wood to be at less than twelve percent moisture content. Anything higher and you are just trapping a problem that will come back to haunt you. The chemistry of the adhesives used in laminate and vinyl floors does not play well with high pH levels found in wet concrete or leveling compounds.
“Waterproof means the material is not damaged by water, it does not mean the assembly is watertight.” – TCNA Handbook Logic
The master checklist for curb repair
- Remove all tiles from the top and sides of the curb using an oscillating tool.
- Inspect the internal curb structure for rot or moisture saturation.
- Replace organic materials like wood with inorganic materials like cement block or high density foam.
- Ensure a positive slope of one eighth inch toward the shower drain.
- Apply a fleece-backed transition tape to all corners and joints.
- Apply a minimum of two heavy coats of liquid waterproofing membrane.
- Perform a local flood test on the curb before reinstalling tile.
- Use 100 percent silicone sealant for all change of plane joints.
The finishing touches and long term maintenance
Reinstalling the tile requires a modified thin-set that meets ANSI A118.11 standards to ensure a bond to the waterproof membrane. The final joints must be filled with a high performance grout and sealed with a penetrating sealer or replaced with silicone at the corners.
When you put the tile back on, do not use a notched trowel that is too big. You want full coverage, but you do not want to create air pockets where water can sit. I back-butter every piece of tile on a curb repair. This ensures there are no voids. For the grout, I use a high density polymer modified version. It resists water better than the cheap stuff. But remember, the most important part is the silicone. Every place where the curb meets the wall or the floor is a change of plane. Grout will crack there. It is a mathematical certainty. You must use a color matched silicone caulk. This allows the shower to move and flex without breaking the waterproof seal. If you do this right, you have effectively turned your curb into a dam. It will protect your floor leveling and your laminate for years to come. Do not let anyone tell you that a bead of caulk on the outside is enough. The real work is done underneath the tile where the eye cannot see. That is the mark of a Master Flooring Architect. We build for the physics of the environment, not just the aesthetics of the room.
{“@context”: “https://schema.org”, “@type”: “HowTo”, “name”: “How to Fix a Leaking Shower Curb Without Tearing Out the Pan”, “step”: [{“@type”: “HowToStep”, “text”: “Remove damaged curb tiles using an oscillating tool and chisel.”}, {“@type”: “HowToStep”, “text”: “Inspect and replace the curb core if wood rot is present.”}, {“@type”: “HowToStep”, “text”: “Apply fleece-backed waterproofing tape to curb-to-pan joints.”}, {“@type”: “HowToStep”, “text”: “Coat the entire curb with three layers of liquid waterproofing membrane.”}, {“@type”: “HowToStep”, “text”: “Reinstall tile using modified thin-set and seal joints with silicone.”}]}