The ‘Wet Sponge’ Trick for Testing Shower Waterproofing Before Tiling
Most guys skip the leveling compound. They think the underlayment will hide the dip. It won’t. I spent three days grinding concrete on a job last month just so the floor wouldn’t click like a castanet. That is the reality of this business. If you do not respect the physics of the subfloor, the surface will eventually betray you. I have seen million dollar homes with floors that sounded like a bag of potato chips because the installer was too lazy to pull a string line or check for moisture. It makes my blood boil. Flooring is a structural engineering challenge that happens to look pretty when it is finished. If you treat it like a craft project, you will fail.
Why your subfloor is lying to you
Subfloor integrity is the foundation of every successful shower installation and must be verified for flatness within 1/8 inch over 10 feet before any waterproofing begins. If the substrate is not dead level, your tile will have lippage, your drainage will be compromised, and your waterproofing membrane will have weak points. In a shower environment, the stakes are higher than a standard carpet install or laminate project. Water is a patient enemy. It will find the one spot where your thin-set is thin or where your leveling was off. I always tell my apprentices that if the subfloor isn’t right, the tile is just a expensive way to hide a disaster. You need to use a high-quality floor leveling compound that is rated for wet areas. Do not use the cheap stuff from the big-box stores that turns to mush when it gets damp. You need a polymer-modified cementitious underlayment that can handle the hydrostatic pressure of a shower pan.
The wet sponge test of truth
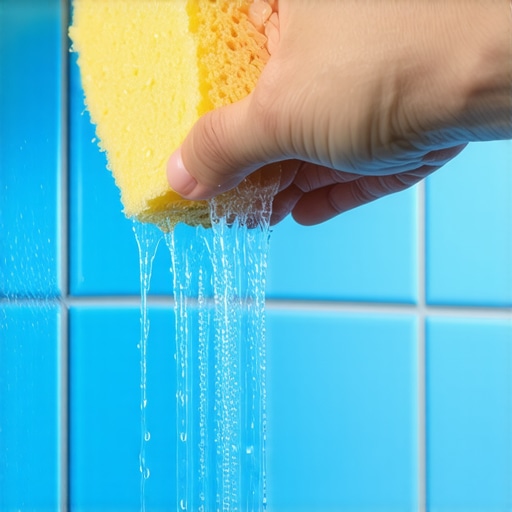
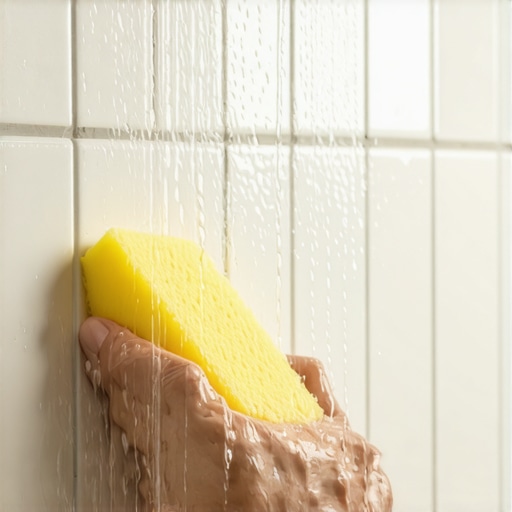
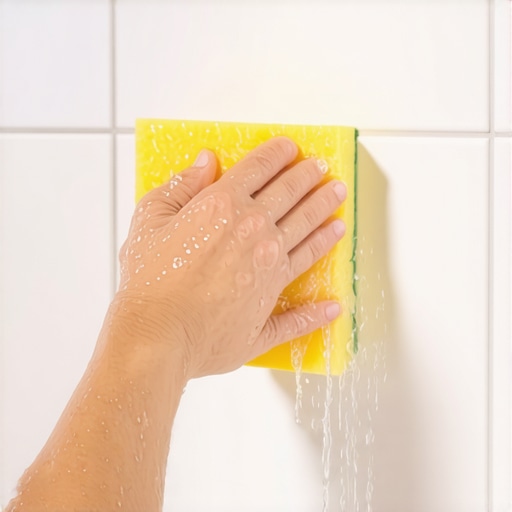
The wet sponge trick involves saturating a sponge and pressing it against the cured waterproofing membrane to check for immediate darkening or absorption which indicates a failure in the seal. If the water beads up and rolls off like a freshly waxed car, you have a solid bond. If the membrane changes color, you have a pinhole or the layer is too thin. This is a simple field test that can save you thousands of dollars in mold remediation later. I use it on every single showers job I lead. I do not care if the manufacturer says one coat is enough. I want to see two coats and a successful sponge test before a single tile is set. It is about the molecular density of the cured liquid membrane. If the polymer chains haven’t fully cross-linked to create a hydrophobic barrier, that sponge will tell the story. I have seen guys try to fake it by spraying a little sealer over the top. That is a crime in my book. You do the work right or you do not do it at all.
“A floor is only as good as the subfloor beneath it; deflection is the enemy of every joint.” – Master Flooring Axiom
The 1/8 inch that ruins everything
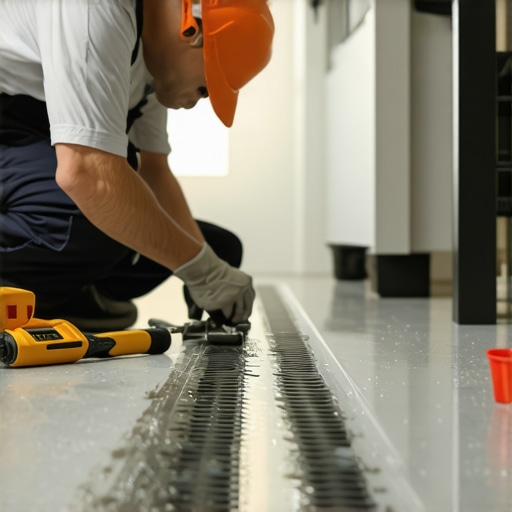
Precision in shower floor sloping requires a consistent 1/4 inch per foot drop toward the drain to ensure gravity overcomes the surface tension of the water. If your slope is too shallow, water will pool. If it is too steep, the tile will be impossible to set without massive gaps. This is where the floor leveling expertise comes into play. You aren’t just making it flat; you are making it strategically un-level. Most people think showers are simple boxes. They are complex hydraulic systems. When you are dealing with a carpet install, you can hide a lot of sins with a thick pad. When you are doing laminate, you have a little bit of bridge. With tile in a shower, you have zero margin for error. The thin-set is brittle. The tile is rigid. If the subfloor moves or the slope is wrong, the grout lines will crack, and the waterproofing will be the only thing between you and a rotten joist. I have seen 3/4 inch plywood subfloors flex just enough to snap the bond on a large format porcelain tile. It is a nightmare.
| Material Type | Perm Rating | Required Curing Time | Common Failure Point |
|---|---|---|---|
| Liquid Membrane | 0.5 – 0.8 | 12-24 Hours | Pinholes from air bubbles |
| Sheet Membrane | < 0.1 | Immediate | Seam failure / Thin-set voids |
| Cement Board | High (Porous) | None | Lack of waterproofing overtop |
| Mud Bed | High (Porous) | 72 Hours | Improper pitch / No pre-slope |
Liquid versus sheet membranes
Liquid waterproofing membranes offer a seamless application that conforms to complex geometry while sheet membranes provide superior vapor protection and consistent thickness across the entire surface. I have spent twenty years arguing about this in supply houses. Liquid is great for those weird custom benches and niches. It is like painting a boat hull. But you have to measure the mil-thickness. If you go too thin, it is useless. If you go too thick, it can skin over and trap moisture inside, leading to a gummy mess that never fully cures. Sheet membranes like Kerdi are the gold standard for vapor drive, especially in steam showers. They are consistent. You do not have to wonder if the guy on the brush was tired that day. But they are hard to work with if the walls aren’t dead plumb. If you have a hump in the wall, the sheet will telegraph that hump and your tile will look like a roller coaster. I usually use a hybrid approach. Sheet on the flats and liquid on the complex corners. It is about the chemistry of the bond. You need an ANSI A118.15 thin-set to make sure that membrane stays stuck to the substrate for the next thirty years.
- Check subfloor for deflection and screw patterns every 6 inches.
- Apply a pre-slope of 1/4 inch per foot before the liner.
- Ensure the drain flange is flush with the floor leveling compound.
- Apply waterproofing at least 3 inches above the shower head height.
- Perform the wet sponge test on all corners and transitions.
- Wait the full manufacturer recommended time before flood testing.
The chemistry of a failure
Waterproofing failures often stem from the chemical incompatibility between the thin-set mortar and the waterproofing membrane which prevents a mechanical bond from forming. I have seen guys use unmodified thin-set on a non-porous membrane. It will not cure. It needs air to dry, and when it is sandwiched between a waterproof sheet and a porcelain tile, it just stays wet. It becomes a layer of mud that lets the tile slide right off the wall. You need the polymers. Those little chemical strands reach into the pores of the membrane and the tile and lock them together in a microscopic grip. If you use the wrong stuff, you are just wasting time. It is the same with laminate or carpet install jobs where people use the wrong adhesive. The floor might look fine for a month, but then the bubbles start. In a shower, the bubbles mean the subfloor is drinking water. Once that wood gets wet, it expands. When it expands, it pushes the tile up. That is how you get the