The ‘Spiked Roller’ Trick for a Glass-Smooth Floor Leveling Job
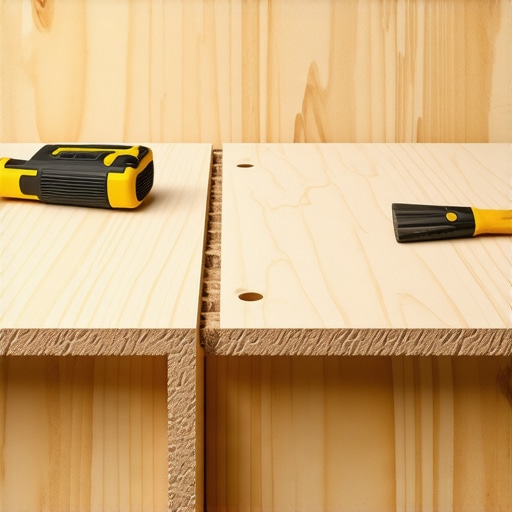
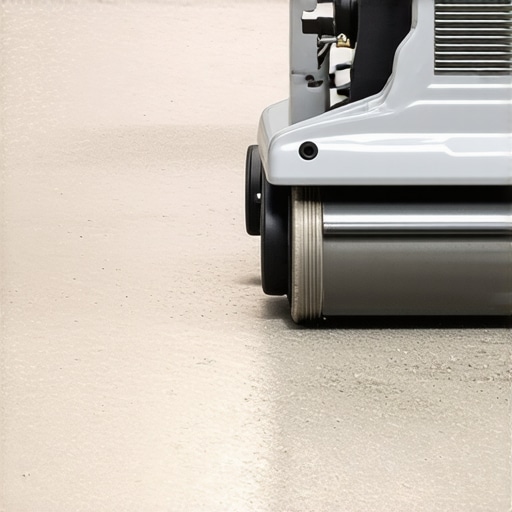
I spent three days grinding concrete on a job last month just so the floor wouldn’t click like a castanet. Most guys skip the leveling compound. They think the underlayment will hide the dip. It won’t. I was looking at a high-end luxury vinyl plank project where the previous contractor thought a few extra layers of foam would fix a half-inch belly in the slab. By the time I arrived, the locking tabs had already snapped. The homeowner was furious, and the materials were wasted. I had to rip it all out, get on my knees with a diamond-cup grinder, and create a massive cloud of dust just to get back to a baseline. That is the reality of this trade. If you do not respect the subfloor, the subfloor will humiliate you. My hands still feel the vibration of that grinder, and the smell of pulverized lime stayed in my truck for a week. But that is what it takes to do it right.
The hidden mechanics of floor failure
Floor leveling is the process of eliminating deviations in a subfloor to meet a specific tolerance, usually one-eighth of an inch over a ten-foot radius. Without this precision, hard surfaces like laminate or engineered wood will experience vertical movement. This movement stresses the tongue-and-groove joints, leading to audible squeaks, gap formation, and eventually total structural failure of the floor boards.
When we talk about floor leveling, we are talking about gravity and fluid dynamics. A self-leveling compound is a highly specialized cementitious product. It is not just wet concrete. It contains polymers and flow agents that reduce the internal friction of the mix. This allows the material to seek its own level. However, the term self-leveling is a bit of a lie told by marketing departments. The material needs help to overcome its own surface tension. This is where the spiked roller enters the equation. Without it, you are left with ridges and small air pockets that ruin the surface. I have seen guys pour a thousand dollars of product only to have it look like the surface of the moon because they did not understand the physics of air entrapment.
“A floor is only as good as the subfloor beneath it; deflection is the enemy of every joint.” – Master Flooring Axiom
Physics of the spiked roller tool
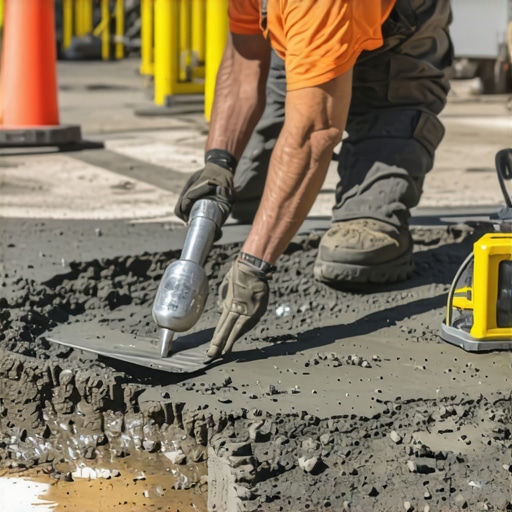
A spiked roller is a cylinder covered in plastic or metal pins designed to penetrate the surface of wet self-leveling compound. This tool serves two primary purposes. First, it breaks the surface tension of the liquid, allowing it to flow more freely into low spots. Second, it releases trapped air bubbles that would otherwise create pinholes and weak points in the cured floor.
The spikes must be longer than the depth of your pour. If you are pouring a half-inch of material, you need one-inch spikes. As you roll the tool through the wet mix, the pins create thousands of tiny pathways for air to escape. This is a process called outgassing. If you skip this, the air stays trapped. Once the compound begins to set, those bubbles remain as hollow voids. When you later walk on the finished floor, those voids can collapse, causing the leveler to crack. The spiked roller also helps to knit together different batches of the compound. Since you are often mixing two bags at a time, you have cold joints where one pour meets the next. The roller agitates these edges so they blend into a single, monolithic sheet of stone.
The bond between old and new surfaces
Surface preparation is the most important part of any leveling job because the new compound must chemically and mechanically bond to the existing slab. If the bond fails, the entire floor becomes a floating sheet of brittle cement that will crack under the weight of furniture or foot traffic. This starts with a clean surface and a high-quality primer.
I have seen guys try to pour leveler over dusty, oil-stained concrete. It never works. The dust acts as a release agent. You need to use a primer that is specific to the leveling compound brand. This primer penetrates the pores of the concrete and provides a tacky surface for the new material. It also seals the slab so the concrete does not suck the water out of the leveler too fast. If the leveler loses its water too quickly, it cannot hydrate properly. The chemistry of cement hydration is a delicate balance. You need those water molecules to stay in the mix to form the crystalline structures that give the floor its strength. If the water vanishes into a thirsty subfloor, the leveler turns into a weak, chalky mess. This is why I always use two coats of primer on old, porous slabs. It creates a waterproof barrier that keeps the mix wet enough to do its job.
Comparison of leveling materials
Selecting the right compound depends on the thickness of the pour and the type of subfloor you are working with. Not all products are created equal. Some are designed for deep fills of several inches, while others are feather-finish products meant to smooth out minor imperfections. The chemistry of the binder, whether it is Portland cement or calcium aluminate, changes the dry time and the final compressive strength.
| Material Type | Max Thickness | Drying Time | Best Use Case |
|---|---|---|---|
| Portland Based | 1.5 inches | 24 hours | General concrete repair |
| Calcium Aluminate | 5 inches | 4 hours | Deep fills and fast tracks |
| Gypsum Based | 3 inches | Varies | Over radiant heating systems |
| Fiber Reinforced | 1 inch | 12 hours | Plywood subfloors with flex |
Steps for a successful pour
A successful floor leveling project requires a strict sequence of actions to manage the short working time of the material. You usually have about twenty minutes before the compound begins to stiffen. This means you must have all your tools ready and a helper to keep the mixing station running at full speed. One mistake in the sequence can ruin the entire room.
- Clear the room and scrape off any high spots, drywall mud, or paint overspray.
- Vacuum the entire floor with a HEPA filter to remove every grain of dust.
- Apply the manufacturer-recommended primer with a soft-bristled brush or roller.
- Seal the perimeter of the room with foam expansion strips to prevent the liquid from leaking.
- Measure the water for each bag with surgical precision using a graduated cylinder.
- Mix the compound for exactly the time specified on the bag to avoid over-shearing the polymers.
- Pour the material starting at the furthest corner and working toward the exit.
- Use a gauge rake to set the initial depth of the material across the floor.
- Follow immediately with the spiked roller to release air and blend the batches.
- Keep the room closed to prevent drafts that cause uneven drying and surface cracking.
Why laminate fails on a soft base
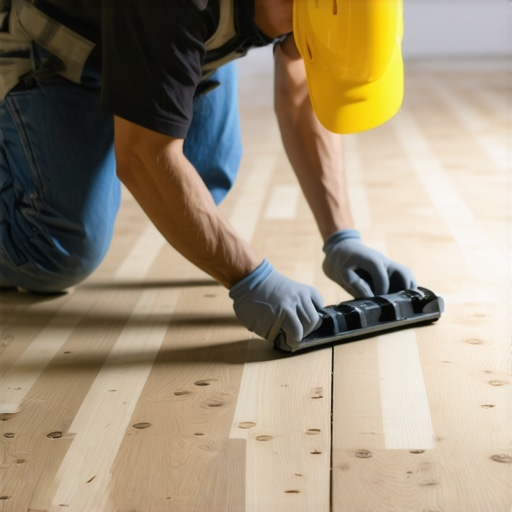
Laminate flooring requires a rigid and flat substrate because the click-lock mechanisms are made of high-density fiberboard which cannot withstand bending. Many people believe that a thick, squishy underlayment will compensate for an uneven floor. This is the opposite of the truth. While some cushion is needed for sound dampening, too much padding allows the floor to deflect too much when stepped on.
Imagine a bridge made of toothpicks. If you put that bridge on a solid table, it can hold a lot of weight. If you put that same bridge on a pile of marshmallows, it will snap as soon as you touch it. That is what happens to laminate on an unlevel floor with too much padding. The tongue of the board is forced into the groove at an angle it was never designed to handle. Over time, the fiberboard fatigues and breaks. This is why I tell people to spend their money on floor leveling, not on the most expensive underlayment. A thin, high-density rubber or felt underlayment over a glass-smooth leveled floor will outlast a premium floor on a bad subfloor every single time.
The moisture trap in concrete slabs
Concrete is a sponge that holds moisture, and if that moisture is trapped under a new floor, it will cause mold and adhesive failure. You must test the slab before you pour any leveler or install any finished flooring. I use a calcium chloride test or an in-situ probe to check the relative humidity of the slab. If the moisture levels are too high, the leveling compound might actually detach from the floor.
When you pour a self-leveler, you are adding even more water to the environment. If the slab cannot breathe, that water gets trapped. In basements, this is a recipe for disaster. The moisture rises through the concrete via capillary action. If it hits a vapor-impermeable layer like vinyl or a thick leveler with a sealer, it pools at the interface. This creates a high-alkaline environment that eats away at adhesives. I have seen entire floors literally floating on a layer of grey, caustic sludge because the installer did not check the moisture levels. You need to use a moisture-mitigation primer if your slab is over the limit. It is an extra step and an extra cost, but it is the only way to sleep at night knowing the floor won’t peel up in a year.
“Water is the primary cause of flooring failure; a dry slab is the only foundation for a lasting installation.” – TCNA Technical Bulletin
Transitions from carpet to hard surfaces
Transitioning from carpet to a hard surface like laminate or tile requires careful height management to avoid tripping hazards. Carpet is thick and hides a lot of sins. When you rip it out, you often find that the subfloor is much lower than the adjacent tiled area or hardwood hallway. This is where deep-pour leveling becomes a structural necessity rather than just an aesthetic choice.
If you are going from a plush carpet to a thin laminate, you might have a half-inch height difference at the doorway. You cannot just put a steep transition strip there. It looks cheap and people trip on it. I prefer to build up the subfloor in the carpeted room using a self-leveling compound so that the new floor sits flush with the existing surfaces. This creates a zero-threshold look that is the hallmark of a professional job. It requires calculating the thickness of the leveling layer, the underlayment, and the laminate combined. It is a game of millimeters. I often use a laser level to find the exact height of the adjacent room and then set my gauge rake to match that elevation exactly.
The truth about shower pan stability
Shower installations fail most often at the floor level because the subfloor was not stiff enough or flat enough to support the weight of the water and the tile. When I am working on showers, I am even more obsessed with levelness. A shower pan that is not perfectly supported will flex. That flex leads to cracked grout lines, which lead to water leaks, which lead to rotted floor joists.
Before the waterproofing membrane even goes down, the subfloor needs to be perfect. If I am working on a wooden subfloor, I usually add a layer of exterior-grade plywood or a cement backer board, and then I use a fiber-reinforced leveling compound to stiffen the whole assembly. This reduces the deflection of the floor. You want the floor to be like a rock. Any movement at all will break the bond between the tile and the thin-set. The chemistry of thin-set is amazing, but it is not a structural adhesive meant to hold a moving building together. It is a rigid bond. If the floor moves, the bond breaks. It is that simple.
Final thoughts for the serious pro
The spiked roller is a simple tool, but it represents the difference between a hack and a craftsman. It shows that you understand the materials you are working with. You are not just dumping a bag of mud on the floor and hoping for the best. You are controlling the air, the surface tension, and the final structural integrity of the surface. Most people will never see the work you put into the subfloor. They will only see the beautiful wood or tile on top. But you will know. You will know that the floor is flat because you put in the time to grind the high spots, prime the pores, and roll out the bubbles. That is the secret to a floor that lasts fifty years instead of five. Do not cut corners on the things people cannot see. Those are the things that hold the whole house together.