The ‘Double Primer’ Rule for Highly Absorbent Concrete Floors
The physics of the thirsty slab and the double primer solution
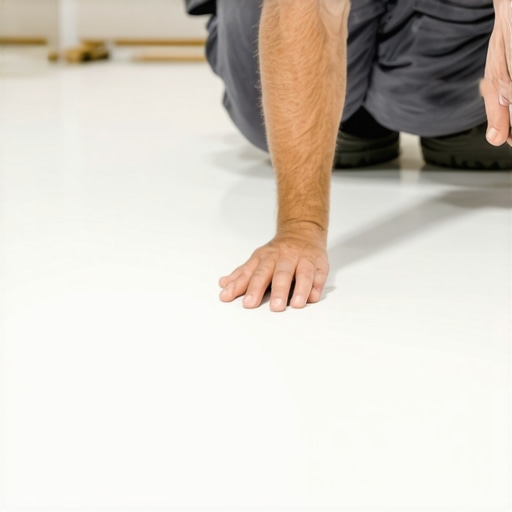
Most guys skip the leveling compound. They think the underlayment will hide the dip. It won’t. I spent three days grinding concrete on a job last month just so the floor wouldn’t click like a castanet. That job taught the crew a lesson they should have known. Concrete is not a solid block of stone. It is a network of microscopic straws waiting to suck the life out of whatever you pour on top of it. When you are dealing with highly absorbent concrete, you are fighting a battle against surface tension and capillary action. If you do not prime it correctly, your self-leveling underlayment will turn into a brittle, pin-holed mess before it even has a chance to cure. The double primer rule is the only protocol that ensures the chemical bond is strong enough to withstand the structural stresses of a heavy floor installation. I have seen fifteen thousand dollar wide-plank walnut floors turn into potato chips because the installer ignored the slab. I have seen laminate joints snap because the leveler underneath it turned to dust. It all starts with the primer.
The porous nature of modern concrete slabs
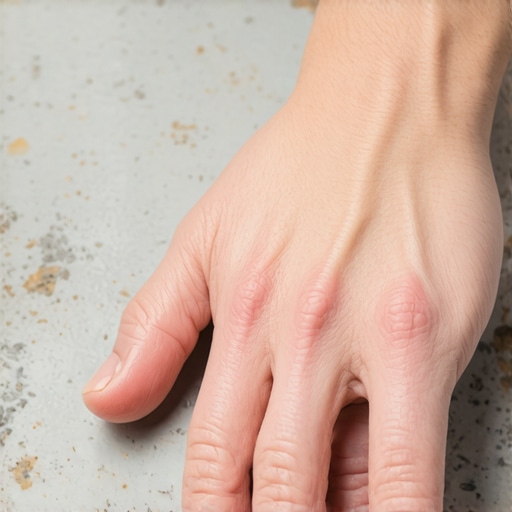
Highly absorbent concrete acts like a parched sponge that pulls the hydration out of your leveling compound before it can properly bond. This rapid loss of water prevents the polymers in the leveler from cross-linking. Without that cross-linking, the material lacks structural integrity. You are left with a powdery surface that will fail under the weight of furniture or foot traffic. The double primer rule involves applying a diluted first coat to penetrate the deep pores of the concrete followed by a second full-strength coat to create a tacky surface for the overlayment. This ensures the subfloor is sealed and the new material stays hydrated long enough to reach its full PSI rating.
“A floor is only as good as the subfloor beneath it, deflection is the enemy of every joint.” – Master Flooring Axiom
Why your self leveler is bubbling like a swamp
Air trapped in the pores of the concrete is forced upward when a heavy liquid like self-leveling underlayment is poured over it. This process, known as outgassing, creates small craters or pinholes in the finished surface. These pinholes are not just cosmetic. They are structural weak points. When the concrete is highly absorbent, the air is displaced so quickly that the leveler cannot heal itself. By using a double primer method, you are effectively pre-filling those microscopic voids. The first coat of primer goes in deep and fills the capillaries. The second coat seals the surface. This prevents the air from escaping and ensures your floor leveling project is flat and solid without the cratered landscape of a moon mission. I have seen guys try to roll out the bubbles with a spiked roller, but that is a bandage for a wound that needs stitches. You fix it at the primer stage or you do not fix it at all.
The first coat is a sacrificial lamb
The first coat of primer in a double-coat system is designed to penetrate the concrete surface and satisfy its initial thirst. Usually, this coat is diluted with water at a one to three ratio. The goal here is not to create a film but to let the acrylic polymers travel as deep into the slab as possible. Think of it like a primer for a dry piece of cedar. If you put heavy paint on first, it just sits on top and peels. If you thin the first layer, it bites into the fibers. Concrete is the same. The first coat stops the slab from stealing water from the second coat. I have seen installers use a brush to scrub this first layer into the concrete. This is the right move. You want to break the surface tension and get that liquid into every crack and crevice. If you see the primer disappear in seconds, you know you are dealing with a slab that would have destroyed a standard one-coat install. The smell of the primer and the wet concrete reminds me of every basement I have had to rescue in thirty years of work.
| Primer Type | Dilution Ratio | Drying Time | Best Use Case |
|---|---|---|---|
| Acrylic Primer | 1 to 3 then 1 to 1 | 2 to 4 Hours | Standard absorbent concrete |
| Epoxy Primer | No Dilution | 12 Hours | Moisture vapor barriers |
| Polyurethane Primer | No Dilution | 4 Hours | Non-porous surfaces |
Chemical bonding versus mechanical adhesion
Mechanical adhesion occurs when the leveling compound flows into the nooks and crannies of the slab while chemical bonding happens through the polymer bridge created by the primer. In an absorbent slab, the concrete is too dry to allow for a proper mechanical bond because it sucks the moisture out of the leveler too fast. The leveler then sits on top of the slab rather than inside it. The double primer rule creates a polymer-rich interface. The second coat of primer acts as a sticky bridge that grabs the bottom of the leveler and the top of the first primer coat. This creates a monolithic structure. When I am prepping a floor for a laminate or hardwood install, I want to know that the leveler is part of the slab, not a separate sheet of brittle stone resting on top of it. If you can peel your leveler up with a putty knife, you failed the primer test.
How absorbent concrete ruins a shower pan
In shower installations, a thirsty concrete subfloor can pull moisture away from thin-set mortar and cause the tile to delaminate. This is especially dangerous in wet areas where the bond between the waterproofing membrane and the substrate must be absolute. If you are doing floor leveling in a bathroom or shower, the double primer rule is non-negotiable. You are dealing with smaller footprints and higher point loads. If the thin-set fails because the concrete was too absorbent, your tiles will crack and your grout will crumble. I have walked into showers where the homeowner complained about a hollow sound under the floor. That is the sound of a failed bond. The installer did not prime, the concrete drank the water from the mortar, and the tile is now floating on a bed of dried sand. It is a disaster waiting for a leak to happen.
“Substrate preparation is 90 percent of the success of any tile or stone installation.” – TCNA Standard Handbook
Carpet installation and the dust trap
Applying a primer to a thirsty concrete floor before a carpet install serves to encapsulate dust and provide a better surface for tack strip adhesive. While carpet is more forgiving than LVP or tile, a highly absorbent slab will shed concrete dust for years. This dust works its way through the pad and into the carpet fibers, acting like sandpaper that wears down the yarn from the bottom up. A quick double prime of the slab seals that concrete and keeps the air in the home cleaner. It also ensures that the high-strength adhesives used for tack strips or transitions actually bite into the floor. I have seen too many tack strips pop off the concrete because the installer tried to glue them to a dusty, unprimed slab. It is lazy work and it leads to sagging carpet and unhappy clients.
The laminate moisture trap
Laminate flooring requires a flat and stable surface to prevent the tongue and groove locking mechanisms from snapping under load. If you pour leveler on an unprimed slab to prep for laminate, the leveler will eventually crack. As people walk across the laminate, those cracks in the leveler allow for movement. That movement is the death of a click-lock floor. You will start to hear a clicking sound, like a castanet, as the broken leveler pieces rub against each other. The double primer rule ensures the leveler stays intact and bonded. This provides the rigid, flat base that laminate manufacturers demand for their warranties to be valid. Do not let the ease of a click-lock floor fool you into thinking the subfloor does not matter. The thinner the flooring material, the more the subfloor imperfections will haunt you.
- Check the moisture content of the slab with a calcium chloride test.
- Grind the concrete to a CSP 2 or CSP 3 profile for maximum adhesion.
- Dilute the first coat of acrylic primer to penetrate the deep capillaries.
- Apply the second coat at full strength once the first is dry to the touch.
- Ensure the room temperature is between 50 and 85 degrees Fahrenheit.
- Avoid puddling the primer in low spots of the floor.
The final word on the thirsty slab
The chemistry of the bond is where the floor is won or lost. You can buy the most expensive LVP or the finest Italian marble, but if you put it on a slab that has not been properly primed, you are throwing money into a hole. The double primer rule is a professional standard for a reason. It respects the physics of the material. It acknowledges that concrete is a living, breathing, and very thirsty substrate. Take the time to prime twice. Your knees, your back, and your reputation will thank you when that floor is still flat and silent twenty years from now. Avoid the shortcuts that the big-box stores sell you. Use a real acrylic primer and follow the dilution rates to the letter. That is how a master installer does it.