Why Your Kitchen Island Should Never Be Bolted Through Laminate Floors
I smell like WD-40 and oak dust most days. My knees have the permanent calluses of a man who has spent twenty-five years staring at subfloors through the lens of a moisture meter. Homeowners always ask why their waterproof vinyl or laminate is buckling under the weight of a beautiful new kitchen. Usually, it is because they locked it under a heavy kitchen island, killing the floor’s ability to breathe. I walked into a job last month where the homeowner had spent six thousand dollars on high-end laminate only to have every joint in the kitchen peak like a mountain range. They had bolted a three-hundred-pound marble-topped island right through the planks. They turned a floating floor into a pinned floor, and the physics of the HDF core did the rest. When you treat a performance surface like a decoration, you invite structural failure. This is not about aesthetics. This is about the uncompromising laws of expansion and contraction that govern every square inch of your home.
The physics of floating floor failure
Bolting a kitchen island through laminate flooring is the primary cause of catastrophic joint failure and plank peaking. Floating floors are designed to move as a unified raft across a level subfloor. When you pin this raft with a heavy anchor like an island, the material cannot expand naturally. Laminate consists of a high-density fiberboard core, which is essentially wood fibers compressed with resin. These fibers are hygroscopic. They absorb and release moisture from the ambient air regardless of how many waterproof coatings the manufacturer claims to have applied. When the humidity in your kitchen rises from a boiling pot or a dishwasher cycle, those fibers expand at a molecular level. If the floor is pinned by an island, the force of that expansion has nowhere to go. The planks will push against each other until the locking mechanisms snap or the boards lift off the subfloor in a visible bubble. It is a slow-motion wreck that starts the moment the first bolt hits the subfloor.
Why your subfloor is lying to you
Floor leveling is the most overlooked step in the installation process and the root of most laminate clicking sounds. Most installers think a foam underlayment will bridge the gaps and dips in a concrete slab or plywood deck. It will not. A dip of just one-eighth inch can ruin everything. You have to understand the chemistry of the leveling compound. When I mix a bag of self-leveler, I am looking for a specific viscosity that allows the product to find the low spots without losing its structural integrity. If your subfloor has a birdbath, the laminate will flex every time you step on it. This vertical deflection puts immense stress on the tongue and groove. Over a few months, the friction wears down the locking profile until the planks separate. I spend three days grinding concrete on some jobs just so the floor does not click like a castanet. If you do not start with a flat, dry, and rigid base, you are just wasting money on the finish material.
“A floor is only as good as the subfloor beneath it; deflection is the enemy of every joint.” – Master Flooring Axiom
The ghost in the expansion gap
Expansion gaps at the perimeter of a room are the lungs of a laminate installation. You must leave at least one-quarter to three-eighths of an inch between the edge of the flooring and any vertical surface like walls or cabinets. This space allows for seasonal movement. Without this gap, the floor hits the wall and starts to cup. I have seen guys jam planks tight against the baseboards because they did not want to install shoe molding. That is a rookie mistake that leads to a full tear-out. In regions with high humidity, like the coastal South, those gaps are even more vital. The floor will grow significantly during the summer months. If you have an island sitting on top of the floor, the island acts as a second wall. Now the floor is trapped between the real wall and the island. You have effectively cut the expansion capacity of the room in half. The result is always the same. The floor fails because it has no room to live.
Chemistry of the HDF core and moisture
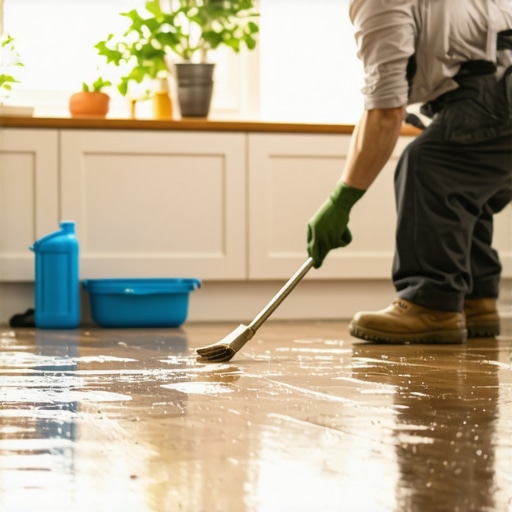
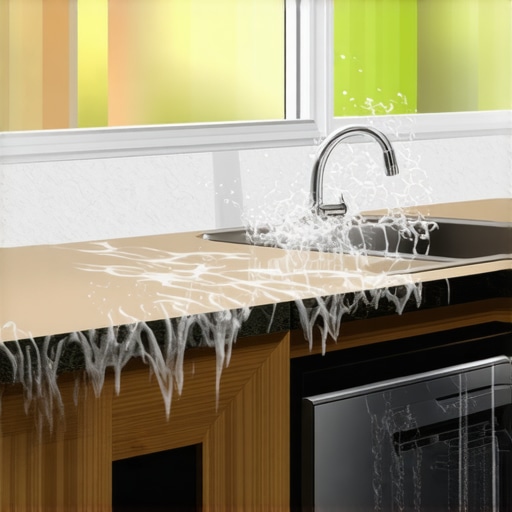
The high-density fiberboard core of a laminate plank is a marvel of engineering that remains vulnerable to vapor pressure. Manufacturers use urea-formaldehyde or melamine resins to bond wood fibers under extreme heat. This creates a dense board that resists impact but remains susceptible to water. When we talk about a floor being waterproof, we are usually talking about the surface. The click joints are the weak point. If water sits on a joint, it seeps into the core. Once the HDF absorbs water, it undergoes an irreversible chemical change called thickness swell. The fibers expand and do not return to their original size once they dry. This is why a dishwasher leak is the death of a laminate floor. Unlike a solid oak floor that can sometimes be sanded and refinished after a flood, laminate is a one-and-done product. If the core blows, the floor is trash. This is why I always check the moisture content of the slab with a calcium chloride test before I even open a box of planks.
“Correct moisture testing is the only way to prevent the silent destruction of a floating floor system.” – Master Flooring Axiom
Comparing expansion rates and material stability
Different materials react to environmental changes at different rates based on their internal structure and density. Understanding these rates is vital for planning a kitchen layout that includes an island. Laminate moves more than tile but less than solid hardwood. While a carpet install is relatively static and does not care about humidity, laminate is a living system. If you are comparing laminate to LVP, the vinyl is more stable regarding moisture but more sensitive to heat. Direct sunlight through a sliding glass door can cause LVP to reach temperatures that soften the plastic core, leading to buckling. Laminate handles heat better but hates the damp. Here is a breakdown of how these materials behave over a ten-foot span.
| Material | Expansion Rate (per 10ft) | Acclimation Time | Primary Stressor |
|---|---|---|---|
| Laminate | 1/4 inch | 48 Hours | Humidity |
| Solid Oak | 1/2 inch | 14 Days | Moisture/Humidity |
| LVP | 1/8 inch | 24 Hours | Direct Heat |
| Engineered Wood | 3/16 inch | 72 Hours | Extreme Dryness |
The correct way to install a kitchen island
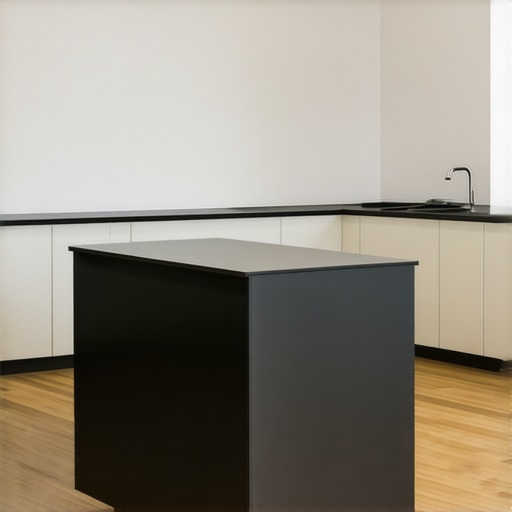
The only professional way to handle a kitchen island with laminate flooring is to install the island first and floor around it. You must treat the island like a wall. This ensures the heavy cabinetry is bolted directly to the subfloor and not pinning the planks. You then use transition strips or decorative base molding to cover the expansion gap around the island. If the island is already in place and you are flooring around it, you save material and avoid the risk of the floor buckling. If you absolutely must place an island on top of a floating floor, you have to drill oversized holes through the laminate. These holes should be at least half an inch larger than the bolts you are using. This allows the floor to shift slightly around the bolt. However, even this is a compromise. The weight of the island itself can still provide enough friction to trap the floor. My advice is always the same. Build the box, bolt the box to the subfloor, and then lay your floor. Anything else is a gamble with your bank account.
Critical checklist for a stable kitchen floor
- Check the subfloor for levelness using a ten-foot straight edge.
- Apply a high-quality moisture barrier or 6-mil poly film over concrete.
- Acclimate the laminate planks in the room for at least forty-eight hours.
- Maintain a consistent internal climate between sixty and eighty degrees.
- Ensure the expansion gap is maintained around all fixed objects.
- Never use a hammer directly on the tongue of the plank.
- Use a tapping block to prevent micro-fractures in the locking system.
Moisture and the kitchen environment
Kitchens are high-moisture environments that require specific installation precautions regardless of the flooring material chosen. From steam from showers in nearby bathrooms to the humidity of a boiling stove, moisture is always present. You need to think about the vapor drive coming up through the house. If you have a crawlspace, that humidity is pushing up against the bottom of your subfloor. If you do not have a vapor retarder down there, your kitchen floor is going to cup. I have seen beautiful floors destroyed because the guy forgot to spend fifty bucks on plastic for the crawlspace. It is the small details that make a floor last twenty years instead of two. Flooring is a structural engineering challenge. If you ignore the physics, the physics will eventually ignore your investment. Keep your island off the laminate and your subfloor level. That is the only way to win the war against the elements.