How to Level a Plywood Subfloor for Large Format Kitchen Tile
The physics of a flat kitchen floor
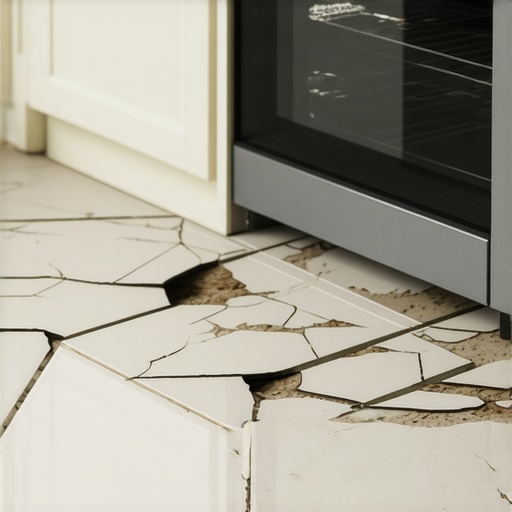
I spent three days grinding and screwing down a double-layer plywood subfloor on a job last month just so the floor wouldn’t click like a castanet. Most guys skip the leveling compound. They think the underlayment or a bit of extra thin-set will hide the dip. It won’t. I have seen $20,000 Italian porcelain jobs ruined because the installer ignored a 1/4 inch birdbath in the center of the room. When you are dealing with large format tile, meaning any tile where one side is longer than 15 inches, the margin for error disappears. If that plywood is not flat, the tile will lip, the grout will crack, and the client will call me in six months to rip it all out. My hands are stained with acrylic primer and my knees are shot, but I know one thing for certain. A floor is only as good as the structural integrity of what sits beneath the surface. We are not just laying tile. We are engineering a rigid assembly over a flexible wooden substrate.
The 1/8 inch that ruins everything
To level a plywood subfloor for large format tile, you must achieve a flatness of 1/8 inch over a 10-foot radius. This requirement is non-negotiable for porcelain planks and oversized stone because the inflexibility of the tile cannot accommodate subfloor dips or humps without creating lippage or structural failure under load.
When we talk about leveling, we are really talking about two distinct concepts: level and flat. A floor can be out of level, meaning it slopes slightly to one side, and still be perfectly functional for tile as long as it is flat. Flatness is the absence of local variations. If you have a hump where two sheets of plywood meet, the large format tile will teeter-totter on that ridge. If you have a dip, the tile will bridge the gap, leaving a hollow void underneath. That void is a death sentence. The moment a heavy refrigerator or a person in high heels puts pressure on that bridge, the tile snaps. The TCNA (Tile Council of North America) is very clear on this. Large format tiles require tighter tolerances than your standard 12-inch ceramic. You need to pull a 10-foot straightedge across that room in every direction. If you see light under that straightedge, you have work to do.
“A floor is only as good as the subfloor beneath it; deflection is the enemy of every joint.” – Master Flooring Axiom
Why your subfloor is lying to you
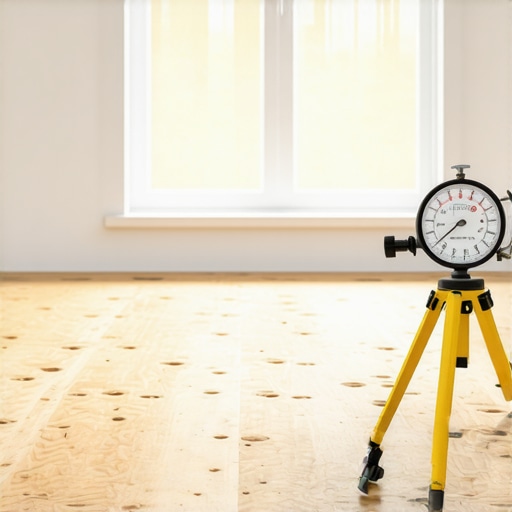
Plywood subfloors often appear flat until you apply a laser level or a mechanical straightedge. Common issues include joist shrinkage, improper fastening, and moisture-induced swelling at the seams, all of which create micro-undulations that cause large format tile to crack or delaminate from the thin-set mortar.
Wood is a living material. It breathes, it moves, and it reacts to the humidity in your home. If you are in a high-humidity region like the Gulf Coast, your plywood is likely holding more moisture than it would in the high desert of Arizona. This moisture causes the wood fibers to expand. When you throw a cement-based product like thin-set or self-leveling underlayment on top of it, the wood sucks the moisture out of the cement too fast. This ruins the chemical bond. You must use a high-quality primer. Think of the primer as the glue that marries the organic wood to the inorganic cement. It creates a film that prevents the wood from drinking the water needed for the cement to hydrate. Without it, your leveler will just peel off in sheets, taking your expensive tile with it. I have seen guys try to save twenty bucks by skipping the primer. They ended up losing thousands in labor and materials.
The chemistry of the bond breaker
Primer for self-leveling underlayment acts as a moisture barrier and an adhesion promoter. Using an acrylic-based primer ensures that the porous plywood does not dehydrate the leveling compound, allowing for proper hydration and crystalline growth within the cementitious matrix, which is vital for long-term bond strength.
The molecular reality of this process is fascinating. When you pour a self-leveling underlayment, you are initiating a complex chemical reaction. The polymers in the mix are designed to keep the slurry fluid just long enough for gravity to pull it into the low spots. If the plywood is thirsty, it breaks that surface tension. The leveler stops flowing and starts skinning over. You end up with a mess of ridges and lumps that are harder to fix than the original dip. You want that leveler to behave like a slow-moving river. It should seek the lowest point and settle there with a glass-like finish. This is why we use a spiked roller. It helps release any trapped air bubbles that would otherwise create tiny craters in your floor. Those craters might seem small, but they represent weak points in the structural sandwich you are building.
Technical Specifications for Subfloor Prep
| Material Type | Max Deflection Limit | Required Flatness | Recommended Underlayment |
|---|---|---|---|
| Large Format Porcelain | L/360 | 1/8″ in 10′ | Cement Backer or SLU |
| Natural Stone (Marble/Travertine) | L/720 | 1/8″ in 10′ | Double Layer Plywood + SLU |
| Standard Ceramic | L/360 | 1/4″ in 10′ | Cement Board or Mat |
The ghost in the expansion gap
Expansion gaps at the perimeter are the most overlooked aspect of plywood subfloor preparation. Every installation must maintain a 1/4 inch gap around all vertical obstructions to allow for thermal expansion and moisture fluctuation, preventing the tile assembly from tenting or buckling as the wood substrate moves.
If you butt your plywood tight against the wall studs or the bottom plate, you are asking for trouble. When the seasons change and the furnace kicks on, that wood is going to shrink. In the summer, when the humidity hits 90 percent, it is going to grow. If it has nowhere to go, it will push upward. I have walked into kitchens where the entire floor has lifted off the joists because there was no expansion gap. It looks like a mountain range running through the island. When we pour leveler, we use foam sill seal or even just strips of masking tape to create a dam. This keeps the leveler from running into the wall cavities but also ensures the floor remains a floating island of cement and tile that can move independently of the house frame. It sounds counterintuitive, but a floor needs to be able to move slightly to stay in one piece.
“Modern tile requires modern methods; you cannot install a 24-inch plank with a 1970s mindset.” – TCNA Technical Manual
The Master Installer Checklist
- Check joist spacing and ensure it meets L/360 deflection standards for the intended tile weight.
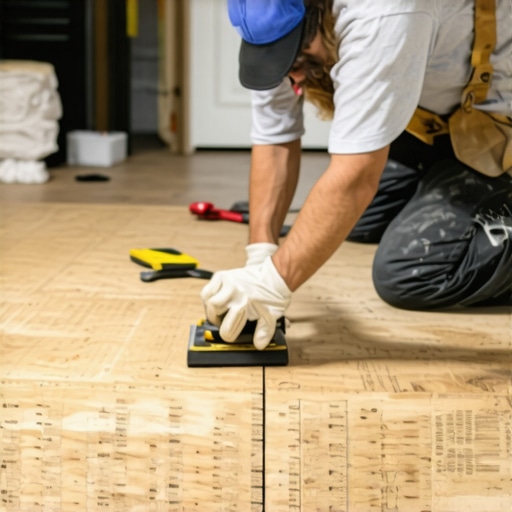
- Sand down any high spots or swollen plywood seams with 40-grit sandpaper.
- Vacuum the entire floor twice. Dust is the ultimate bond breaker.
- Apply the acrylic primer with a 3/8 inch nap roller, ensuring no puddles remain.
- Mix the self-leveling underlayment with a high-torque drill to avoid over-aerating the mix.
- Pour in a continuous wet-edge fashion to prevent cold joints between batches.
- Use a gauge rake to set the depth and a spiked roller to release air.
The heavy kitchen island problem
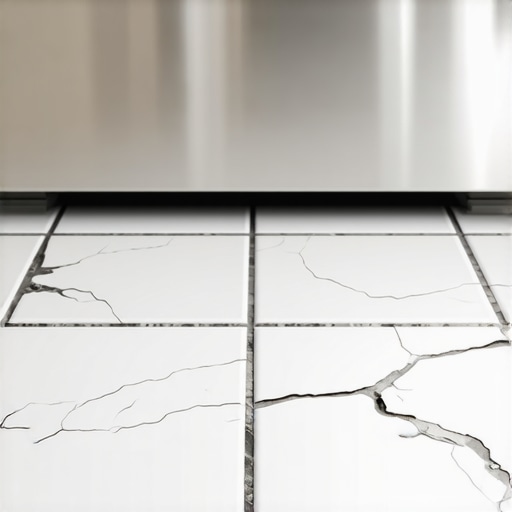
Installing large format tile before a heavy kitchen island is a common mistake that leads to cracked grout lines. The concentrated load of the cabinetry and stone countertops can cause the plywood subfloor to deflect locally, putting tensile stress on the tile joints if the leveling compound was not applied with compressive strength in mind.
A lot of homeowners want the tile to go under the cabinets. That is fine, but you have to account for the weight. A 10-foot island with a quartz countertop can weigh over a thousand pounds. If your plywood is 5/8 inch thick and your joists are 16 inches on center, you are right on the edge of the deflection limit. I always recommend adding a second layer of 3/8 inch or 1/2 inch underlayment grade plywood, glued and screwed to the base layer. Offset the seams. Do not let the seams of the top layer line up with the seams of the bottom layer. This creates a rigid bridge. Then you pour your leveler on top of that. This creates a substrate that is stiff enough to hold the weight of the island without bowing. If that floor bows even a millimeter, the grout in front of those cabinets will turn to powder within a year.
The myth of the thick underlayment
While many believe a thicker underlayment provides better cushioning, too much soft material causes the locking mechanisms of flooring to fail. In tile installations, we do not want cushion, we want rigidity, which is why high-compression self-leveling compounds are superior to foam-based mats for large format porcelain.
I have had people ask if they can just put a thick rubber mat down under their tile to make it quieter. No. Tile is a rigid system. If there is any squish in the system, the tile will break. If you need sound dampening, you use a specific sound-rated underlayment that is designed to be incompressible. Even then, you have to be careful. The thicker the assembly, the more chance for movement. I prefer to keep it simple. Clean plywood, proper primer, and a high-quality cementitious leveler. This creates a monolithic slab that is bonded to the structure of the house. It is the only way to guarantee that the floor will last as long as the mortgage. Carpet installers can hide a lot of sins with a thick pad. We do not have that luxury. Every mistake we make is immortalized in stone. If you want a floor that feels solid underfoot, you have to do the dirty work of leveling it first.
Working with these materials requires speed and precision. You have about fifteen to twenty minutes from the moment the water hits the powder until the leveler starts to set. You cannot do this alone on a large kitchen. You need one person mixing, one person hauling buckets, and one person spreading. It is a choreographed dance. If you stumble, you are left with a hardened pile of cement that you have to chip off with a jackhammer. I have seen it happen. It is not pretty. But when you get it right, and that straightedge sits perfectly flush across the entire room, it is a work of art. The tile goes down faster, the grout lines are perfect, and the floor is silent. That is the hallmark of a master floor architect. We build from the bottom up.
{“@context”:”https://schema.org”,”@type”:”HowTo”,”name”:”How to Level a Plywood Subfloor for Large Format Kitchen Tile”,”description”:”A comprehensive guide to preparing and leveling a plywood subfloor to meet the strict tolerances required for large format porcelain and stone tile.”,”step”:[{“@type”:”HowToStep”,”text”:”Assess the subfloor for flatness using a 10-foot straightedge and check for structural deflection.”},{“@type”:”HowToStep”,”text”:”Fasten the plywood every 6 inches on the edges and 12 inches in the field to eliminate movement.”},{“@type”:”HowToStep”,”text”:”Clean the surface of all dust and debris, then apply an acrylic-based primer with a roller.”},{“@type”:”HowToStep”,”text”:”Mix self-leveling underlayment to the manufacturer’s exact water ratio using a high-torque drill.”},{“@type”:”HowToStep”,”text”:”Pour the leveler starting from the lowest point, using a gauge rake and spiked roller to achieve a flat finish.”}],”totalTime”:”PT24H”}