The ‘Blue Tape’ Method for Perfectly Level Shower Wall Tiles
Most guys skip the leveling compound. They think the underlayment will hide the dip. It won’t. I spent three days grinding concrete on a job last month just so the floor wouldn’t click like a castanet. That same arrogance kills more shower tile jobs than water damage ever will. If you walk onto a job site and the installer is reaching for a bucket of mastic and a notched trowel before they have even checked the studs for plane, you should probably fire them on the spot. My hands are stained with the grey dust of a thousand bags of thin-set and my knees have the permanent callouses of a man who knows that a quarter-inch dip is an invitation for disaster. We are not just laying pretty pieces of ceramic or stone. We are engineering a waterproof, structural assembly that must withstand thermal expansion, structural deflection, and the relentless pull of gravity. When you treat a shower wall like a decorative project instead of a mechanical challenge, you are setting the stage for a total failure of the bond. Flooring is a performance surface. Whether it is a carpet install where the tack strips are poorly anchored or a laminate floor that was laid over a humid crawlspace, the failure starts at the foundation. In the world of showers, the foundation is the substrate, and the most effective tool in your kit might just be a roll of blue painter’s tape.
The structural lie of the plumb wall
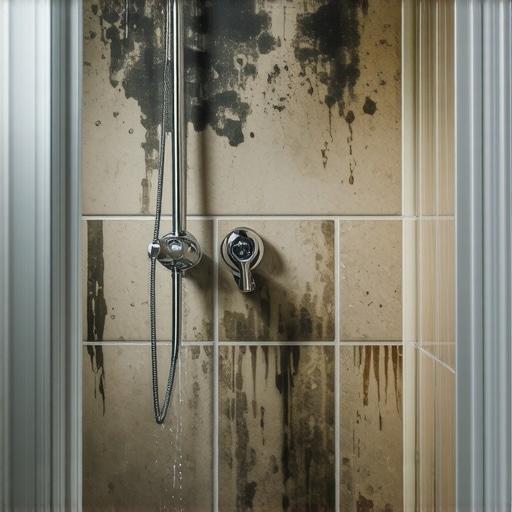
Shower wall tile leveling requires an absolute understanding of substrate flatness before the first trowel of thin-set ever touches the backer board. Most residential framing is notoriously inconsistent, with studs that are bowed, twisted, or out of plumb. If the wall deviates more than one eighth of an inch over ten feet, your large format tiles will show significant lippage. This is not a suggestion. It is a fundamental physics constraint of rigid materials. When you try to install a thirty inch porcelain plank on a wall that has a belly in the middle, the edges of the tile will kick out. No amount of leveling spacers can fix a wall that is structurally wavy. You must sister the studs or use a shim system behind the cement board to create a truly flat plane. This level of preparation is what separates a master from a handyman. I have seen fifteen thousand dollar walnut floors cup like potato chips because the installer ignored the crawlspace humidity, and I have seen shower walls crack down the grout line because the installer thought they could build out the thin-set to hide a crooked stud. You cannot build out thin-set beyond its engineered thickness without inducing shrinkage and bond failure.
“A floor is only as good as the subfloor beneath it; deflection is the enemy of every joint.” – Master Flooring Axiom
The physics of the tape line over the ledger board
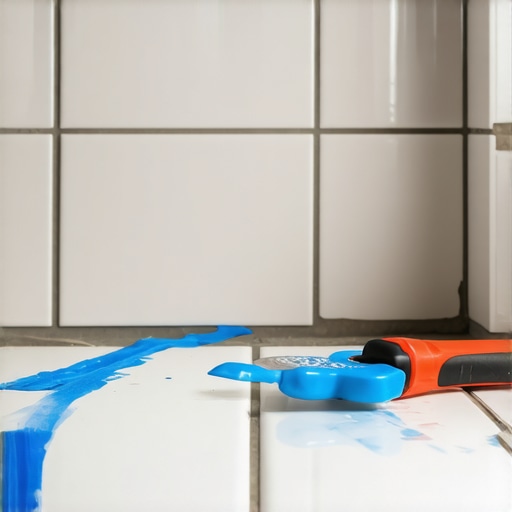
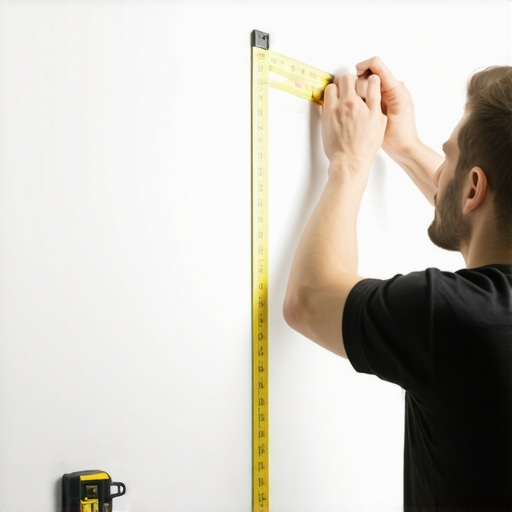
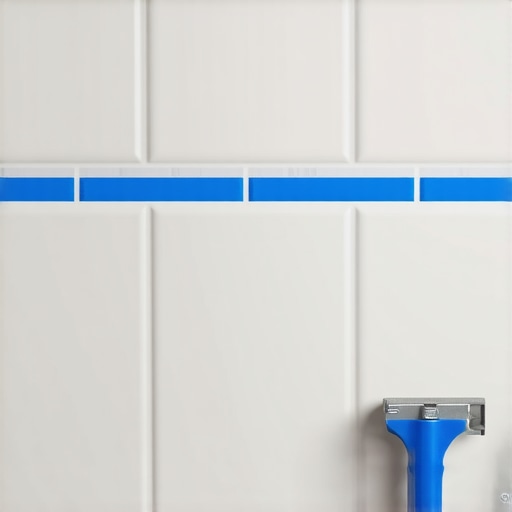
The blue tape method for shower tiles involves using a high-visibility laser level to strike a perfectly horizontal datum line around the perimeter of the shower enclosure. Traditional methods involve screwing a wooden ledger board into the wall to support the first row of tile, but this carries the risk of puncturing the waterproofing membrane. By applying a strip of blue painter’s tape exactly at the bottom of your second row, you create a visual guide that allows you to work without mechanical fasteners. This method requires a high-tack adhesive tape that will not peel away when it gets damp from the thin-set. You strike your laser line, align the tape to the bottom of the laser line, and use the tape as your starting point. This allows you to tile the top of the wall first if necessary, or simply provide a perfect reference point for the bottom cut. The tape acts as a zero-clearance marker. It provides a crisp edge that does not interfere with the bond of the tile to the substrate. Unlike a wooden ledger, the tape does not compress. It does not warp. It stays exactly where the laser tells it to stay. This is critical for maintaining the geometry of the grout lines across three different walls.
Why your subfloor is lying to you
Subfloor preparation for tile is the most ignored aspect of residential construction, yet it dictates the longevity of every finish above it. If you are doing a floor leveling job for laminate or a carpet install, you might think you have more wiggle room, but tile is unforgiving. A concrete slab might look flat to the naked eye, but the moisture meter and the ten foot straight edge tell the real story. Concrete is a porous sponge that breathes moisture vapor. If you lock that moisture under a non-porous tile or a vapor-impermeable underlayment without a proper barrier, you are creating a petri dish for mold and a recipe for bond delamination. The alkalinity of the concrete can also attack the chemical chains in certain adhesives. You must check the pH levels and the moisture vapor emission rate before you ever commit to an installation. I have spent decades watching guys rush into the pretty part of the job only to have the floor fail six months later because they were too lazy to use a moisture barrier or a self-leveling underlayment to fix the floor flatness.
| Material Type | Flatness Requirement | Acclimation Time | Bonding Agent |
|---|---|---|---|
| Large Format Tile | 1/8 inch per 10 feet | N/A | Polymer Modified Thin-set |
| Solid White Oak | 3/16 inch per 10 feet | 7 to 14 days | Mechanical Cleats |
| Engineered Hardwood | 3/16 inch per 10 feet | 48 to 72 hours | Silane Polymer Adhesive |
| Luxury Vinyl Plank | 3/16 inch per 10 feet | 48 hours | Floating Click Lock |
The 1/8 inch that ruins everything
Precision tile alignment depends on the installer’s ability to account for the thickness of the adhesive and the expansion joints at the perimeter. The National Wood Flooring Association and the Tile Council of North America both emphasize that expansion is a physical certainty, not a possibility. Every material expands and contracts with changes in temperature and humidity. If you do not leave a sufficient gap at the corners and the base of the shower, the tile will tent and pop. This is often blamed on the thin-set, but the culprit is usually the lack of an expansion joint. I have seen massive commercial floors buckle and lift because a crew forgot to leave a half-inch gap at the walls. In a shower, this means using a high-quality 100 percent silicone sealant in the corners rather than grout. Grout is rigid. It will crack when the house moves. Silicone is flexible. It absorbs the stress of the movement. This is a non-negotiable step in a professional installation. The blue tape method helps you visualize these gaps early in the process, ensuring that you do not crowd the corners with tile that is cut too tight.
“For tiles with any edge longer than 15 inches, the substrate must be flat within 1/8 inch in 10 feet.” – TCNA Handbook Section ANSI A108.02
Chemistry of the modern adhesive bond
Thin-set mortar technology has evolved into a complex chemical science involving polymers and ethylene-vinyl acetate. These additives increase the flexural strength of the bond, allowing the tile to withstand more stress without shearing. When you are working on shower walls, you need a thixotropic mortar. This means the mortar is thick enough to hold the weight of the tile without sagging but creamy enough to be easily spread with a trowel. The chemical bond is formed through a process called hydration, where water molecules react with the Portland cement to create a crystalline structure. If the substrate is too dry, it will suck the water out of the mortar before the crystals can fully form, leading to a weak bond. This is why you must damp down your backer board with a sponge before applying mortar. It is also why the choice of trowel size is so important. You need at least 95 percent coverage in wet areas to ensure there are no voids where water can collect. Voids in the thin-set are the primary cause of mold growth behind the tile. When water gets trapped in those pockets, it has nowhere to go, and it begins to rot the wall from the inside out.
A checklist for the meticulous installer
- Verify substrate flatness with a ten-foot straight edge before starting.
- Ensure all plumbing valves are pressure tested and leak-free.
- Apply a liquid-applied or sheet-bonded waterproofing membrane.
- Strike a level datum line using a self-leveling laser.
- Apply blue tape to the datum line to serve as a visual ledger.
- Back-butter every tile to ensure 95 percent mortar coverage.
- Use leveling clips to manage lippage on large format tiles.
- Leave a minimum 1/8 inch expansion gap at all changes of plane.
- Clean out all thin-set from the grout joints before it cures.
- Use 100 percent silicone in all corners and transitions.
The moisture barrier trap
Regional climate conditions dictate how you should approach your waterproofing and floor leveling strategy. In the swampy humidity of Houston, solid wood is a death wish for any homeowner. You need engineered cores that can handle the moisture. Similarly, in a high-humidity environment, the way your shower breathes is different than in the dry heat of Phoenix. In a desert climate, the air will pull the moisture out of your grout and thin-set so fast that it might not cure properly. You might need to use a grout additive to slow down the drying time. In coastal regions, the salt air can even affect the corrosion resistance of your fasteners. I always use stainless steel screws for cement board because I have seen galvanized screws rust away inside a wall after ten years of exposure to salt-heavy humidity. The blue tape method works in any climate, but your choice of thin-set and membrane must reflect the local environment. Do not listen to the guy at the big-box discount retailer who says one bag of mortar works for every job. They are selling you a commodity. I am selling you a structural solution.
The ghost in the expansion gap
Expansion and contraction cycles are the silent killers of floors and walls. Most people want the thickest underlayment possible for their laminate or LVP, thinking it will make the floor feel softer. This is a mistake. Too much cushion actually causes the locking mechanisms on the floor to snap under pressure because the floor is flexing too much. The same logic applies to tile. You want a solid, unyielding substrate. The only place you want movement is in the designated expansion joints. When you use the blue tape method, you are ensuring that your first row is perfectly aligned, which means your expansion gaps at the top and bottom will be consistent. If your first row is crooked, your gaps will be uneven, and the entire geometry of the room will be off. You will end up with slivers of tile in the corners that look terrible and are prone to breaking. Take the time to snap your lines. Use the tape. Trust the laser. The 1/8 inch you save now is the difference between a floor that lasts fifty years and a floor that fails in five. There are no shortcuts in the physics of flooring. You either do it right, or you do it twice. I prefer to do it once, with the smell of floor wax and the precision of a machinist. Keep your sawdust under your nails and your eyes on the level.